The Aspen Tweed Mittens: A Free Knitting Pattern for Textured, Color-Blocked Gauntlet Mittens
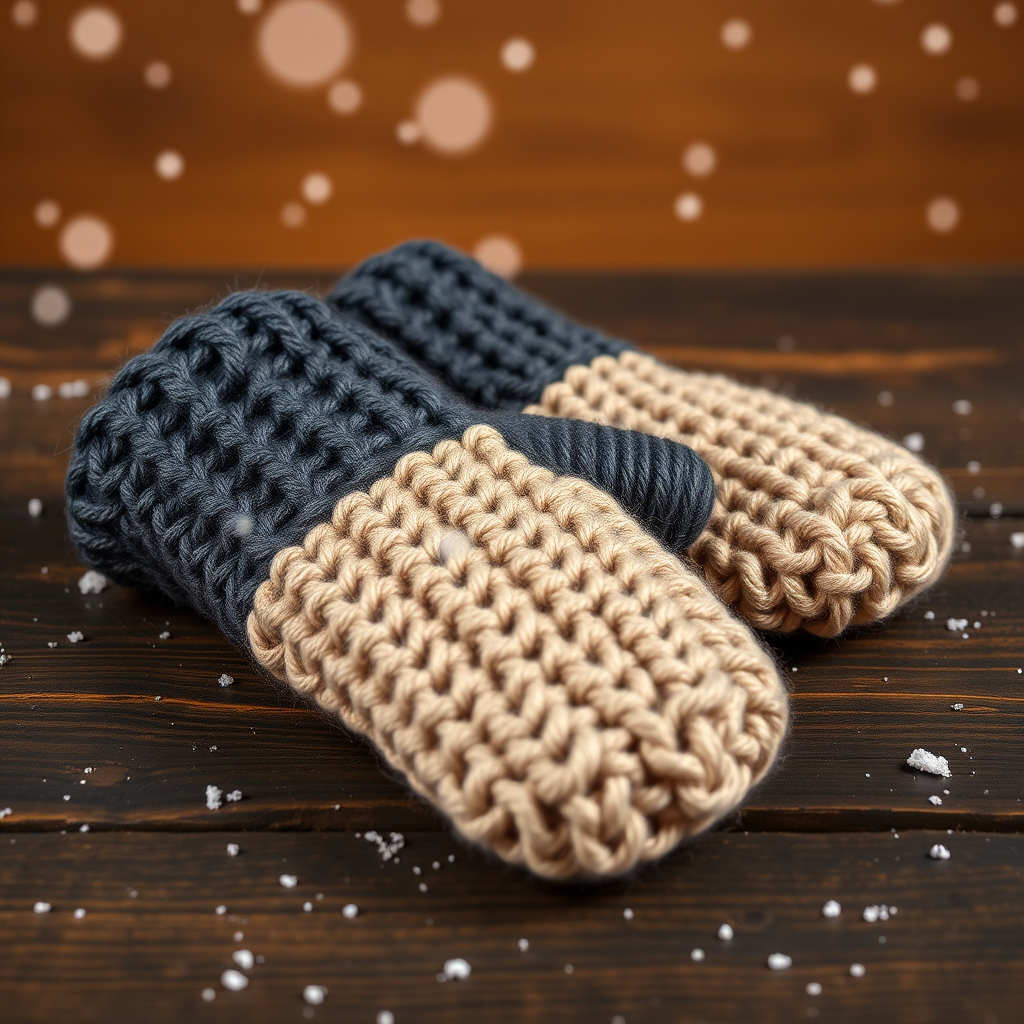
Introduction: Cozy Mountain Style with The Aspen Tweed Mittens
Embrace the cozy elegance of the mountains with these textured, color-blocked gauntlet mittens. The Aspen Tweed design combines a classic tweed stitch with a modern, elongated cuff for a truly unique and stylish accessory. Perfect for crisp winter walks or sipping hot cocoa by the fire, these mittens are as functional as they are beautiful. The two-tone color-block design—featuring a deep charcoal cuff and a heathered oatmeal hand—creates a sophisticated, alpine aesthetic that will elevate any winter outfit. This free knitting pattern is designed for confident beginners and intermediate knitters, offering clear, step-by-step instructions to help you create a pair of heirloom-quality mittens.
Materials Needed
Before you begin, gather the following materials. Using the exact yarn weight and needle sizes is crucial for achieving the correct gauge and fit.
Yarn
- Worsted weight wool or wool blend yarn in two contrasting colors:
- Color A (Cuff): 100g (approx. 220 yards). Suggested: Cascade 220 in a deep charcoal grey or similar.
- Color B (Hand & Thumb): 100g (approx. 220 yards). Suggested: Cascade 220 in a rich, heathered oatmeal or similar.
Needles & Notions
- US 6 (4.0 mm) double-pointed needles (DPNs) or circular needle for magic loop (for cuff ribbing).
- US 7 (4.5 mm) double-pointed needles (DPNs) or circular needle for magic loop (for hand and thumb).
- Stitch markers (at least 2).
- Stitch holder or waste yarn (for thumb stitches).
- Tapestry needle for weaving in ends.
- Scissors.
Gauge
20 stitches x 28 rows = 4 inches (10 cm) in Stockinette stitch on larger needles (US 7 / 4.5 mm). Always knit a gauge swatch and adjust needle size if necessary to match this gauge.
Step-by-Step Instructions
This pattern is written for Women's S/M (M/L). Instructions for the smaller size are given first, with the larger size in parentheses. Follow the numbers that correspond to your chosen size throughout.
Abbreviations
- CO: Cast on
- K: Knit
- P: Purl
- K2tog: Knit two together (right-leaning decrease)
- SSK: Slip, slip, knit (left-leaning decrease)
- M1L: Make one left (increase, leaning left)
- M1R: Make one right (increase, leaning right)
- St(s): Stitch(es)
- PM: Place marker
- SM: Slip marker
- BO: Bind off
Cuff (Make 2)
- With Color A and smaller needles (US 6 / 4.0 mm), CO 36 (40) stitches. Distribute evenly across your DPNs or prepare for magic loop. Join in the round, being very careful not to twist your stitches.
- Rounds 1-12: *K2, P2; repeat from * around. This creates a 2x2 ribbed cuff.
- Switch to larger needles (US 7 / 4.5 mm) and Color B.
- Rounds 13-24: Knit all stitches. This creates the smooth, elongated gauntlet section.
Hand (Make 2)
- Round 25 (Set-up Round): K18 (20), PM, K18 (20). You now have a marker that will be used to track the thumb gusset increases.
- Round 26 (Increase Round): K1, M1L, K to marker, M1R, SM, K to end. You have increased 2 stitches (one on each side of the marker).
- Round 27: Knit all stitches (no increases).
- Repeat Rounds 26 and 27 until you have 12 (14) stitches between the markers. This is your thumb gusset. Your total stitch count will now be 48 (54) stitches.
- Next Round (Separate Thumb): K to marker, remove marker, place the 12 (14) thumb gusset stitches onto a stitch holder or waste yarn. CO 2 stitches over the gap (using a backward loop cast-on or cable cast-on), then K to end. Your total stitch count is now 38 (42) stitches.
- Continue knitting every round in Stockinette stitch (knit every round) until the hand measures 7 (8) inches from the cast-on edge, or about 1 inch less than your desired total mitten length.
Decrease for Top (Mitten Shaping)
- Round 1 (Decrease): *K2, K2tog, K14 (16), SSK, K2; repeat from * once more. You now have 34 (38) stitches.
- Round 2: Knit all stitches.
- Round 3 (Decrease): *K2, K2tog, K10 (12), SSK, K2; repeat from * once more. You now have 30 (34) stitches.
- Round 4: Knit all stitches.
- Round 5 (Decrease): *K2, K2tog, K6 (8), SSK, K2; repeat from * once more. You now have 26 (30) stitches.
- Round 6: Knit all stitches.
- Round 7 (Decrease): *K2, K2tog, K2 (4), SSK, K2; repeat from * once more. You now have 22 (26) stitches.
- Round 8 (Decrease): *K2tog, K2 (4), SSK; repeat from * once more. You now have 18 (22) stitches.
- Cut the yarn, leaving a 6-inch tail. Thread the tail through a tapestry needle, then pass it through all remaining stitches. Pull tight to close the top of the mitten. Weave in the end securely on the inside.
Thumb (Make 2)
- Transfer the 12 (14) thumb stitches from the holder onto your larger DPNs (US 7 / 4.5 mm).
- With Color B, pick up and knit 2 stitches from the cast-on gap you created earlier. You now have 14 (16) stitches for the thumb. Distribute evenly across your DPNs and join in the round.
- Knit every round for 1.5 (2) inches, or until the thumb reaches the tip of your thumb when you try the mitten on.
- Next Round (Decrease): *K2tog; repeat from * around. You now have 7 (8) stitches.
- Cut the yarn, leaving a 6-inch tail. Thread the tail through a tapestry needle, then pass it through all remaining stitches. Pull tight to close the thumb tip. Weave in the end securely on the inside.
Finishing
- Weave in all remaining ends using a tapestry needle. Ensure all ends are secure and trimmed close to the work.
- Block the mittens gently. To block, soak them in lukewarm water with a drop of wool wash for 15 minutes. Gently squeeze out excess water (do not wring), roll in a towel to remove moisture, then lay flat to dry, shaping them to the correct dimensions. This will even out your stitches and give the mittens a professional finish.
Congratulations! You've completed your Aspen Tweed Mittens. Slip them on and enjoy the cozy, alpine warmth they provide. These make wonderful gifts or a special treat for yourself.


