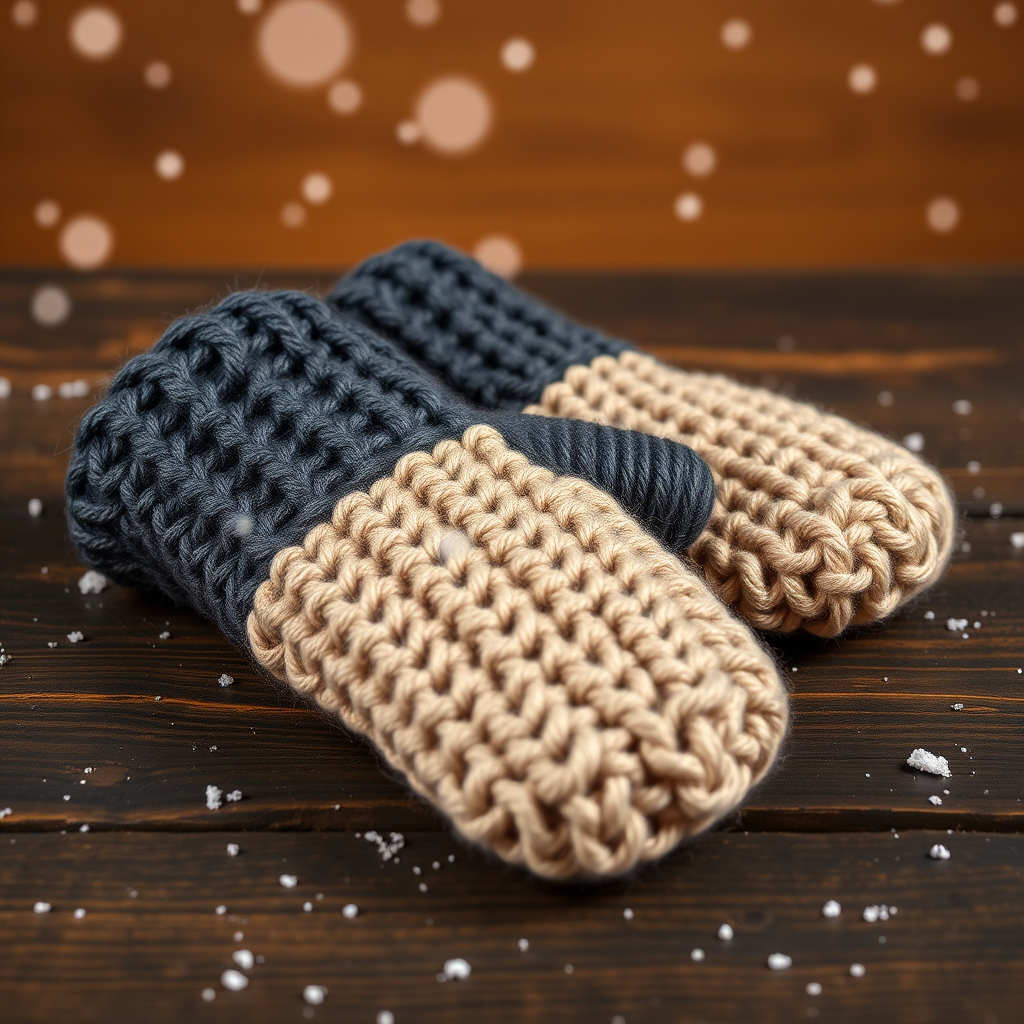
Aurora Glow Color Pop Mittens Free Pattern – Knit a Radiant Nordic-Inspired Pair

Aurora Glow Color Pop Mittens Free Pattern – Knit a Radiant Nordic-Inspired Pair
Wrap your hands in the vibrant hues of the northern lights with these color-blocked, textured mittens. The stranded colorwork and cozy ribbed cuffs make them a standout accessory for chilly days. This free knitting pattern is perfect for adventurous beginners who want to dip their toes into colorwork—the repeating geometric motifs are simple, rhythmic, and incredibly rewarding. With a palette of deep teal, bright coral, golden yellow, and soft cream, these mittens are as joyful to knit as they are to wear.
Whether you're commuting through frosty mornings or sipping hot cocoa by the fire, the Aurora Glow mittens deliver warmth and style. The dense worsted-weight fabric blocks the wind, while the classic mitten shape ensures a comfortable, snug fit. Let's get those needles clicking!
Materials Needed
Before you begin, gather your supplies. This pattern uses simple, readily available materials:
- Yarn: Worsted weight yarn in 4 colors:
- MC (Main Color): Deep teal – approx. 120 yards
- CC1 (Contrast Color 1): Bright coral – approx. 60 yards
- CC2 (Contrast Color 2): Golden yellow – approx. 40 yards
- CC3 (Contrast Color 3): Soft cream – approx. 60 yards
- Needles:
- US 6 (4.0 mm) double-pointed needles (or a circular needle for the magic loop method) – for the main body
- US 5 (3.75 mm) double-pointed needles – for the ribbed cuffs
- Notions:
- Stitch markers (at least 4)
- Waste yarn or stitch holders (for the thumb)
- Tapestry needle (for weaving in ends)
- Scissors
Gauge: 20 stitches and 26 rows = 4 inches in stockinette stitch with larger needles. Always check your gauge! If your stitches are too tight, go up a needle size; if too loose, go down.
Step-by-Step Instructions
This pattern is worked in the round from the cuff up. We'll make both mittens identically, except for the thumb gusset placement. Let's break it down.
Finished Size & Abbreviations
Finished Size: Women's medium (7.5 inches around palm, 10 inches long).
Abbreviations:
- CO: Cast on
- K: Knit
- P: Purl
- K2tog: Knit two together (right-leaning decrease)
- SSK: Slip, slip, knit (left-leaning decrease)
- M1L: Make one left (increase)
- M1R: Make one right (increase)
- MC, CC1, CC2, CC3: Main color, contrast colors
- St(s): Stitch(es)
- Rnd: Round
Part 1: The Cuff (Make Both Alike)
With your smaller needles (US 5) and MC, CO 40 stitches. Distribute them evenly over 3 or 4 double-pointed needles (10 stitches on each of 4 needles, or 13/13/14 on 3 needles). Join in the round, being very careful not to twist your cast-on edge. Place a stitch marker at the beginning of the round.
Work in K2, P2 ribbing for 2.5 inches. This creates a snug, stretchy cuff that will keep the cold out. Keep the ribbing nice and even—don't pull your purl stitches too tight.
Part 2: The Hand – Beginning the Colorwork
Switch to your larger needles (US 6). Work in stockinette (knit every round) for 2 rounds in MC. This gives a clean transition from the ribbing to the colorwork.
Now, we begin the stranded colorwork pattern. Important: When carrying yarn across the back of your work, keep the floats loose but not sloppy. Stretch the stitches on your right needle slightly before picking up the new color to prevent puckering.
Colorwork Pattern Rounds:
- Rnd 1: *K1 MC, K1 CC1* repeat to end.
- Rnd 2: *K1 CC1, K1 MC* repeat to end.
- Rnd 3: *K2 MC, K1 CC2* repeat to end.
- Rnd 4: *K1 CC2, K2 MC* repeat to end.
- Rnd 5: *K1 MC, K1 CC3* repeat to end.
- Rnd 6: *K1 CC3, K1 MC* repeat to end.
- Rnd 7: *K2 CC3, K1 MC* repeat to end.
- Rnd 8: *K1 MC, K2 CC3* repeat to end.
- Rnd 9: *K1 CC1, K1 MC* repeat to end.
- Rnd 10: *K1 MC, K1 CC1* repeat to end.
- Rnd 11: *K2 MC, K1 CC2* repeat to end.
- Rnd 12: *K1 CC2, K2 MC* repeat to end.
- Rnd 13: *K1 MC, K1 CC3* repeat to end.
- Rnd 14: *K1 CC3, K1 MC* repeat to end.
- Rnd 15: *K2 CC3, K1 MC* repeat to end.
- Rnd 16: *K1 MC, K2 CC3* repeat to end.
Repeat Rnds 1-16 once more, then work Rnds 1-8 again. You should have about 4 inches of colorwork. This creates a beautiful, rhythmic pattern of diamonds and zigzags that evoke the aurora borealis.
Part 3: Thumb Gusset
Now we'll add increases to create room for your thumb. The placement differs for the right and left mitten.
Right Mitten:
- Rnd 1: K1 MC, place marker, M1L, K1 MC, M1R, place marker, knit to end.
- Rnd 2: Knit all stitches.
- Rnd 3: K1 MC, M1L, knit to marker, M1R, knit to end. (The markers stay in place; you're increasing inside the gusset section.)
- Rnd 4: Knit all stitches.
Repeat Rnds 3-4 until you have 13 stitches between the markers. This is your thumb gusset. The increases happen every other round, creating a neat wedge shape.
Left Mitten:
- Work the same as the right mitten, but place your markers symmetrically: knit 20 stitches, place marker, M1L, K1, M1R, place marker, knit to end. Then follow the same increase pattern (Rnds 3-4) until you have 13 stitches between the markers.
Part 4: Separating the Thumb
Once your gusset has 13 stitches, it's time to isolate the thumb.
- Knit to the first marker.
- Slip the next 13 stitches (the gusset) onto a piece of waste yarn or a stitch holder. Remove the markers.
- CO 1 stitch (this bridges the gap and prevents a hole).
- Knit to the end of the round. You should now have 40 stitches on your needles again.
Continue in stockinette with MC for 1 inch. Then, work the colorwork pattern Rnds 1-8 once. This adds a final pop of color before the decreases.
Part 5: Decreasing for the Top
Now we'll shape the rounded top of the mitten.
- Rnd 1: *K3, K2tog* repeat to end (32 stitches).
- Rnd 2: Knit all stitches.
- Rnd 3: *K2, K2tog* repeat to end (24 stitches).
- Rnd 4: Knit all stitches.
- Rnd 5: *K1, K2tog* repeat to end (16 stitches).
- Rnd 6: K2tog around (8 stitches).
Cut your yarn, leaving a 6-inch tail. Thread the tail through a tapestry needle, slide it through the remaining 8 stitches, and pull tight to close the top. Weave in the end securely on the inside.
Part 6: The Thumb
Now for the finishing touch!
- Slip the 13 thumb stitches from the waste yarn onto your larger DPNs.
- Pick up and knit 1 stitch from the CO stitch at the base of the thumb. You now have 14 stitches.
- Join in the round and knit with MC for 2 inches. This is a comfortable thumb length for a medium mitten.
- Decrease: *K2tog* around (7 stitches).
- Cut yarn, thread through remaining stitches, pull tight, and weave in the end.
Part 7: Finishing Touches
Weave in all loose ends with your tapestry needle, being careful to secure them on the wrong side of the work. Block your mittens lightly—this evens out the colorwork and relaxes the stitches. Simply soak them in lukewarm water with a drop of wool wash, gently squeeze out excess water (don't wring!), and lay flat to dry, shaping them as they dry.
Repeat the entire process for the second mitten, remembering to mirror the thumb gusset placement.
And there you have it—a stunning pair of Aurora Glow Color Pop Mittens! These make a wonderful gift or a bright treat for your own winter wardrobe. Happy knitting!