The Aurora Drift Asymmetrical Shawl Free Pattern – A Knitted Gradient Wrap with Cascading Feather Stitch

The Aurora Drift Asymmetrical Shawl: A Knitted Gradient Wrap with Cascading Feather Stitch
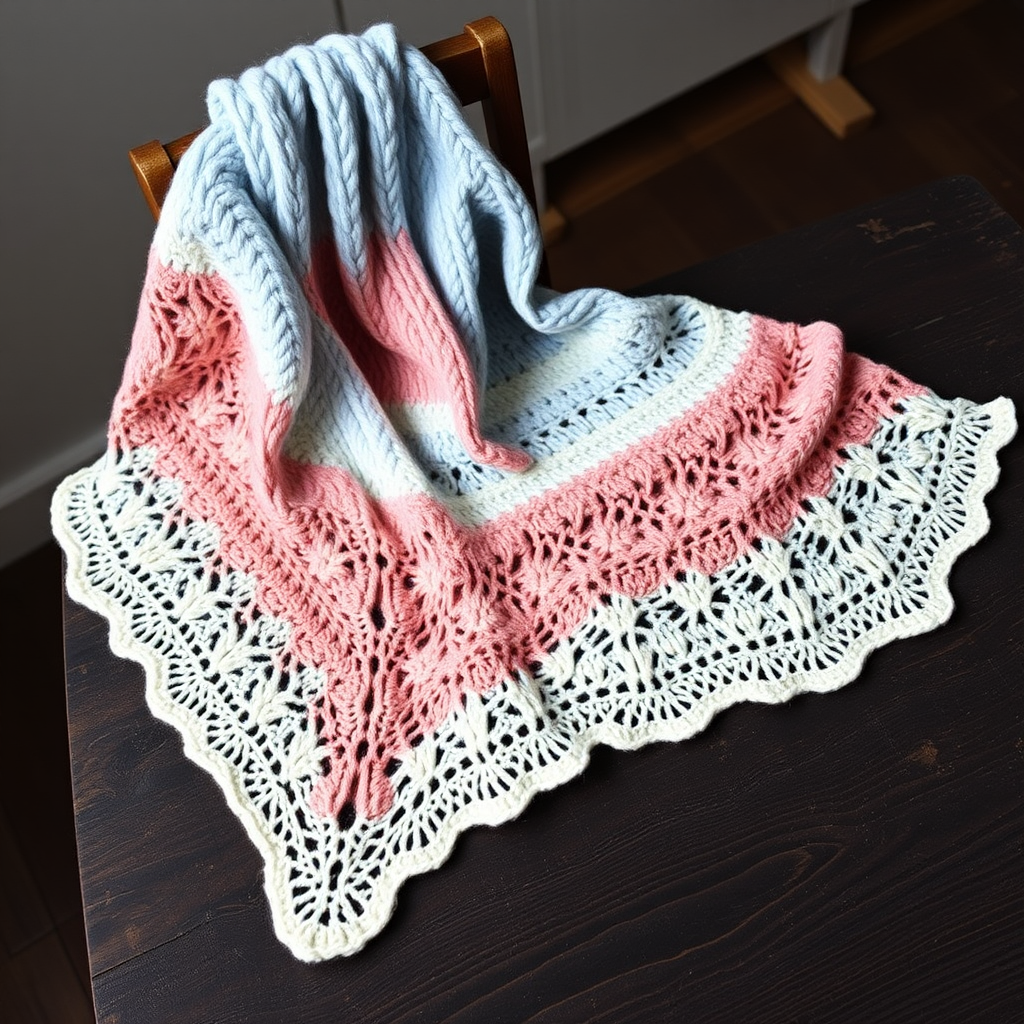
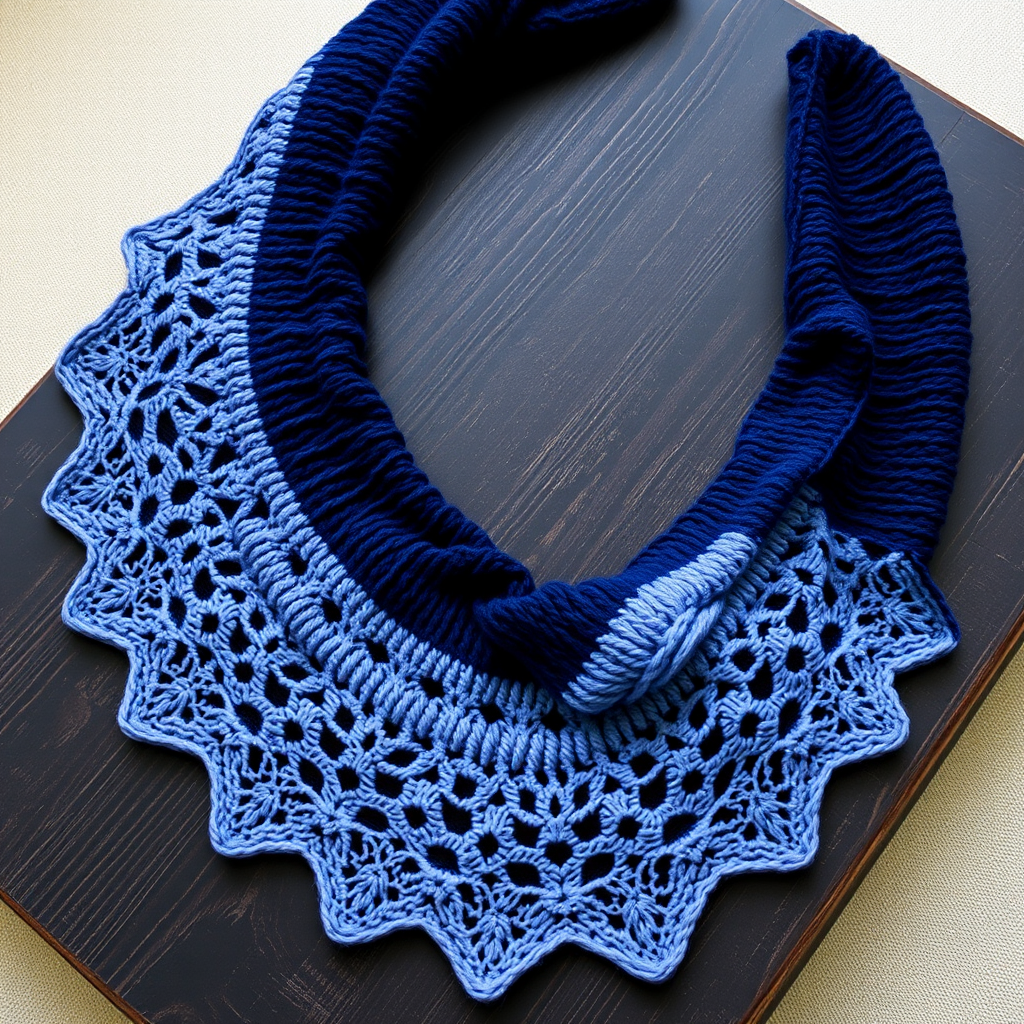
Wrap yourself in the shifting colors of the northern lights with this asymmetrical shawl, knitted in a soft gradient yarn and a delicate feather stitch that ripples like aurora waves. This pattern is a meditative, modern project that drapes beautifully over any shoulder. Whether you're a seasoned knitter looking for a soothing rhythm or a confident beginner ready for a rewarding challenge, the Aurora Drift Shawl is the perfect project to showcase a stunning gradient yarn while creating a wearable piece of art.
The magic of this shawl lies in its construction. Worked from the top center point downward, it increases on one side to create an elegant, asymmetrical crescent shape. The feather stitch—a simple 4-row repeat—produces a lacy, leaf-like texture that catches the light and mimics the ethereal movement of the aurora borealis. The result is a lightweight, airy wrap that adds a touch of handmade luxury to any outfit.
Materials Needed
Before you begin, gather the following materials to ensure a smooth and enjoyable knitting experience:
- Yarn: Fingering weight yarn in a gradient colorway (e.g., Malabrigo Sock in 'Polar Lights' or a hand-dyed gradient from deep teal to lavender to blush), approximately 400-450 yards. The gradient effect is key to this design, so choose a yarn that transitions beautifully through multiple colors.
- Needle: US 6 (4.0 mm) circular knitting needle, 32-inch or longer. The long circular needle is essential to accommodate the growing number of stitches as the shawl expands.
- Notions: Stitch markers (at least 2), tapestry needle for weaving in ends, blocking mats and pins for finishing.
- Gauge: 20 stitches and 28 rows = 4 inches in stockinette stitch (blocked). While gauge is important for size, the drape of this shawl is forgiving. If your gauge is slightly off, the shawl will still work beautifully—just adjust the final length accordingly.
Step-by-Step Instructions
This shawl is worked from the top center point downward, increasing on one side to create an asymmetrical crescent shape. The feather stitch pattern is a simple 4-row repeat that creates a lacy, feather-like texture. Follow these detailed instructions carefully, and you'll have a stunning shawl in no time.
Abbreviations
- k = knit
- p = purl
- yo = yarn over
- k2tog = knit two together (right-leaning decrease)
- ssk = slip, slip, knit (left-leaning decrease)
- kfb = knit front and back (increase)
- pm = place marker
- sm = slip marker
- st(s) = stitch(es)
Special Stitch – Feather Stitch (worked over a multiple of 4 + 1 stitches)
This stitch pattern creates the delicate, feather-like texture that gives the shawl its name. It's a simple 4-row repeat that's easy to memorize:
- Row 1 (RS): k1, *yo, k2tog, k1, ssk, yo, k1; repeat from * to end.
- Row 2 (WS): purl all stitches.
- Row 3 (RS): k2, *yo, k2tog, k1, ssk, yo, k1; repeat from * to last 3 sts, k3.
- Row 4 (WS): purl all stitches.
Setup
Let's begin by creating the foundation of your shawl. This setup section establishes the center point and the initial increases that will shape the asymmetrical design.
- Cast on 3 stitches using a long-tail cast on.
- Row 1 (RS): kfb, k1, kfb (5 sts). This row creates the initial increases at both edges.
- Row 2 (WS): purl all stitches.
- Row 3 (RS): kfb, k1, yo, k1, yo, k1, kfb (9 sts). Notice how the yarn overs create the beginning of the lace pattern.
- Row 4 (WS): purl all stitches.
- Row 5 (RS): kfb, k2, yo, k1, yo, k2, kfb (13 sts).
- Row 6 (WS): purl all stitches.
Body of Shawl
Now that the foundation is set, we'll begin the main body of the shawl. The markers will help you keep track of the increase edges and the center feather stitch section.
- Place a marker after the first 3 stitches and before the last 3 stitches to mark the increase edges. These 3 stitches on each side will remain consistent throughout the pattern.
- Row 1 (RS): kfb, k2, sm, work Feather Stitch Row 1 across the next 5 sts, sm, k2, kfb (15 sts). The center section now has 5 stitches, which is the minimum for the feather stitch pattern.
- Row 2 (WS): purl all stitches.
- Row 3 (RS): kfb, k2, sm, work Feather Stitch Row 3 across the next 5 sts, sm, k2, kfb (17 sts).
- Row 4 (WS): purl all stitches.
- Continue in this manner, working the Feather Stitch pattern over the center stitches (which will increase by 4 stitches every 2 RS rows). Always increase 1 stitch at the beginning and end of every RS row (kfb after the first 3 sts and kfb before the last 3 sts).
- Repeat the 4-row Feather Stitch pattern, adding 4 stitches to the center section each time you complete a full repeat (2 RS rows). This means that after each complete repeat, your center section will have grown by 4 stitches, allowing the feather stitch pattern to expand outward.
- Continue until the shawl measures approximately 24 inches from the cast-on edge along the longer side, or until you have used most of your yarn, leaving enough for a bind-off. Remember, the longer side is the one with the increases, so measure along that edge for accuracy.
Edging
The picot bind-off adds a delicate, scalloped finish that perfectly complements the airy feather stitch. This edging is worked on the final RS row and creates a beautiful, decorative border.
- On the final RS row, work a simple picot bind-off for a delicate finish: bind off 2 stitches, *slip the stitch on the right needle back to the left needle, cast on 2 stitches, bind off 4 stitches; repeat from * to the end. This creates a scalloped, airy edge that echoes the lace pattern of the shawl body.
- Weave in all ends with a tapestry needle. Take your time with this step—a clean finish makes all the difference in the final look of your shawl.
Blocking
Blocking is essential for this shawl to open up the lace pattern and achieve the beautiful drape. Don't skip this step—it transforms the fabric from a crumpled mass into a stunning, wearable piece.
- Soak the shawl in lukewarm water with a drop of wool wash for 20 minutes. This allows the fibers to relax and absorb the water evenly.
- Gently squeeze out excess water (do not wring). Press the shawl between clean towels to remove additional moisture.
- Lay flat on a blocking mat, pinning the edges to open up the lace and create a beautiful crescent shape. Pay special attention to the picot edge, pinning each scallop to showcase the delicate points.
- Allow to dry completely before unpinning. This can take 24-48 hours depending on humidity, but the wait is worth it for the beautiful result.
Your Aurora Drift Shawl is now complete! The gradient colors will shift beautifully from deep teal through lavender to blush, creating a wearable piece of art that captures the magic of the northern lights. This shawl makes a thoughtful handmade gift or a luxurious treat for yourself. Enjoy wearing it draped over your shoulders, and take pride in the beautiful, meditative project you've created.