The Alpine Meadow Tote Free Pattern – A Knitted Chunky Button Bag with Woven Wildflower Accents

The Alpine Meadow Tote: A Beginner-Friendly Knitted Bag with Wildflower Charm
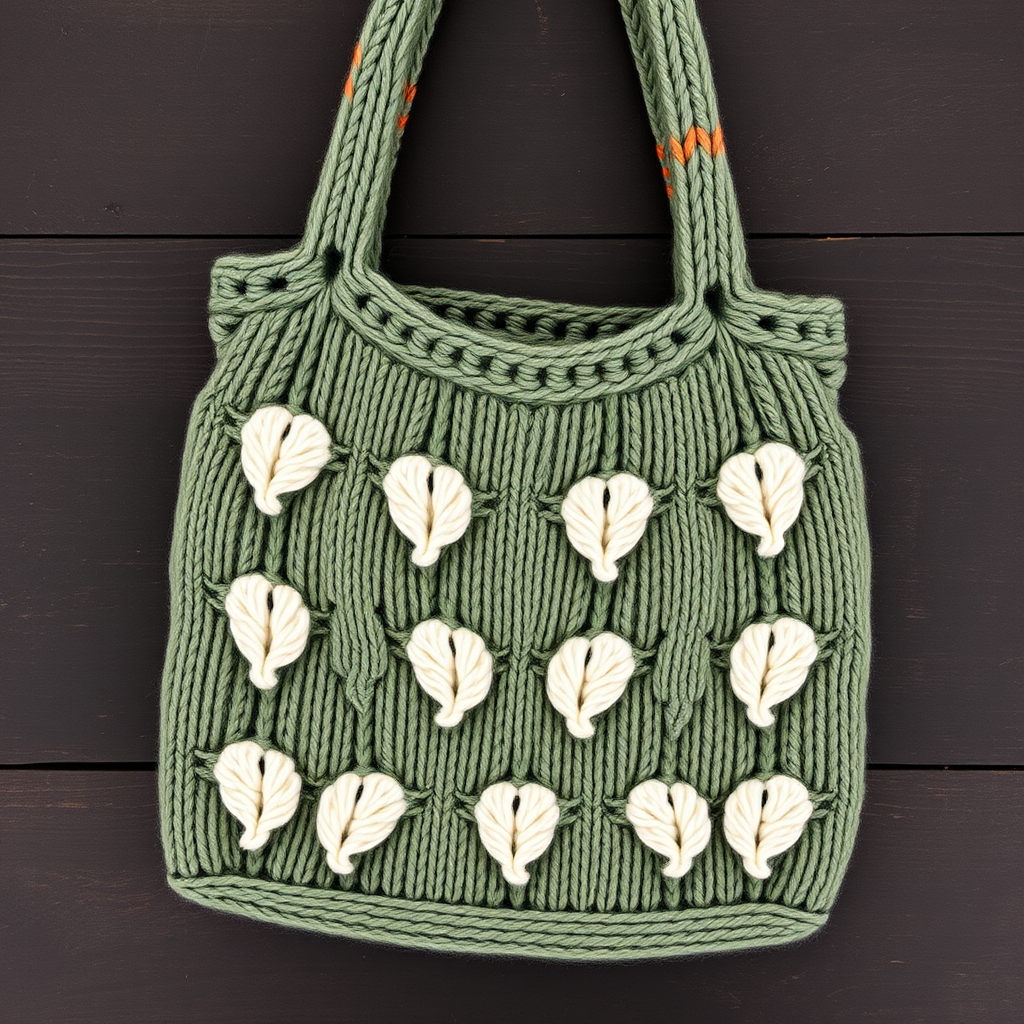
Imagine carrying a piece of the mountains with you wherever you go. The Alpine Meadow Tote is a generously sized, chunky knitted bag that combines rustic texture with practical design. Knitted in a rich forest green with a soft moss stitch, this tote features a sturdy felted base, a chunky wooden button closure, and hand-crocheted daisy accents in cream, butter yellow, and dusty pink. It's the perfect project for a beginner looking to create something beautiful, functional, and eco-friendly. Whether you're heading to the farmer's market or a cozy cabin getaway, this bag is your new everyday companion.
Materials Needed
Before you begin, gather the following supplies. All materials are readily available at your local yarn shop or online.
- Yarn: Worsted weight wool or wool blend (approx. 400g in main color – forest green; 100g in contrast colors for flowers – cream, butter yellow, dusty pink)
- Knitting Needles: US 8 (5mm) – for the bag body and strap
- Crochet Hook: US G/6 (4mm) – for the daisies and button loop
- Notions: Tapestry needle, stitch markers, scissors, measuring tape
- Closure: One large chunky wooden button (approx. 1.5 inches / 4 cm diameter)
Gauge: 18 stitches and 24 rows = 4 inches (10 cm) in moss stitch (knit). Be sure to check your gauge before starting to ensure the correct size.
Step-by-Step Instructions
This pattern is worked in flat pieces and then seamed together. The moss stitch creates a beautiful, bumpy texture that is both cozy and durable. Follow each step carefully, and you'll have your Alpine Meadow Tote in no time.
Bag Body (Knit Flat – Make Two Panels)
These panels form the front and back of the tote.
- Cast On: With your main color (forest green) and US 8 needles, cast on 60 stitches.
- Row 1 (Right Side): *Knit 1, Purl 1; repeat from * to the end of the row.
- Row 2 (Wrong Side): *Purl 1, Knit 1; repeat from * to the end of the row. (This creates the moss stitch pattern.)
- Repeat: Continue repeating Rows 1 and 2 until the piece measures 14 inches (35.5 cm) from the cast-on edge. This is your front panel.
- Bind Off: Bind off all stitches loosely. Set the panel aside.
- Repeat: Repeat steps 1-5 to create the back panel. Set aside.
Side and Bottom Panels (Knit Flat)
These panels create the boxed shape of the bag.
- Bottom Panel: Cast on 12 stitches with the main color.
- Work in Moss Stitch: Repeat the same moss stitch pattern (Row 1: *K1, P1*; Row 2: *P1, K1*) until the piece measures 14 inches (35.5 cm) long. This is the bottom panel.
- Bind Off: Bind off all stitches. Set aside.
- Side Panel: Cast on 12 stitches again.
- Work in Moss Stitch: Repeat the moss stitch pattern until the piece measures 12 inches (30.5 cm) long. This panel will be folded in half to form both sides of the bag.
- Bind Off: Bind off all stitches. Set aside.
Assembly – Sewing the Bag Together
This is where your flat pieces become a 3D tote.
- Attach Bottom Panel: With right sides together, align the bottom panel (14 inches long) with the lower edge of the front panel. Using a tapestry needle and a whip stitch, sew them together securely. Repeat with the back panel.
- Attach Side Panel: Fold the side panel in half lengthwise so it measures 6 inches (15 cm) wide. With right sides together, sew the side panel to the side edges of the front and back panels. Start at the top edge, sew down to the bottom, then up the other side. This creates the boxed shape of the bag.
- Turn Right Side Out: Carefully turn the bag right side out. Gently shape the corners to ensure they are square.
Knitted Strap
- Cast On: With the main color, cast on 8 stitches.
- Work in Stockinette Stitch: Knit one row, purl one row. Repeat until the strap measures 24 inches (61 cm) long. (Stockinette will curl slightly, which is normal and gives the strap a nice, rolled edge.)
- Bind Off: Bind off all stitches.
- Attach Strap: Sew each end of the strap to the inside top edge of the bag, positioning them about 2 inches (5 cm) from the side seams. Make sure the strap is not twisted before sewing.
Button Loop and Closure
- Create the Loop: Using your crochet hook, attach the main color yarn to the top center front edge of the bag. Chain 10 stitches, then slip stitch back into the same spot to form a loop. Fasten off and weave in the ends.
- Attach the Button: Sew the large chunky wooden button to the top center back edge of the bag, aligning it with the loop. Ensure the button fits snugly through the loop for a secure closure.
Woven Wildflower Accents (Crochet Daisies)
These charming daisies add the perfect alpine touch.
- Make the Daisies (Make 5): Using your contrast colors and the 4mm crochet hook, create a magic ring. Work 5 single crochet (sc) into the ring and join with a slip stitch. *Chain 4, slip stitch into the next sc; repeat from * around to form 5 petals. Fasten off, leaving a long tail for sewing.
- Attach the Daisies: Using a tapestry needle, sew the daisies randomly across the front panel of the bag. Weave in all ends securely.
- Optional Detail: For a pop of color, add a few French knots in yellow yarn at the center of each daisy.
Your Alpine Meadow Tote is now complete! This sturdy, textured bag is ready for all your adventures. The moss stitch is forgiving and fun to knit, and the crocheted daisies add a unique, handmade charm. Enjoy your new favorite accessory!