Willowmere Woven Market Tote Free Pattern – A Knitted Meadow Basket Bag

Carry a Piece of the Countryside: The Willowmere Woven Market Tote
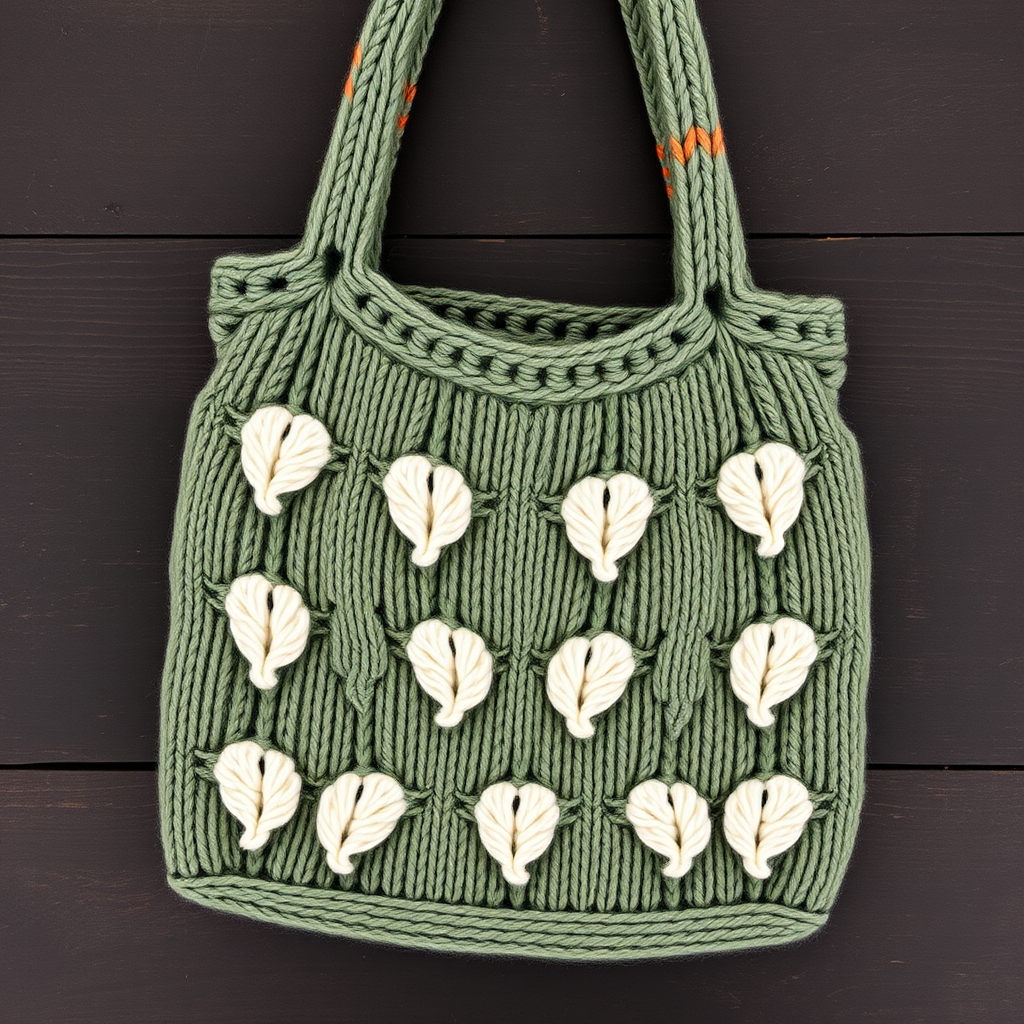
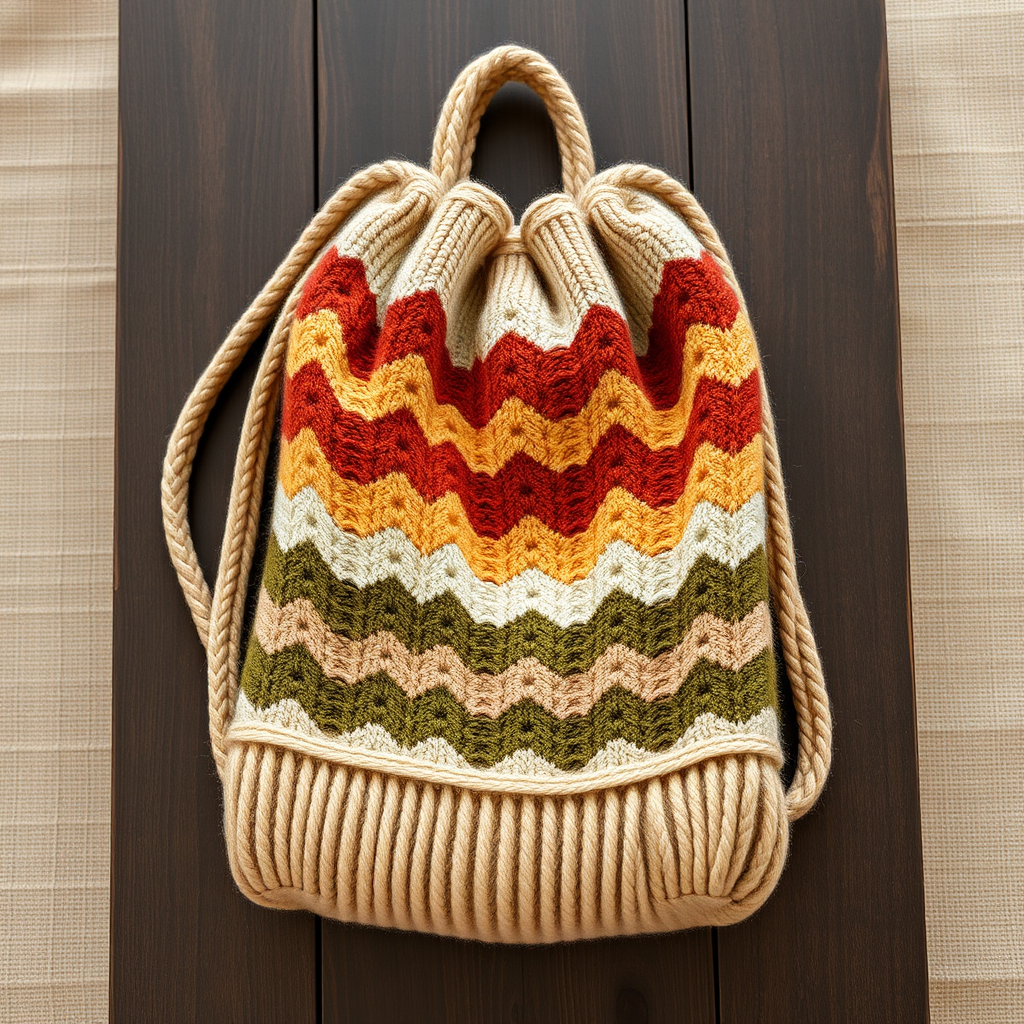
There's something deeply satisfying about knitting a bag that's both beautiful and useful. The Willowmere Woven Market Tote is exactly that—a textured, basket-weave carryall that blends rustic charm with modern simplicity. Knitted in soft, breathable cotton yarn, this eco-friendly companion is perfect for farmers' market hauls, beach days, or simply adding a handcrafted touch to your everyday errands. The rich basket weave stitch creates a dimensional, woven effect that mimics a meadow basket, while the sage green, cream, and terracotta stripes evoke a natural, earthy palette. Best of all, this pattern is beginner-friendly, using only knit and purl stitches to create a stunning textured fabric.
Whether you're new to knitting or looking for a satisfying weekend project, this tote is a joy to make. The garter stitch borders keep edges clean and neat, and the sturdy handles are knitted separately and sewn on for durability. Let's dive into everything you need to create your own Willowmere tote.
Materials Needed
Before you begin, gather the following supplies. All materials are readily available at craft stores or online.
Yarn
- Lion Brand 24/7 Cotton (or any worsted-weight cotton yarn)
- Color A: Sage Green – 2 skeins (for main body and handles)
- Color B: Cream – 1 skein (for stripes)
- Color C: Terracotta – 1 skein (for stripes)
Needles & Notions
- US Size 7 (4.5 mm) knitting needles – straight or circular (worked flat)
- Tapestry needle – for seaming and weaving in ends
- Stitch markers – 2 markers to define the pattern section
- Scissors
Gauge
20 stitches and 26 rows = 4 inches in stockinette stitch (after blocking). Gauge is important for the bag to hold its shape, so take a moment to knit a swatch and adjust needle size if needed.
Step-by-Step Instructions
This pattern is worked flat in one piece, then seamed. The basket weave stitch is created by alternating blocks of knit and purl stitches, which naturally pull the fabric into a woven texture. Follow along carefully—it's easier than it looks!
Bag Body (Worked Flat, Then Seamed)
Foundation & Garter Border
Cast on 60 stitches with Color A (Sage Green). Leave a long tail (about 6 inches) for seaming later.
Rows 1–4: Knit all stitches. This creates a garter stitch border that will form the top and bottom edges of the bag.
Basket Weave Pattern
Row 5 (Right Side): Knit 5 stitches (garter border), place a stitch marker. Now work the basket weave pattern across the next 50 stitches: *Knit 5, Purl 5* repeat from * to * until 5 stitches remain. Place a second marker, then knit the last 5 stitches (garter border).
Rows 6–10: Knit 5 stitches, slip marker. Now work the opposite of the previous row across the middle 50 stitches: *Purl 5, Knit 5* repeat from * to * until you reach the second marker. Slip marker, knit last 5 stitches.
Rows 11–15: Knit 5, slip marker. Work *Knit 5, Purl 5* across the middle 50 stitches (same as Row 5). Slip marker, knit last 5.
Rows 16–20: Knit 5, slip marker. Work *Purl 5, Knit 5* across the middle (same as Rows 6–10). Slip marker, knit last 5.
Repeat Rows 5–20 until the piece measures 14 inches from the cast-on edge, ending with a wrong-side row (a row where the purl blocks face you).
Color Blocking Stripes
For the last 6 inches of the bag, you'll introduce the stripe sequence. Keep the garter borders and basket weave pattern continuous—only the yarn color changes.
- Work 2 rows with Color B (Cream)
- Work 2 rows with Color C (Terracotta)
- Work 2 rows with Color A (Sage Green)
Repeat this 6-row sequence until the piece measures 20 inches total from the cast-on edge. End after completing a full stripe sequence (finish with 2 rows of Color A if possible).
Top Border & Bind Off
Switch back to Color A (if not already using it). Knit 4 rows of garter stitch (knit every row). This creates a clean, sturdy top edge.
Bind off loosely—use a larger needle or a loose bind-off method to prevent the top from pulling in. Cut yarn, leaving a long tail for seaming.
Handles (Make 2)
Using Color A, cast on 10 stitches.
Knit every row (garter stitch) until the handle measures 12 inches long. Garter stitch is dense and doesn't curl, making it perfect for sturdy handles.
Bind off loosely. Cut yarn and weave in the ends. Repeat to make a second handle.
Assembly
Seaming the Sides
Fold the bag body in half with right sides together, matching the cast-on and bind-off edges. The garter borders should align at the top.
Using a mattress stitch and the long tail from the cast-on or bind-off, sew the side seams from the bottom up to the top edge. Leave the top open—this is the bag opening. Sew both side seams securely, then turn the bag right side out.
Attaching the Handles
Position each handle on the inside of the bag, 2 inches down from the top edge and 4 inches in from each side seam. This places them evenly for comfortable carrying.
Using a whip stitch and a tapestry needle, sew each handle end securely to the inside of the bag. Make several passes through both the handle and the bag fabric to ensure durability—these handles will bear weight, so stitch them firmly.
Finishing Touches
Weave in all loose ends with a tapestry needle, hiding them within the fabric on the inside of the bag.
Block the bag to shape. Wet-block or steam-block gently, paying attention to the base. Flatten the bottom slightly to create a stable, rectangular base. Allow to dry completely before using.
Tips for Success
- Keep your tension even—the basket weave pattern looks best when stitches are consistent.
- Use stitch markers—they're essential for keeping the garter borders separate from the pattern section.
- Count your stitches periodically, especially when switching colors, to ensure the pattern stays aligned.
- Blocking is key—it evens out the stitches and helps the bag hold its shape.
Your Willowmere Woven Market Tote is now complete! Fill it with fresh produce, a good book, or beach essentials, and enjoy the compliments that come your way. This pattern is a wonderful way to practice knit and purl combinations while creating something you'll use for years. Happy knitting!