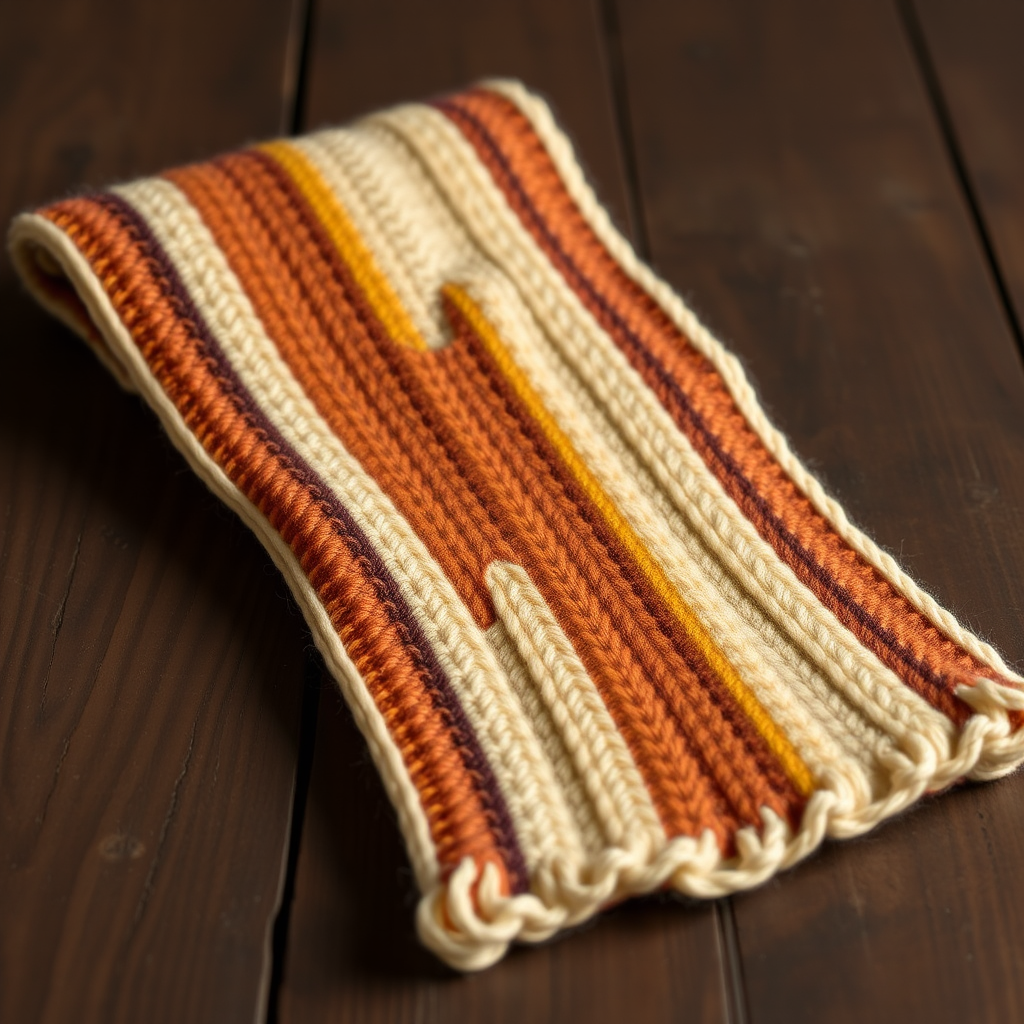
Summit Shadow Hooded Pocket Scarf Free Pattern – A Chunky Knit Alpine Essential

Summit Shadow Hooded Pocket Scarf: Your New Favorite Alpine Knit
Imagine wrapping yourself in the rugged comfort of mountain peaks, with a rich gradient of slate blues and stormy grays draped around your shoulders. That's exactly what you'll create with the Summit Shadow Hooded Pocket Scarf. This chunky knit masterpiece isn't just a scarf—it's a wearable adventure companion. With integrated pockets for warming your hands and a cozy hood for chilly winds, this pattern is the ultimate winter project for knitters ready to tackle something impressive yet achievable.
Whether you're a seasoned knitter looking for a satisfying weekend project or a confident beginner ready to level up, this pattern delivers. The smooth stockinette stitch keeps the knitting meditative, while the color transitions and hood shaping add just enough interest to keep you engaged. Let's dive into creating this alpine essential together.
Materials Needed
Before you begin, gather these supplies to ensure a smooth knitting experience:
- Yarn: Super bulky weight yarn (approximately 450-550 yards total) in three shades:
- Deep Slate (Color A) – for the bottom third
- Storm Gray (Color B) – for the middle third and pockets
- Misty Blue (Color C) – for the top third and hood
- Needles: US 13 (9 mm) circular knitting needles with a 24-inch cable (used flat, back and forth)
- Notions: Tapestry needle for weaving in ends and seaming
- Optional: Crochet hook (any size) for adding fringe
Gauge: 10 stitches and 14 rows = 4 inches in stockinette stitch (knit one row, purl one row). Always check your gauge before starting to ensure your finished scarf matches the intended dimensions.
Step-by-Step Instructions
This pattern is worked in one piece from the bottom up, then the hood is shaped and the pockets are added separately. All pieces are knitted flat (back and forth) on circular needles to accommodate the large number of stitches. Let's break it down.
Abbreviations
- CO: Cast on
- K: Knit
- P: Purl
- K2tog: Knit two stitches together (decrease)
- P2tog: Purl two stitches together (decrease)
- St(s): Stitch(es)
- RS: Right side
- WS: Wrong side
Main Scarf Body
Step 1: With Color A (Deep Slate), cast on 60 stitches using your preferred method. A long-tail cast on works beautifully here.
Step 2: Begin stockinette stitch:
- Row 1 (RS): Knit all stitches.
- Row 2 (WS): Purl all stitches.
Step 3: Switch to Color B (Storm Gray). Continue in stockinette stitch (knit on RS, purl on WS) for 10 inches, ending with a wrong-side row. This creates the middle section of your scarf.
Step 4: Switch to Color C (Misty Blue). Continue in stockinette stitch for 10 inches, ending with a wrong-side row. This completes the top section before the hood shaping begins.
Hood Shaping
Now we'll shape the hood with gentle decreases to create a rounded, snug fit.
Step 5: Continue with Color C (Misty Blue).
Row 1 (RS): K2tog, knit to the last 2 stitches, K2tog. (You now have 58 stitches.)
Row 2 (WS): Purl all stitches.
Repeat Rows 1-2 until 40 stitches remain, ending with a wrong-side row. This gradual decrease creates the tapered shape of the hood.
Step 6: Work even in stockinette stitch (no decreases) for 8 inches. This section forms the top of the hood, giving it depth and coverage.
Step 7: Shape the top of the hood:
- Next row (RS): K2tog, knit to the last 2 stitches, K2tog. (38 stitches remain.)
- Next row (WS): Purl all stitches.
Pockets (Make 2)
These pockets are knitted separately and sewn onto the scarf front. They feature a subtle tapered top edge for a polished look.
Step 1: With Color B (Storm Gray), cast on 20 stitches.
Step 2: Work in stockinette stitch (knit on RS, purl on WS) for 6 inches, ending with a wrong-side row.
Step 3: Shape the top of the pocket:
- Next row (RS): K2tog, knit to the last 2 stitches, K2tog. (18 stitches remain.)
- Next row (WS): Purl all stitches.
Finishing
Step 1: Assemble the hood. Fold the hood section in half so the bind-off edge becomes the top of the hood. The two sides of the hood should meet at the center. Sew the top seam using mattress stitch or whip stitch. This creates the hood's crown and gives it structure.
Step 2: Attach the pockets. Place the pockets on the front of the scarf body. Position each pocket about 4 inches from the bottom edge and 3 inches from the side edges. The tapered top edge should face upward. Sew the sides and bottom of each pocket to the scarf, leaving the top edge open to create a functional pocket opening. Use a whip stitch or mattress stitch for a clean finish.
Step 3: Weave in all ends. Using your tapestry needle, carefully weave in all loose yarn ends on the wrong side of the work. This ensures your scarf looks professional and will hold up to wear.
Step 4: Optional fringe. Add a fringe to the bottom edge for extra alpine charm. Cut 12-inch lengths of yarn in all three colors. Fold each strand in half, insert the folded end through the cast-on edge using a crochet hook, and pull the loose ends through the loop. Tighten gently. Repeat across the bottom edge, alternating colors as desired.
Your Alpine Companion Awaits
Once you've completed these steps, you'll have a stunning, functional hooded pocket scarf that captures the spirit of mountain adventures. The gradient color transition—from deep slate through stormy gray to misty blue—mimics the shadowed slopes of a trail at dusk, making this piece as beautiful as it is practical.
This pattern is perfect for gifting, for yourself, or for anyone who loves the outdoors. The chunky knit works up quickly, and the stockinette stitch is forgiving enough for beginners while still producing a polished, professional result. The natural curl of the stockinette edges adds a rustic, alpine charm that makes each scarf unique.
Happy knitting, and may your Summit Shadow scarf carry you through many crisp, beautiful adventures!