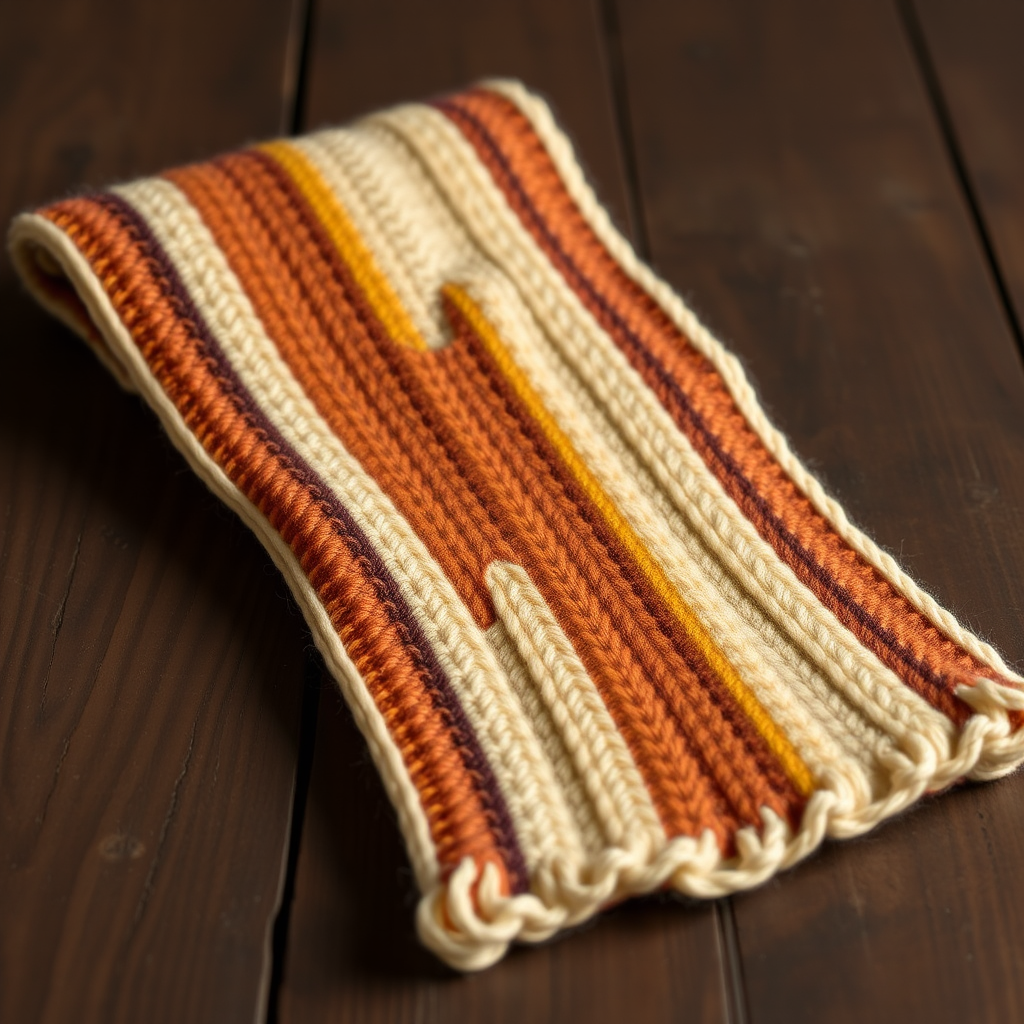
Mossy Glen Scarf Free Pattern – Knit a Textured Emerald Forest Wrap

Wrap Yourself in Woodland Serenity: The Mossy Glen Scarf
Imagine walking through a quiet forest, the ground soft with moss beneath your feet and the air filled with the gentle rustle of leaves. That feeling of calm, natural beauty is exactly what you'll capture with the Mossy Glen Scarf. This free knitting pattern is a joy to create, using a simple combination of moss stitch and ribbed panels to build a plush, squishy fabric that's as delightful to touch as it is to look at. Knit in deep emerald and soft sage tones, this scarf is more than just an accessory; it's a wearable piece of tranquility. Whether you're a seasoned knitter looking for a relaxing project or a confident beginner ready for a new challenge, this textured wrap is the perfect way to bring a touch of the forest into your everyday life.
Materials Needed: Gathering Your Forest Treasures
Before you begin your knitting journey, gather these simple materials. The beauty of this pattern lies in its simplicity, requiring just two colors of worsted weight yarn and a single pair of needles.
- Yarn: Worsted weight yarn in two colors:
- Color A (Deep Emerald): 2 skeins (approx. 200-220 yards each)
- Color B (Sage Green): 1 skein (approx. 200-220 yards)
- Needles: US 8 (5 mm) knitting needles
- Extras: Tapestry needle for weaving in ends, scissors
Gauge: 18 stitches and 24 rows = 4 inches in stockinette stitch. While gauge isn't critical for a scarf, matching it will ensure your finished piece is the intended size.
Step-by-Step Instructions: Knitting Your Mossy Glen
This pattern is worked flat in one piece, alternating between two simple stitch patterns to create a beautiful, dynamic texture. The finished scarf measures approximately 8 inches wide by 70 inches long, excluding the fringe. Let's get started!
Abbreviations
- CO: Cast on
- K: Knit
- P: Purl
- K2tog: Knit two stitches together
- Rep: Repeat
- RS: Right side
- WS: Wrong side
Step 1: Cast On
With Color A (Deep Emerald), loosely cast on 36 stitches. A long-tail cast-on works beautifully here, providing a stretchy yet sturdy edge.
Step 2: Base Ribbing
This creates a neat, stretchy border that prevents the scarf from curling.
- Rows 1-6: *K2, P2*; repeat from * to * across all rows.
Step 3: Main Body – Moss Stitch Panel (First)
Now we begin the main body of the scarf with the beautiful, bumpy moss stitch. This stitch creates a dense, textured fabric reminiscent of a forest floor.
- Row 7 (RS): K1, *P1, K1*; repeat from * to * to the last stitch, K1.
- Row 8 (WS): K1, *P1, K1*; repeat from * to * to the last stitch, K1.
Repeat Rows 7 and 8 until the panel measures 10 inches from the cast-on edge, ending with a WS row. The edge stitches (the first and last K1) create a neat selvedge.
Step 4: Accent Panel – Ribbed Texture (First)
Switch to Color B (Sage Green). This ribbed panel provides a beautiful vertical contrast to the horizontal texture of the moss stitch.
- Row 1 (RS): K1, *P2, K2*; repeat from * to * to the last 3 stitches, P2, K1.
- Row 2 (WS): K1, *K2, P2*; repeat from * to * to the last 3 stitches, K2, K1.
Repeat Rows 1 and 2 for 4 inches, ending with a WS row. Remember to keep your tension consistent for a clean, crisp rib.
Step 5: Main Body – Moss Stitch Panel (Second)
Switch back to Color A (Deep Emerald).
- Repeat the moss stitch pattern from Step 3 (Rows 7-8) for another 10 inches, ending with a WS row.
Step 6: Accent Panel – Ribbed Texture (Second)
Switch to Color B (Sage Green).
- Repeat the ribbed texture pattern from Step 4 for another 4 inches, ending with a WS row.
Step 7: Main Body – Moss Stitch Panel (Third)
Switch back to Color A (Deep Emerald).
- Repeat the moss stitch pattern from Step 3 for 10 inches, ending with a WS row.
Step 8: Final Accent Panel
Switch to Color B (Sage Green).
- Repeat the ribbed texture pattern from Step 4 for 4 inches, ending with a WS row.
Step 9: Base Ribbing (Second)
Switch back to Color A (Deep Emerald) to create the matching border on the other end.
- Rows 1-6: *K2, P2*; repeat from * to * across all rows.
Bind off loosely in pattern (knit the knits and purl the purls). A loose bind-off is crucial to ensure the edge remains stretchy and doesn't flare.
Step 10: Adding the Fringe
The fringe adds a soft, organic finish to your scarf, echoing the dangling vines of the forest.
- Cut 12-inch lengths of Color B (Sage Green) yarn.
- For each fringe, fold a strand in half to create a loop.
- Insert a crochet hook (or your fingers) through the edge stitch at the short end of the scarf.
- Catch the folded loop and pull it through the edge stitch.
- Thread the two loose ends of the yarn through the loop and pull tight to secure.
- Add fringe to both short ends of the scarf, spacing them evenly about 1 inch apart.
- Once all fringe is attached, trim the ends to an even length of 5 inches.
Finishing Touches
Weave in all loose ends with a tapestry needle, being careful to follow the path of the yarn to hide them completely. Gently block your scarf by wetting it and laying it flat to dry, shaping it to the correct dimensions. This will even out your stitches and enhance the beautiful texture of the moss and ribbed panels.
Your Mossy Glen Scarf is now complete! Wrap it around your neck and enjoy the cozy, woodland-inspired warmth you've created with your own hands. Happy knitting!