Emberfall Crescent Shawl Free Pattern – Gradient Knit Wrap with Fringe

Emberfall Crescent Shawl: A Free Knitting Pattern for a Gradient Wrap with Fringe
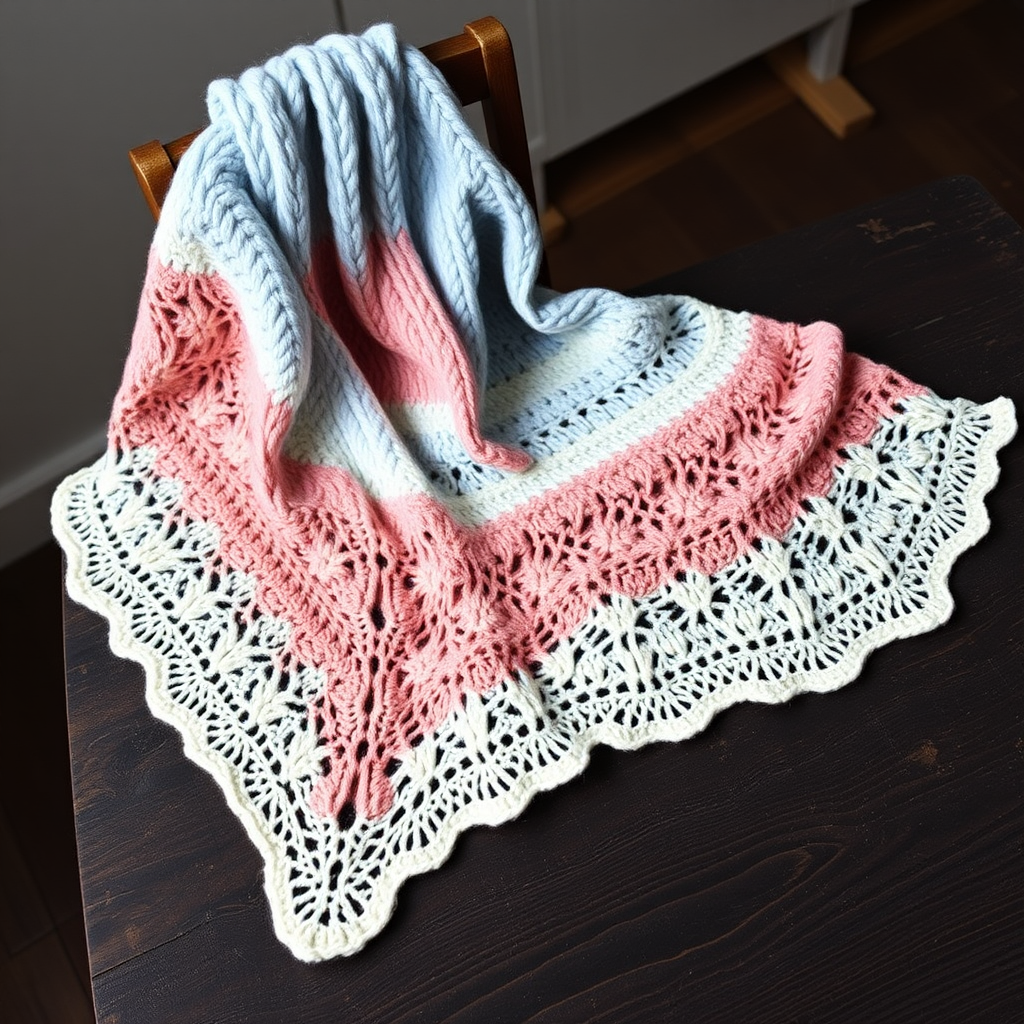
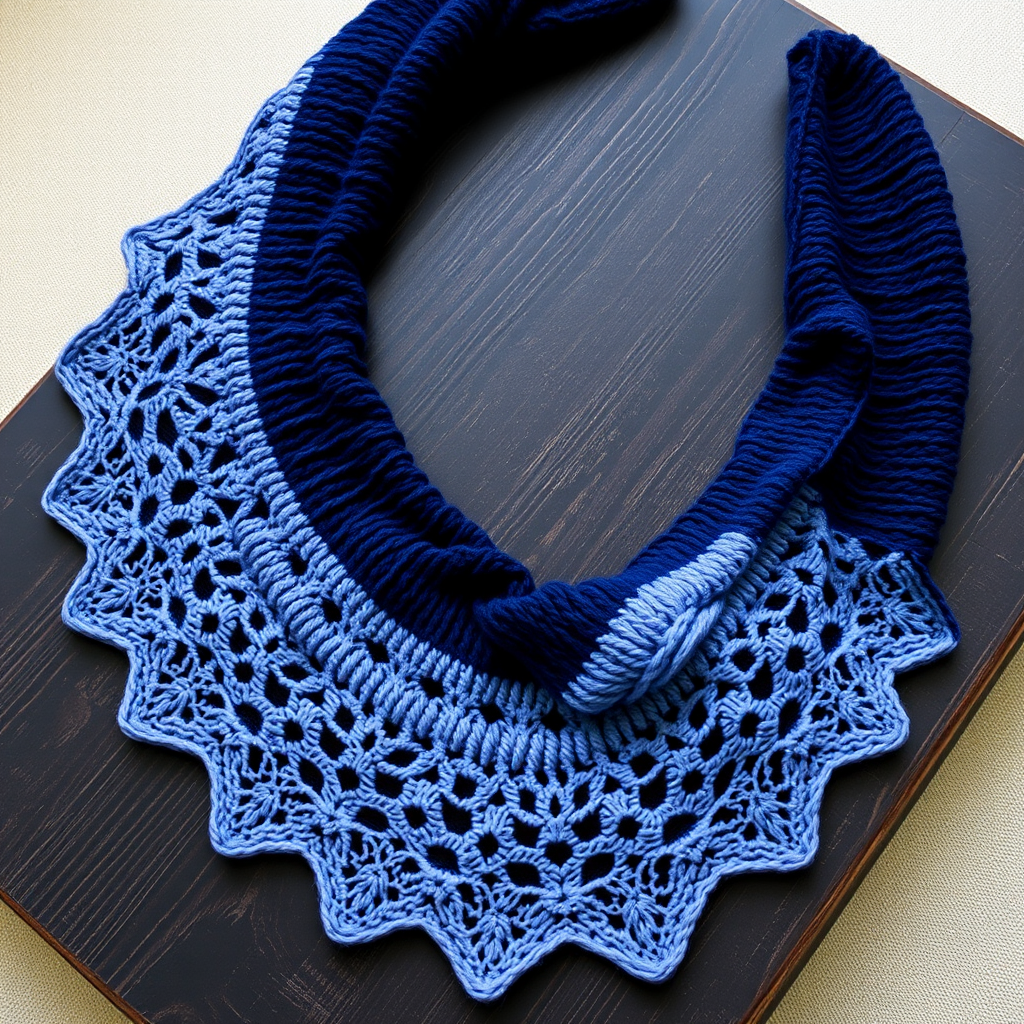
Imagine wrapping yourself in the warm, fading light of an autumn sunset. The Emberfall Crescent Shawl captures that exact feeling, blending a rich gradient of burnt orange, deep rose, and plum into a cozy, textured masterpiece. This free knitting pattern is perfect for intermediate beginners looking to expand their skills. The body is a simple, rhythmic garter stitch with easy edge increases, while a delicate lace border and playful fringe add a touch of elegance. The result is a stunning, versatile accessory that works as a stylish shawl, a warm wrap, or a thoughtful handmade gift.
This crescent-shaped shawl is knit from the top center down, growing organically with each row. The gradient effect is achieved by switching yarn colors at specific stitch counts, creating a beautiful, smooth transition. Even if you've never knit a shawl before, the step-by-step instructions below are designed to be clear, comprehensive, and easy to follow. Let's get started on creating your own piece of wearable art.
Materials Needed
Before you begin, gather the following materials to ensure a smooth and enjoyable knitting experience.
- Yarn: Worsted weight yarn in 3 colors:
- Color A (Burnt Orange): 200g (approx. 400 yards)
- Color B (Deep Rose): 100g (approx. 200 yards)
- Color C (Plum): 100g (approx. 200 yards)
- Needles: US 8 (5mm) circular knitting needle, 32 inches (80cm) or longer. The long cable is essential to accommodate the increasing number of stitches.
- Crochet Hook: Size H/8 (5mm) or similar, for adding the fringe.
- Other: Stitch markers (optional), tapestry needle for weaving in ends, scissors.
Gauge: 18 stitches and 24 rows = 4 inches in garter stitch (blocked). While gauge is important for size, this pattern is forgiving. A slightly different gauge will simply result in a slightly larger or smaller shawl.
Step-by-Step Instructions
Abbreviations
Familiarize yourself with these standard knitting abbreviations before you start.
- K: Knit
- K2tog: Knit two stitches together (decrease)
- YO: Yarn over (increase, creates an eyelet)
- KFB: Knit front and back (increase one stitch)
- Sl: Slip stitch
- Psso: Pass slipped stitch over
- BO: Bind off
- RS: Right side
- WS: Wrong side
Section 1: Knitting the Shawl Body
The body of the shawl is worked in simple garter stitch (knitting every row). The crescent shape is formed by increasing one stitch at the beginning and end of every right-side row. We will work in three color sections to create the gradient.
With Color A (Burnt Orange):
- Cast on 5 stitches.
- Row 1 (RS): KFB, K to last stitch, KFB. (You now have 7 stitches)
- Row 2 (WS): K all stitches.
- Repeat Rows 1 and 2 until you have 101 stitches on your needle, ending with a WS row. You will have worked 48 increase rows. This completes the first color section.
Switch to Color B (Deep Rose):
- Continue repeating Rows 1 and 2 (increasing on RS rows, knitting all on WS rows) until you have 151 stitches on your needle, ending with a WS row.
Switch to Color C (Plum):
- Continue repeating Rows 1 and 2 until you have 201 stitches on your needle, ending with a WS row. Do not bind off. You will now move directly into the lace edge.
Section 2: Adding the Lace Edge
This delicate lace border adds a beautiful, airy finish to the shawl. The pattern is a simple repeat of *YO, K2tog*, which creates a row of eyelets. We will continue the edge increases to maintain the crescent shape.
Note: The stitch counts provided after each RS row are for your reference to ensure accuracy.
- Row 1 (RS): KFB, K1, *YO, K2tog* repeat from * to * until 2 stitches remain, K1, KFB. (203 sts)
- Row 2 (WS): K all stitches.
- Row 3 (RS): KFB, K2, *YO, K2tog* repeat from * to * until 3 stitches remain, K2, KFB. (205 sts)
- Row 4 (WS): K all stitches.
- Row 5 (RS): KFB, K3, *YO, K2tog* repeat from * to * until 4 stitches remain, K3, KFB. (207 sts)
- Row 6 (WS): K all stitches.
- Row 7 (RS): KFB, K4, *YO, K2tog* repeat from * to * until 5 stitches remain, K4, KFB. (209 sts)
- Row 8 (WS): K all stitches.
- Row 9 (RS): KFB, K5, *YO, K2tog* repeat from * to * until 6 stitches remain, K5, KFB. (211 sts)
- Row 10 (WS): K all stitches.
- Row 11 (RS): KFB, K6, *YO, K2tog* repeat from * to * until 7 stitches remain, K6, KFB. (213 sts)
- Row 12 (WS): K all stitches.
- Row 13 (RS): KFB, K7, *YO, K2tog* repeat from * to * until 8 stitches remain, K7, KFB. (215 sts)
- Row 14 (WS): K all stitches.
- Row 15 (RS): KFB, K8, *YO, K2tog* repeat from * to * until 9 stitches remain, K8, KFB. (217 sts)
- Row 16 (WS): K all stitches.
Bind Off (on a RS row):
- KFB, K1, *K2tog, psso* repeat from * to * until 2 stitches remain, K2tog, pass first stitch over. Fasten off and weave in the end.
Section 3: Adding the Fringe
The fringe is the perfect finishing touch, adding movement and a bohemian vibe. We'll use one strand of each color for every fringe tassel.
- Cut the strands: Cut multiple strands of Color A, Color B, and Color C, each 12 inches long. You will need enough for a fringe every 1 inch along the entire curved edge and the two straight side edges.
- Group the strands: For each fringe, take 3 strands (one of each color) and fold them in half together.
- Attach the fringe: Using your crochet hook, insert the hook from the wrong side to the right side of the shawl at the edge. Pull the folded loop of the fringe through the edge of the shawl.
- Secure the fringe: Pull the loose ends of the strands through the folded loop and pull tight to create a knot. This will secure the fringe to the shawl.
- Repeat: Continue attaching fringes along the entire bind-off edge (the curved bottom) and up the two straight side edges, spacing them about 1 inch apart.
Finishing Touches
- Weave in all ends: Use your tapestry needle to carefully weave in any remaining yarn ends from the color changes and the cast-on edge.
- Block the shawl: This is a crucial step. Gently wet the shawl with lukewarm water and a little wool wash. Squeeze out excess water (do not wring). Lay the shawl flat on a clean towel or blocking mat. Gently stretch it to the desired dimensions, paying special attention to opening up the lace eyelets and evening out the stitches. Pin the edges if needed. Allow it to dry completely.
Once dry, your Emberfall Crescent Shawl is ready to wear. Drape it over your shoulders for a cozy evening, or style it as a chic wrap. The beautiful gradient and delicate details make it a truly special piece you'll cherish for years to come. Happy knitting!