Dino Spine Ridge Knit Romper Free Pattern: Seamless Bottom-Up Baby Romper

Dino Spine Ridge Knit Romper: A Seamless Bottom-Up Baby Romper
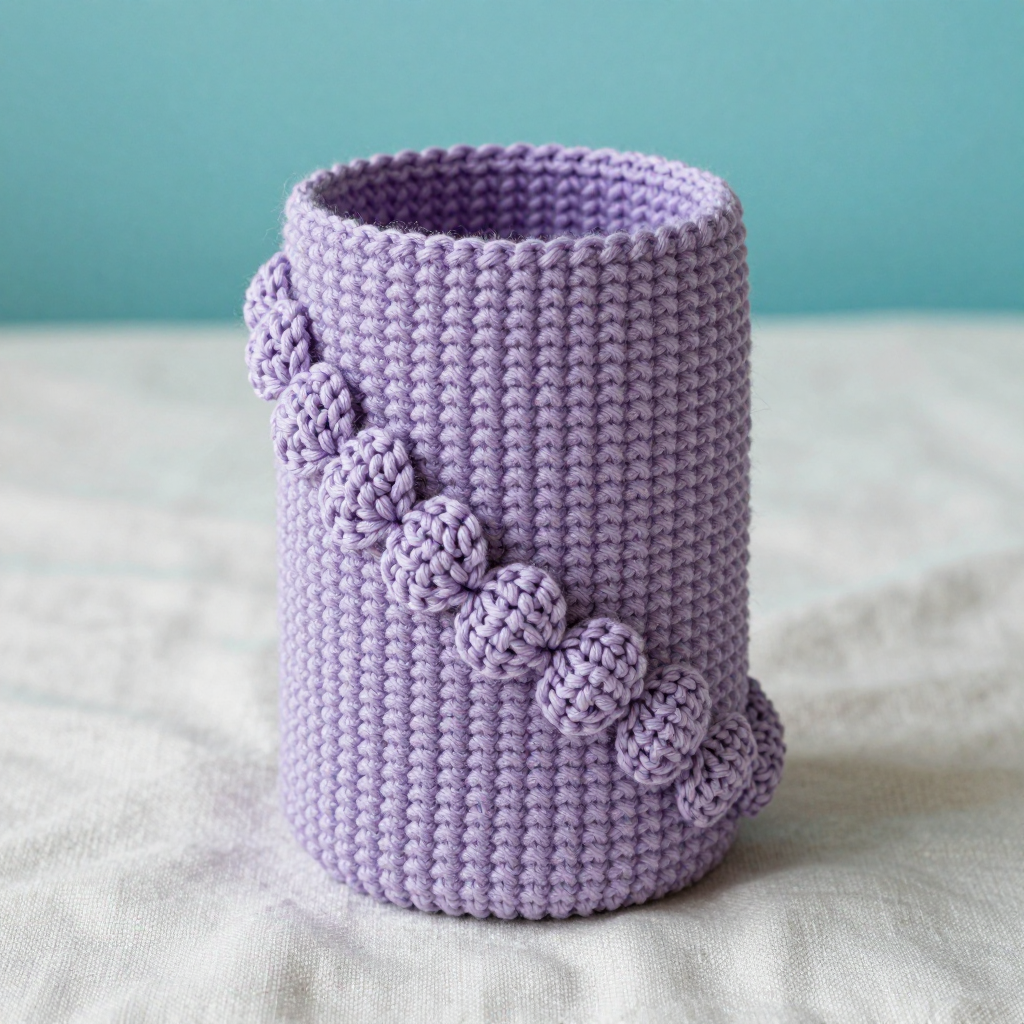
If you have never knitted a single stitch before, this romper is a wonderful place to begin — it is worked almost entirely in simple knit stitches, and the only "fancy" part is a little row of pointed plates that you knit one at a time. This project is perfect for a brand-new knitter who wants a finished baby garment they can actually be proud of. The finished piece is a soft, pale lilac romper with long sleeves, ribbed cuffs, and a single raised ridge of darker lilac dinosaur plates running up the center back. It feels squishy and warm in DK merino, looks like a little farmhouse heirloom, and is sized for babies 6–12 months. Take it slowly, read every row, and you will have a keepsake before you know it.
Materials Needed
- Yarn (main color, MC): DK weight merino wool, baby-soft, approx. 246 yd / 225 m per 100 g skein. Pale lilac — approx. 320 yd / 293 m (about 1.5 skeins).
- Yarn (contrast color, CC): Same DK weight merino, darker lilac — approx. 55 yd / 50 m (a small partial skein).
- Main needles: US 5 / 3.75 mm circular needles with a 16 in / 40 cm cable and a 24 in / 60 cm cable, plus a set of US 5 / 3.75 mm double-pointed needles (DPNs).
- Ribbing needles: US 4 / 3.5 mm circular needle (for the hem, neck, cuffs, and leg ribbing).
- Stitch markers: At least 6 (one for the join, one for center-back, four for raglan points).
- Stitch holders or waste yarn: For holding leg and sleeve stitches.
- Tapestry needle: A blunt-tipped needle with a large eye for weaving in ends.
- Scissors: Sharp small scissors for cutting yarn.
- Finished size: 6–12 months. Chest circumference 21 in / 53 cm; shoulder-to-hem length 18 in / 46 cm; sleeve length from underarm 7 in / 18 cm; inner leg length 8 in / 20 cm; leg opening circumference 10 in / 25 cm; neck opening 12 in / 30 cm.
Abbreviations and Beginner Glossary
- k – knit: insert the right needle into the front of the stitch from left to right, wrap the yarn around, and pull it through.
- p – purl: insert the right needle into the front of the stitch from right to left, wrap the yarn around the front, and pull it through.
- st / sts – stitch / stitches: one loop on your needle.
- k2tog – knit 2 together: knit two stitches at the same time as if they were one. This decreases by one stitch and leans to the right.
- ssk – slip, slip, knit: slip one stitch knitwise, slip a second stitch knitwise, then knit both together through the back loops. This decreases by one stitch and leans to the left.
- m1L – make 1 left: lift the bar between two stitches with the left needle from front to back, then knit into the back of it. This increases by one stitch.
- m1R – make 1 right: lift the bar between two stitches with the left needle from back to front, then knit into the front of it. This increases by one stitch.
- yo – yarn over: wrap the yarn over the right needle to create a new stitch (and a small hole).
- sl1 – slip 1 stitch purlwise: move one stitch from the left needle to the right needle without knitting it, as if to purl.
- psso – pass slipped stitch over: lift the slipped stitch over the stitch you just worked and off the needle. This decreases by one stitch.
- RS / WS – right side / wrong side: the RS is the outside of the fabric that everyone sees; the WS is the inside.
- MC / CC – main color (pale lilac) / contrast color (darker lilac).
- stockinette stitch – in the round, knit every round; worked flat, knit on RS rows and purl on WS rows.
- ribbing – alternating knit and purl stitches (here k2, p2) to make a stretchy edge.
- cast on – the very first step: creating the starting loops on your needle.
- bind off – the last step: closing the live stitches so the edge does not unravel.
- pick up and knit – insert the needle into an edge or cast-on stitch and knit it, creating new stitches along an edge.
Gauge
22 sts and 30 rows = 4 in / 10 cm in stockinette stitch on US 5 / 3.75 mm needles, blocked.
Gauge matters because it is how we make sure the romper actually fits a 6–12 month baby. If your stitches are bigger than the pattern's, the romper will come out too large; if they are smaller, it will be too tight. To check, cast on about 30 stitches, work 30 rows in stockinette, bind off, and lay the swatch flat. Measure 4 inches across the middle and count the stitches. If you have more than 22, go up a needle size; if you have fewer, go down a needle size. Always measure your swatch after gently blocking it, because wool relaxes when washed.
Beginner Tips Before You Start
- Use stitch markers to track rounds. Place one at the join and one at the center-back. Move them up as you go so you never lose your place.
- Do not pull your yarn too tight. Tension should feel relaxed. Tight stitches make the fabric stiff and make the plates hard to knit.
- Count your stitches at the end of every increase round. The numbers in parentheses tell you exactly how many you should have.
- Work the dino plates on a separate double-pointed needle. This keeps the little triangle separate from the body tube so it stays neat.
- Try on as you go. Slip the body onto a long circular cable and hold it against the baby (or a similar-sized garment) to check length.
- Keep your contrast yarn nearby. You will only use it for the plates, so wind it into a small ball to avoid tangles.
Step-by-Step Instructions
Body (Bottom-Up Tube)
With US 4 / 3.5 mm circular needle and MC, cast on 116 sts. Join in the round, being careful not to twist the stitches. Place a marker at the join and a second marker at the center-back (after 58 sts).
Rounds 1–8: *k2, p2; repeat from * to end. (116 sts) — this is the hem ribbing, about 1 in / 2.5 cm deep.
Change to US 5 / 3.75 mm circular needle.
Rounds 9–104: Knit every round (stockinette) until the body measures 12.8 in / 32.5 cm from the cast-on edge. (116 sts) End with the center-back marker in the middle of the back.
Dino Spine Ridge (Back Centerline)
The ridge is a single column of pointed plates worked in CC over 5 sts centered on the back marker. Each plate is worked flat back and forth on those 5 sts while the rest of the body continues in the round in MC. You will work 7 plates total, each beginning 13 rounds apart.
Set-up round: Knit to 2 sts before the center-back marker, k2, slip the next 5 sts to a double-pointed needle, k2, knit to end. The 5 held sts are the plate base.
Plate 1 (Dino Plate Triangle, worked flat in CC):
Row 1 (RS): k1, yo, k1, yo, k1. (5 sts)
Row 2 (WS): p5. (5 sts)
Row 3: k1, yo, k3, yo, k1. (7 sts)
Row 4: p7. (7 sts)
Row 5: k1, yo, k5, yo, k1. (9 sts)
Row 6: p9. (9 sts)
Row 7: k1, yo, k7, yo, k1. (11 sts)
Row 8: p11. (11 sts)
Row 9: k1, yo, k9, yo, k1. (13 sts)
Row 10: p13. (13 sts)
Row 11: k1, ssk, k7, k2tog, k1. (11 sts)
Row 12: p11. (11 sts)
Row 13: k1, ssk, k5, k2tog, k1. (9 sts)
Row 14: p9. (9 sts)
Row 15: k1, ssk, k3, k2tog, k1. (7 sts)
Row 16: p7. (7 sts)
Row 17: k1, ssk, k1, k2tog, k1. (5 sts)
Row 18: p5. (5 sts)
Row 19: k1, sl1, k2tog, psso, k1. (3 sts)
Row 20: p3. (3 sts)
Row 21: sl1, k2tog, psso. (1 st) Cut CC, leaving a 6 in tail to weave in.
Return the single remaining CC st to the left needle and knit it together with the next MC st to close the gap. Continue in MC in the round.
Rounds between plates: Work 12 rounds even in MC. (116 sts)
Plates 2–7: Repeat the Set-up round and Plate 1 six more times, working 12 even MC rounds between plates. After Plate 7, work 6 rounds even in MC. (116 sts) The ridge now runs from hem to yoke as one continuous line of pointed plates.
Divide for Legs
Next round: Knit to the center-back marker, then knit 58 sts (front). Place the next 58 sts on waste yarn for the first leg. Cast on 4 sts at the crotch, join, and knit the remaining 58 sts (back). You now have 62 sts for each leg.
Legs (Worked in the Round)
Slip the 58 held sts to US 5 / 3.75 mm double-pointed needles. Pick up and knit 4 sts at the crotch cast-on. (62 sts) Join in the round.
Rounds 1–52: Knit every round (stockinette) for 7 in / 18 cm from the crotch. (62 sts)
Change to US 4 / 3.5 mm double-pointed needles.
Rounds 53–58: *k2, p2; repeat from * to end. (62 sts) — this is the leg ribbing, about 0.75 in / 2 cm deep.
Bind off loosely in rib. Repeat for the second leg.
Yoke and Raglan Shaping
With US 5 / 3.75 mm circular needle and MC, pick up and knit 116 sts evenly around the body top edge (one stitch per body stitch). Place markers: 18 sts for the right sleeve, 40 sts for the front, 18 sts for the left sleeve, 40 sts for the back, with raglan markers between each section. (116 sts)
Raglan increase round: *Knit to 1 st before the raglan marker, m1R, k1, slip marker, k1, m1L; repeat from * 4 times, knit to end. (124 sts)
Next round: Knit even. (124 sts)
Repeat the last 2 rounds 9 more times. (196 sts total — sleeves 38 sts each, front and back 60 sts each)
Work even until the yoke measures 4.2 in / 10.5 cm from the pick-up edge. (196 sts)
Neckline and Sleeves
Next round: Knit to the first raglan marker, place the sleeve sts on waste yarn, cast on 2 sts at the underarm, knit to the next raglan marker, place the sleeve sts on waste yarn, cast on 2 sts at the underarm, knit to end. (124 sts for the body)
Change to US 4 / 3.5 mm circular needle.
Rounds 1–6: *k2, p2; repeat from * to end. (124 sts) Bind off loosely in rib.
Sleeves: Slip the held sleeve sts to US 5 / 3.75 mm double-pointed needles. Pick up and knit 2 sts at the underarm. (40 sts) Work in stockinette for 7 in / 18 cm. Change to US 4 / 3.5 mm needles, work k2, p2 ribbing for 6 rounds, and bind off loosely in rib. Repeat for the second sleeve.
Assembly and Finishing
This romper is almost entirely seamless, so finishing is quick. First, weave in every loose end on the wrong side using the tapestry needle — thread the tail through the back of several stitches, then trim. Second, close the tiny gaps at the crotch and underarms: thread the tapestry needle with matching yarn and sew the cast-on bridge stitches to the leg or sleeve stitches with a few small stitches, then weave in. Third, block the romper: soak it in cool water with a little wool wash for 15 minutes, gently squeeze (never wring) out the water, roll it in a towel, and lay it flat to the measurements above. Press the dino plates flat with your fingers so the pointed triangles stand out. Let it dry completely before wearing.
Pro Tips and Variations
- Change the colors: Use a soft sage green for MC and a deeper forest green for CC to make a little stegosaurus. Any two shades of the same DK merino work beautifully.
- Adjust the size: For a smaller 0–6 month romper, work the body over 104 sts and shorten the body to 11 in / 28 cm. For a larger 12–18 month romper, cast on 128 sts and lengthen the body to 14 in / 35.5 cm.
- Substitute yarn: A baby-soft DK acrylic or cotton-merino blend works well if wool is not an option — just check your gauge again, because fibers behave differently.
- Add more plates: If you want a longer ridge, work 9 plates instead of 7 by spacing them 11 rounds apart, keeping the same 13-round plate repeat.