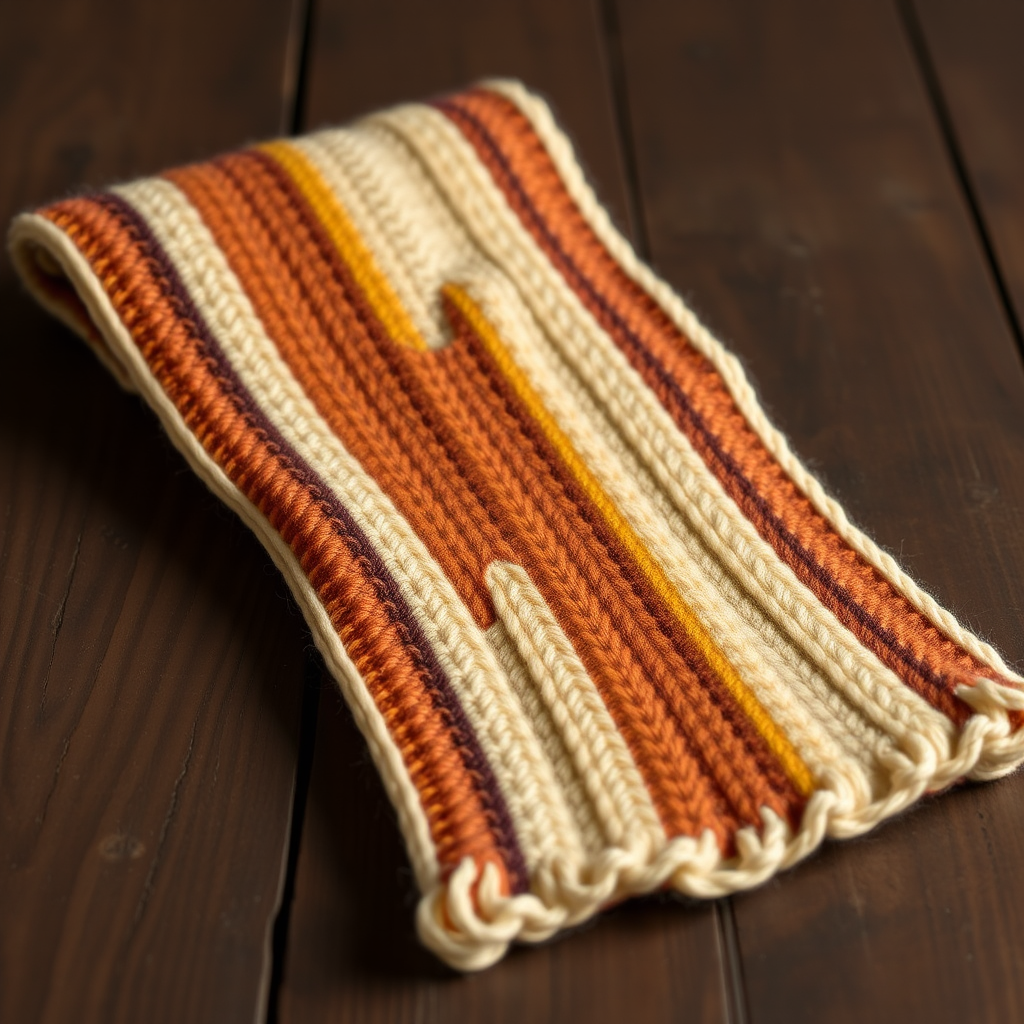
Celestial Drift Temperature Scarf Free Pattern – Color-Coded Knit Scarf

Chart Your Year in Yarn: The Celestial Drift Temperature Scarf
Imagine wrapping yourself in a cozy, wearable record of an entire year. The Celestial Drift Temperature Scarf is more than just a knitting project—it's a personal time capsule, a data visualization, and a stunning piece of textile art all rolled into one. By assigning a unique, heathered color to each 10-degree temperature band, you'll transform 365 days of weather data into a beautiful, gradient scarf that tells the story of your year at a glance. This is the perfect project for knitters who love meaningful, meditative work, and it makes an unforgettable personalized gift for a loved one (or a treat for yourself!).
This pattern is wonderfully beginner-friendly, requiring only basic knit and purl stitches. The repetitive nature of the rows is soothing, and the daily color changes keep the project engaging from January to December. Let's dive into how you can create this stunning, conversation-starting scarf.
Materials Needed: Gathering Your Palette
Before you cast on, you'll want to gather your supplies. The beauty of this project lies in its simplicity—you don't need fancy equipment, just a good selection of yarn and your favorite needles.
Yarn & Colors
- Yarn Weight: Worsted weight yarn (e.g., Lion Brand Wool-Ease or similar). This weight is perfect for a cozy, drapey scarf that knits up quickly.
- Color Palette: You will need 10 distinct colors to represent your temperature bands. For a classic "Celestial Drift" look, choose a gradient from icy pale blue (coldest) to deep burgundy (warmest). Think of shades like: Ice Blue, Light Teal, Soft Aqua, Sage Green, Butter Yellow, Warm Peach, Soft Coral, Rust Orange, Rich Berry, and Deep Burgundy.
- Total Yardage: Approximately 1200–1500 yards total. The exact amount per color will vary depending on your local climate, but having a ball or two of each color is a great starting point.
Tools & Notions
- Needles: US Size 7 (4.5 mm) knitting needles. You can use straight needles, but a 24-inch or longer circular needle is highly recommended to hold the weight of the scarf comfortably as it grows.
- Gauge: 18 stitches and 24 rows = 4 inches in stockinette stitch. (Don't worry too much about perfect gauge—this is a scarf, so slight variations are fine!)
- Extras: Yarn needle for weaving in ends, scissors, and a ruler or measuring tape.
Step-by-Step Instructions: Weaving Your Weather Story
Follow these detailed instructions to create your very own Celestial Drift Temperature Scarf. The process is simple, but the result is spectacular.
Step 1: Design Your Temperature Chart
This is the most important planning step. First, determine the temperature range for your location and time period. For example, if your year ranges from -10°F to 100°F, you have a span of 110 degrees. Divide this by 10 to get 11 bands, but we only have 10 colors. Adjust your range slightly (e.g., -10°F to 99°F) or make your bands 11 degrees wide. A simple approach is:
- Band 1 (Icy Blue): Below 0°F
- Band 2 (Light Teal): 0°F to 9°F
- Band 3 (Soft Aqua): 10°F to 19°F
- Band 4 (Sage Green): 20°F to 29°F
- Band 5 (Butter Yellow): 30°F to 39°F
- Band 6 (Warm Peach): 40°F to 49°F
- Band 7 (Soft Coral): 50°F to 59°F
- Band 8 (Rust Orange): 60°F to 69°F
- Band 9 (Rich Berry): 70°F to 79°F
- Band 10 (Deep Burgundy): 80°F and above
Write this chart down and keep it with your yarn. You'll consult it daily!
Step 2: Cast On & Start Your Journey
Using the color that corresponds to January 1st (or your starting date), cast on 40 stitches. This width creates a lovely, drapey scarf. If you prefer a wider or narrower scarf, you can adjust this number, but 40 is perfect for this pattern.
Step 3: Knit Your First Day
For your first day, you will knit 2 rows in garter stitch (knit every row). This creates a neat, sturdy edge. So, knit row 1, then knit row 2. You've just completed January 1st!
Step 4: The Daily Rhythm
For each subsequent day, you will knit 2 rows in the color that corresponds to that day's high temperature. Simply cut your old yarn (leaving a 6-inch tail for weaving in later) and tie on your new color, or carry the yarn up the side if you prefer. Knit 2 rows with the new color, and you've completed another day. Continue this daily rhythm, consulting your temperature chart each day.
Step 5: Adding the "Week Marker" Texture
To add visual interest and a subtle way to track your progress, we'll introduce a texture change every 7 days. Here's how it works:
- Days 1-7: Knit in garter stitch (knit every row).
- Days 8-14: Knit in stockinette stitch (knit one row, purl one row).
- Days 15-21: Knit in garter stitch.
- Days 22-28: Knit in stockinette stitch.
Continue alternating every 7 days. This creates beautiful, subtle bands of texture that break up the color stripes and make the scarf even more special. It's a wonderful way to see your weeks at a glance!
Step 6: Completing Your Year
Continue this pattern—2 rows per day, switching colors daily and alternating texture weekly—until you have completed all 365 days (or your chosen time period). This will take some time, but the daily ritual is incredibly rewarding. Keep your yarn and chart in a special bag to make it easy to knit a few rows each evening.
Step 7: Binding Off & Finishing
Once you've completed your final day, it's time to finish your masterpiece.
- Bind off loosely: Use your final color to bind off all stitches. Be careful not to bind off too tightly, as this will make the edge pucker. You can use a larger needle to bind off if needed.
- Weave in all ends: Using your yarn needle, carefully weave in all the loose ends from your color changes. This is the most tedious part, but it's essential for a professional finish. Weave each end in on the wrong side of the scarf, going in one direction for a few inches, then back in the other direction to secure it.
Step 8: Blocking Your Scarf
Blocking is crucial for this project. It will even out your stitches, relax the yarn, and make your color stripes look crisp and beautiful.
- Fill a basin with lukewarm water and a drop of mild wool wash.
- Submerge your scarf and let it soak for 15-20 minutes. Do not agitate.
- Gently squeeze out excess water (do not wring).
- Lay the scarf flat on a clean towel, roll it up to remove more water, then unroll.
- Place the scarf on a dry towel or blocking mat. Gently stretch it to its natural dimensions and pin the edges if needed.
- Let it dry completely before removing pins.
Step 9: Adding a Delicate Fringe (Optional)
For a beautiful finishing touch, add a fringe to both ends of your scarf. This is a lovely way to use up leftover yarn and adds a bohemian, cozy feel.
- Cut strands of yarn about 12 inches long. You'll need about 20 strands per fringe section (one for every 2 stitches).
- To create a gradient fringe, use a mix of colors from your palette. For example, at the "cold" end of the scarf, use mostly icy blues and teals; at the "warm" end, use mostly burgundies and oranges.
- Fold a strand in half. Insert your crochet hook through the edge stitch, catch the folded loop, and pull it through.
- Thread the two loose ends through the loop and pull tight. Repeat across the edge.
- Trim the fringe evenly with scissors.
And there you have it—your very own Celestial Drift Temperature Scarf! This project is a labor of love, a daily meditation, and a stunning piece of wearable art. As you wrap it around your neck, you'll be carrying the memories of an entire year with you. Happy knitting!