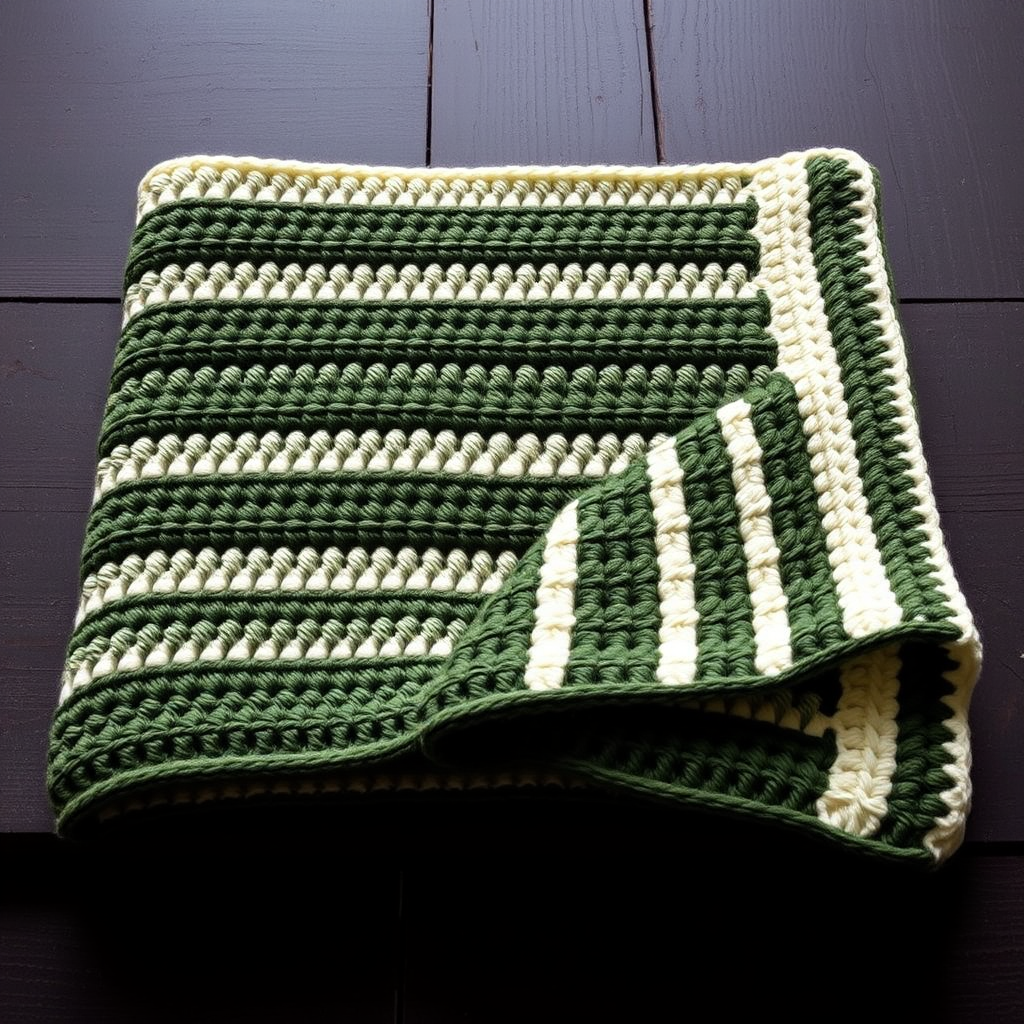
Whispering Wisteria C2C Blanket Free Pattern – A Crocheted Spring Vineyard Throw

Whispering Wisteria C2C Blanket Free Pattern – A Crocheted Spring Vineyard Throw
Drape yourself in the soft, cascading beauty of a spring vineyard with this corner-to-corner crochet blanket. Using Caron Big Cakes, the Whispering Wisteria throw blends lush purples, greens, and creams into a stunning, textured landscape for your home. This free pattern is perfect for intermediate beginners ready to try the satisfying C2C technique, and the result is a cozy, handmade masterpiece that makes a wonderful gift or a beautiful addition to your own living space.
This pattern is worked diagonally from corner to corner, creating a dense, woven-like fabric of small diagonal squares. The color transitions of the yarn mimic the gentle gradient of wisteria vines in bloom, making every row a delightful surprise. Let's get started!
Materials Needed
Before you begin, gather the following supplies. This project is wonderfully portable and requires minimal tools, making it perfect for cozy evenings on the couch.
- Yarn: Caron Big Cakes (Weight 5 – Bulky) in 'Berry Swirl' (or similar purple/green/cream colorway) – 3 cakes (approx. 1800 yards total)
- Crochet Hook: 6.5 mm (K-10.5) crochet hook
- Scissors for cutting yarn
- Yarn Needle for weaving in ends
Gauge: 4 c2c blocks = 4 inches (10 cm) square. Gauge is not critical for this project, but it will affect the final size of your blanket. If you crochet loosely, your blanket will be larger; if tightly, it will be smaller.
Understanding the C2C Technique
Corner-to-corner (C2C) crochet is a technique where you work in diagonal rows, starting from one corner and increasing until you reach the widest point, then decreasing to the opposite corner. Each "block" or "tile" is made of a chain-3 space and 3 double crochet stitches. The beauty of this technique is that it creates a beautiful, geometric texture with no seams.
Here are the two basic block types you'll use:
- First Block of a Row (Increase): Ch 6, then dc in the 4th ch from the hook and in the next 2 ch. This creates the first block.
- Subsequent Blocks: Slip stitch into the ch-3 space of the previous row's block, ch 3, then 3 dc in that same space.
Step-by-Step Instructions
Foundation & Increasing Rows (Making the Triangle Grow)
We'll start by creating the first corner of your blanket and then increase row by row.
Row 1 (Foundation):
Ch 6. Dc in the 4th ch from the hook and in the next 2 ch. This forms your first block. Turn your work.
Row 2 (Increase):
Ch 6, dc in the 4th ch from the hook and in the next 2 ch (this is your new first block). Now, slip stitch into the ch-3 space of the block from Row 1 (this is the space created by the ch-3 at the beginning of that block). Ch 3, then work 3 dc in that same ch-3 space. You now have 2 blocks. Turn.
Row 3 (Increase):
Ch 6, make a block (dc in 4th ch and next 2 ch). Slip stitch into the ch-3 space of the block you just made (the first block of Row 2). Ch 3, 3 dc in that space (this is your second block). Slip stitch into the next ch-3 space (the second block of Row 2). Ch 3, 3 dc in that space (this is your third block). Turn. You now have 3 blocks.
Continue Increasing:
Repeat the pattern of Row 3 for each subsequent row. At the start of each row, you will always ch 6 to create a new block. Then, you'll work one block into each ch-3 space across the row. Remember to slip stitch into each ch-3 space before chaining 3 and working your 3 dc. Always turn your work at the end of each row. Your triangle will grow by one block on each row.
Color Changes
The magic of the Caron Big Cakes yarn is that it does the color work for you! Simply follow the natural color sequence of the yarn cake as it stripes. To change colors at the end of a row, finish the last dc of the final block with the new color. You can carry the old color loosely up the side of your work or cut and weave in the ends. For a cleaner look, cutting and weaving is recommended, but carrying is faster if you don't mind the small loops on the edge.
Widest Point (Working Even)
Continue increasing until the diagonal of your triangle measures approximately 60 inches. This is the widest point of your blanket. Now, you'll stop increasing and work even rows to create a square shape.
Working Even Row:
Ch 3 (this counts as the first dc of your first block). Work 2 dc in the same space (this completes the first block without adding a new one). Slip stitch into the next ch-3 space, ch 3, 3 dc in that space. Repeat this across the row. Turn. Continue working even rows until the other diagonal of your blanket also measures approximately 60 inches, making the blanket square.
Decrease Rows (Shaping the Opposite Corner)
Now you'll begin decreasing to shape the final corner of your blanket. Each row will have one fewer block than the previous row.
Decrease Row:
At the start of the row, slip stitch into the first ch-3 space (this effectively skips the first block). Ch 3, 3 dc in the next ch-3 space. Continue working one block into each ch-3 space across the row. At the end of the row, do not work the last block. Instead, turn your work and begin the next row with a slip stitch into the first ch-3 space. Continue decreasing one block per row until only one block remains. Fasten off and weave in your ends.
Border (Optional but Recommended)
A clean border gives your blanket a polished, professional finish. This simple single crochet border is perfect.
Round 1:
Attach your yarn to any corner of the blanket. Ch 1, then work single crochet (sc) evenly around the entire blanket. Work 3 sc in each corner to help the corners lie flat. Join with a slip stitch to the first sc.
Round 2:
Ch 1, sc in each sc around, working 3 sc in each corner sc. Join with a slip stitch and fasten off. Weave in all remaining ends.
And there you have it—a stunning, handcrafted Whispering Wisteria C2C blanket! The soft, romantic blend of deep violet, lavender, sage green, and warm cream will bring a touch of spring to any room. This project is a joy to make and an even greater joy to snuggle under. Happy crocheting!