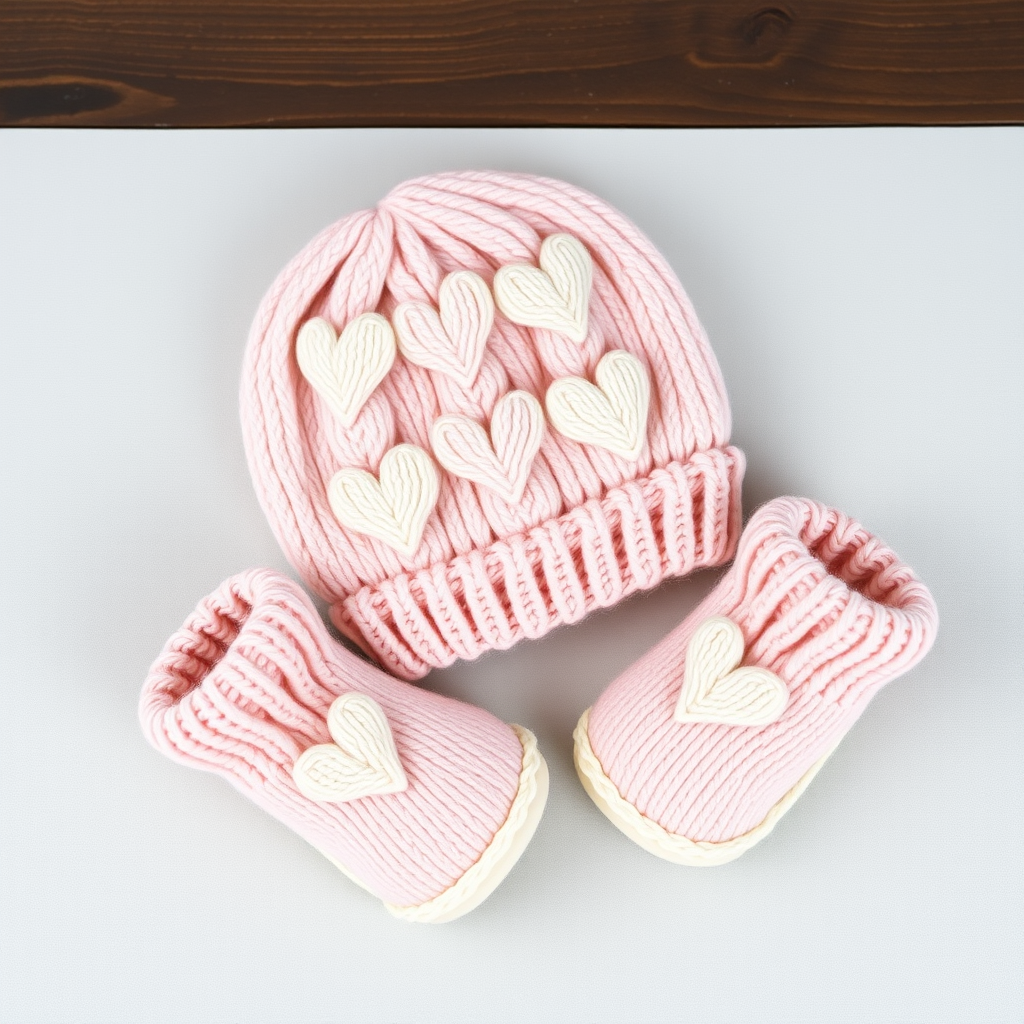
Whispering Willow Preemie Hat Free Pattern – A Knitted Tiny Tender Leaf Cap

Whispering Willow Preemie Hat: A Free Knitting Pattern for Tiny Tender Heads
There is something profoundly meaningful about creating something small with immense love. The Whispering Willow Preemie Hat is a delicate, leaf-veined cap designed for the tiniest among us—preemies born at 30-33cm head circumference. Knitted in a gentle sage green that whispers of spring, this pattern features a unique textured stitch that mimics unfurling leaves, offering both visual beauty and tactile comfort.
Whether you are knitting for a local NICU, a charity drive, or a precious personal gift, this pattern is quick, rewarding, and deeply purposeful. The soft cotton or bamboo blend yarn drapes gently against sensitive skin, while the subtle ribbed texture adds visual interest without bulk. Let's dive into this heartwarming project.
Materials Needed
Before you begin, gather the following supplies. This project is perfect for using up a single skein of quality DK yarn from your stash.
Yarn
- Weight: DK (light worsted) super soft baby yarn
- Color: Sage green (or any soft pastel of your choice)
- Amount: Approx 50g / 120m (one standard skein)
- Fiber: 100% cotton or bamboo blend for gentle drape and breathability
Needles & Notions
- Circular needles: 3.5mm (US 4), 40cm/16 inch length
- Double-pointed needles (DPNs): 3.5mm (US 4) for crown shaping
- Stitch markers (at least 5)
- Tapestry needle for weaving in ends
- Scissors
Gauge
24 stitches and 32 rows = 10cm (4 inches) in stockinette stitch, after blocking. Always check your gauge before starting to ensure the correct finished size.
Step-by-Step Instructions
This pattern is worked in the round from the brim up. The finished hat measures 12cm (5 inches) in length and fits a head circumference of 30-33cm (12-13 inches).
Abbreviations
- CO: Cast on
- K: Knit
- P: Purl
- K2tog: Knit two stitches together (right-leaning decrease)
- St(s): Stitch(es)
- PM: Place marker
- SM: Slip marker
- RS: Right side
- WS: Wrong side
Special Stitch Pattern: Leaf Vein Rib (multiple of 4 + 2)
This textured stitch creates the beautiful leaf-vein effect. Worked in the round, it is simple to memorize:
- Rounds 1-8: *K2, P2; repeat from * to end of round.
That's it! The pattern is a simple K2, P2 ribbing worked continuously. The magic happens because the ribbing naturally creates vertical columns that resemble leaf veins, especially when worked in a soft, slightly twisted yarn. For clarity, here is the pattern written out:
- Round 1 (RS): K2, *P2, K2; repeat from * to end.
- Round 2 (WS): P2, *K2, P2; repeat from * to end.
- Rounds 3-8: Repeat Rounds 1 and 2 alternately.
Note: Since you are working in the round, every round is a right-side round. Simply repeat *K2, P2* around for all 8 rounds.
Getting Started: Cast On & Ribbing
- Cast on 74 stitches using the long-tail method on your circular needle.
- Join in the round carefully, ensuring the cast-on edge is not twisted. Place a stitch marker (PM) at the beginning of the round to mark your starting point.
- Work K2, P2 ribbing for 6 rounds (approximately 1.5cm / 0.6 inches). This creates a snug, stretchy brim that will hug the baby's head gently.
Knitting the Body
- Begin the Leaf Vein Rib pattern. Work the 8-round pattern (K2, P2 around) until the piece measures 7cm (2.75 inches) from the cast-on edge. End after completing Round 8 of the pattern.
Tip: Use a tape measure to check the length from the cast-on edge, not from the needle. The hat should measure about 7cm before you begin the crown decreases.
Crown Shaping: Decreasing for the Top
Now we will shape the crown. When the stitches become too few to fit comfortably on the circular needle, switch to your double-pointed needles.
- Place markers: PM after every 18 stitches. You will place markers after stitches 18, 36, 54, and 72. The last 2 stitches remain unmarked.
- Round 1 (decrease round): *K2tog, K16, SM; repeat from * to end of round. (You will have 70 stitches remaining).
- Round 2 and all even rounds: Knit all stitches (no decreases).
- Round 3: *K2tog, K14, SM; repeat from * to end. (66 stitches)
- Round 5: *K2tog, K12, SM; repeat from * to end. (62 stitches)
- Round 7: *K2tog, K10, SM; repeat from * to end. (58 stitches)
- Round 9: *K2tog, K8, SM; repeat from * to end. (54 stitches)
- Round 11: *K2tog, K6, SM; repeat from * to end. (50 stitches)
- Round 13: *K2tog, K4, SM; repeat from * to end. (46 stitches)
- Round 15: *K2tog, K2, SM; repeat from * to end. (42 stitches)
- Round 17: *K2tog, SM; repeat from * to end. (28 stitches)
- Round 19: K2tog around. (14 stitches)
Important: As you decrease, the stitch markers will naturally shift. Always slip the marker (SM) as you come to it, and continue the pattern. The decreases will create a gentle spiral effect at the crown, which is both functional and beautiful.
Finishing Touches
- Cut the yarn, leaving a 20cm (8 inch) tail. Thread the tail through a tapestry needle.
- Thread the needle through the remaining 14 stitches on your needles, slipping them off the needle as you go.
- Pull the yarn tight to gather the crown closed. Secure with a few small stitches on the inside of the hat.
- Weave in all loose ends using the tapestry needle, hiding them within the fabric.
Blocking for Perfection
Blocking is essential for this pattern to relax the stitches and enhance the leaf-vein texture:
- Soak the hat in lukewarm water with a drop of gentle baby shampoo for 10-15 minutes.
- Gently squeeze out excess water—do not wring or twist.
- Roll the hat in a clean towel to remove additional moisture.
- Shape the hat over a small bowl or balloon (about the size of a grapefruit) to dry. This helps maintain the rounded crown shape.
- Allow to dry completely, away from direct sunlight. Do not stretch excessively—the hat should maintain its close-fitting shape.
Final Thoughts
Your Whispering Willow Preemie Hat is now complete! This tiny cap carries immense warmth and care, perfect for a NICU donation or a personal gift. The gentle sage green and leaf-vein texture make it a standout piece in any charity bundle.
Consider knitting a few in different soft pastels—pale pink, buttery yellow, or soft lavender—to offer variety to families in need. Each hat takes only a few hours to complete, making it an ideal weekend project with profound impact.
Happy knitting, and may your hands create comfort for the littlest souls.