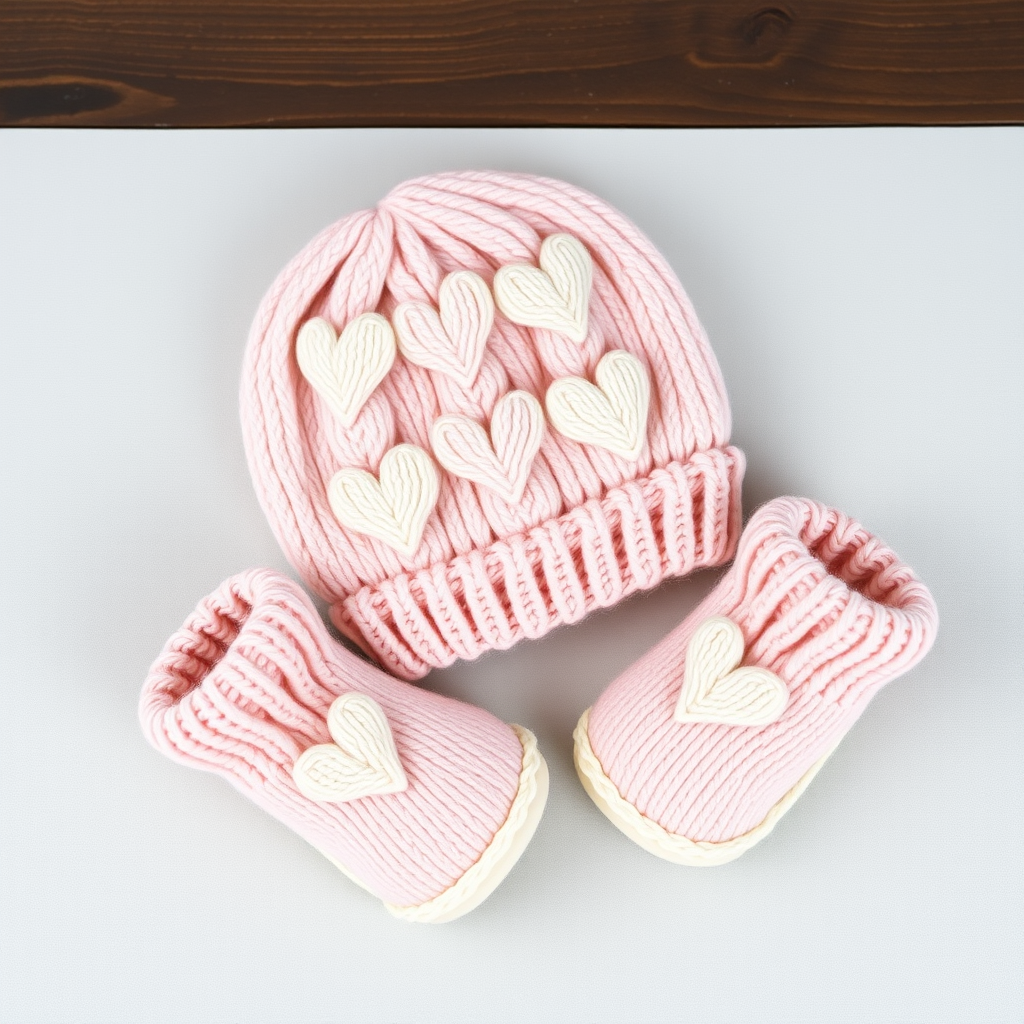
Cloud Nine Newborn Cocoon Free Pattern

Cloud Nine Newborn Cocoon: A Dreamy, Textured Knit for Your Little One
There is nothing quite as magical as wrapping a newborn in something handmade. The Cloud Nine Newborn Cocoon is designed to mimic the softness of a marshmallow cloud, offering both warmth and a stunning visual appeal. This quick-knit pattern is perfect for baby showers, hospital gifts, or as a beautiful photo prop for those precious first weeks. The subtle broken rib texture creates a gentle, wavy pattern that is both plush and cozy, making it a joy to knit and a treasure to receive.
Whether you are a seasoned knitter looking for a fast project or a beginner ready to tackle their first baby item, this pattern is approachable and rewarding. Knitted from the bottom up in one seamless piece, it comes together quickly and finishes with a gathered crown that adds a touch of charm. Let’s dive into this delightful project.
Materials Needed
Before you begin, gather the following materials to ensure a smooth knitting experience. This pattern uses simple, readily available supplies.
- Yarn: Worsted weight (4) yarn in a soft pastel blue (e.g., Lion Brand Baby Soft) – 200 yards. You can substitute any soft worsted weight yarn in your preferred color.
- Knitting Needles: US 8 (5 mm) circular needles (16-inch) for the main body, and a set of double-pointed needles (DPNs) in the same size for the crown shaping.
- Notions: Stitch marker, tapestry needle for weaving in ends, and scissors.
- Optional: Satin ribbon (approx. 1 yard) for a decorative bow at the crown.
Gauge: 18 stitches and 24 rows = 4 inches in stockinette stitch. Always knit a gauge swatch to ensure your finished cocoon is the correct size.
Step-by-Step Instructions
This cocoon is knitted from the bottom up in one piece, then gathered at the top. Follow these detailed instructions carefully, and you will have a beautiful cocoon in no time.
Getting Started: The Bottom Border
We begin with a neat, sturdy garter stitch border that will form the bottom edge of the cocoon.
- Cast On: Cast on 72 stitches onto your 16-inch circular needle.
- Join in the Round: Place a stitch marker on your right needle to mark the beginning of the round. Join the round by knitting the first stitch from the left needle, being very careful not to twist your stitches. This is crucial for a clean, even fabric.
- Garter Stitch Border: Knit every round for 6 rounds. This will create a rolled or ridged edge, which is the garter stitch border. This adds a lovely, finished look to the bottom of the cocoon.
Knitting the Body: The Broken Rib Pattern
Now we will create the textured body of the cocoon using a simple two-round repeat. This pattern is called a "broken rib" and it creates a beautiful, wavy texture that is both stretchy and cozy.
- Round 1: *K2, P2*; repeat from * to end of round.
- Round 2: *P2, K2*; repeat from * to end of round.
- Repeat: Continue repeating Rounds 1 and 2. This offset ribbing creates the broken rib pattern. Knit until the piece measures 10 inches from the cast-on edge. You can measure from the bottom of the garter stitch border.
Shaping the Crown
Once the body is the correct length, we will begin decreasing stitches to shape the gathered top of the cocoon. You will switch to double-pointed needles when the circular needle becomes too long for the number of stitches.
- Round 1 (Decrease): *K2tog (knit two together), K6*; repeat from * to end of round. (You will have 63 stitches).
- Round 2: Knit all stitches.
- Round 3 (Decrease): *K2tog, K5*; repeat from * to end of round. (54 stitches).
- Round 4: Knit all stitches.
- Round 5 (Decrease): *K2tog, K4*; repeat from * to end of round. (45 stitches).
- Round 6: Knit all stitches.
- Round 7 (Decrease): *K2tog, K3*; repeat from * to end of round. (36 stitches).
- Round 8: Knit all stitches.
- Round 9 (Decrease): *K2tog, K2*; repeat from * to end of round. (27 stitches).
- Round 10: Knit all stitches.
- Round 11 (Decrease): *K2tog, K1*; repeat from * to end of round. (18 stitches).
- Round 12 (Decrease): *K2tog*; repeat from * to end of round. (9 stitches).
Tip: As the number of stitches decreases, you may find it easier to switch to your double-pointed needles. Simply distribute the stitches evenly across three or four DPNs and continue knitting.
Finishing Touches
You are almost done! The final steps will close the top of the cocoon and give it that polished, professional look.
- Close the Crown: Cut your yarn, leaving a tail of about 8-10 inches. Thread this tail onto your tapestry needle. Carefully slide the needle through the remaining 9 stitches on your knitting needle, removing them from the needle as you go. Pull the yarn tight to gather the stitches together and close the top of the cocoon. Secure the yarn with a knot.
- Weave in Ends: Use your tapestry needle to weave in all loose ends on the inside of the cocoon. This will ensure a clean, durable finish.
- Optional Embellishment: For an extra touch of charm, thread a satin ribbon through the gathered crown and tie it into a neat bow. This adds a beautiful, delicate detail that makes the cocoon even more special.
Your Cloud Nine Newborn Cocoon is now complete! The plush, textured fabric and the gathered crown create a beautiful, cloud-like haven for a precious little one. This pattern is not only a joy to knit but also makes a stunning, heartfelt gift that will be cherished for years to come.