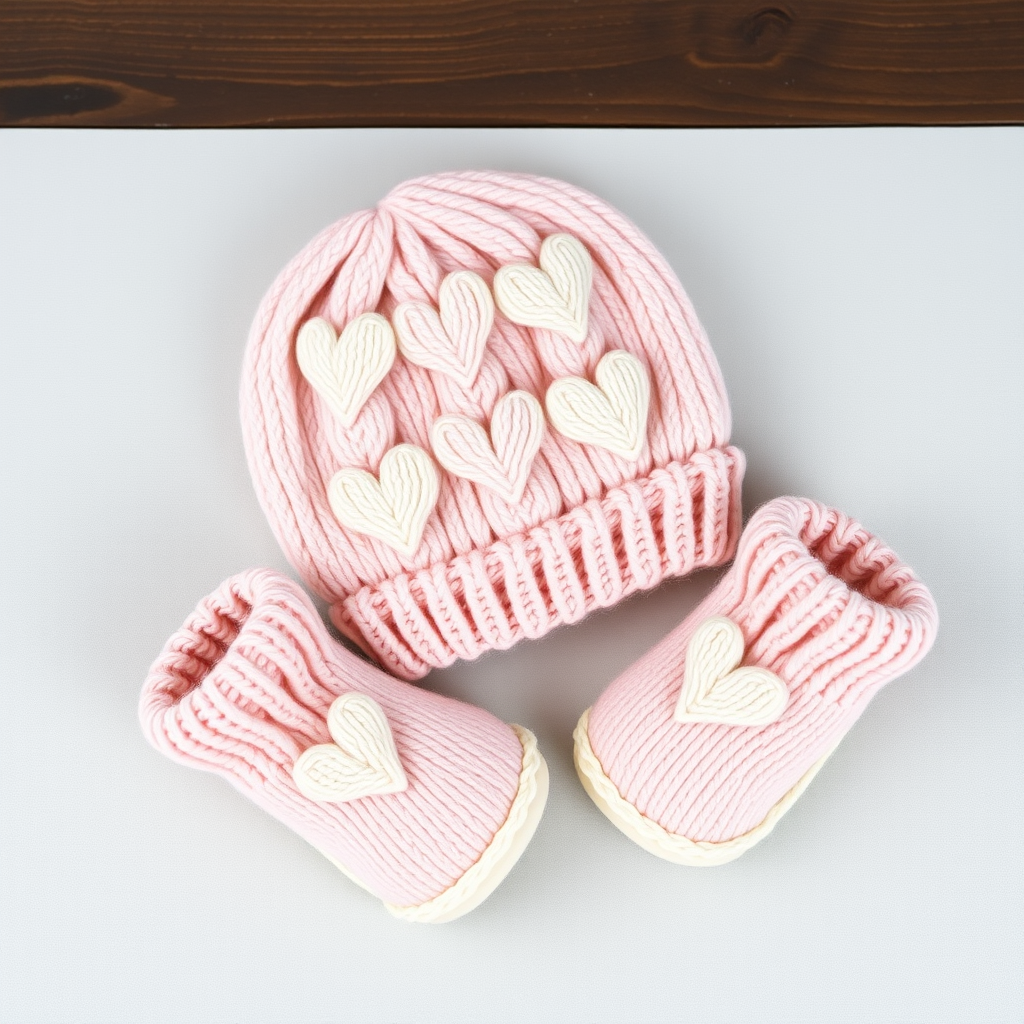
Whimsical Woodland Fawn Hooded Cowl Free Pattern

Whimsical Woodland Fawn Hooded Cowl: A Cozy Knitting Pattern for Little Adventurers
There's something truly magical about wrapping a little one in a handmade garment that sparks imagination. This Whimsical Woodland Fawn Hooded Cowl is more than just a cozy accessory—it's a ticket to enchanted forests, storybook adventures, and warm snuggles on chilly days. With its delicate fawn ears and textured ribbing, this pattern transforms simple worsted weight yarn into a heartfelt keepsake that will be treasured for years. Whether you're a seasoned knitter looking for a quick weekend project or a brave beginner ready for a delightful challenge, this hooded cowl is designed to bring joy to both maker and wearer.
This pattern is thoughtfully constructed in the round, meaning minimal seaming and maximum cuddle-ability. The smooth stockinette hood provides a soft, gentle touch against baby's skin, while the stretchy ribbed cowl neck ensures a snug, comfortable fit that grows with your little one. The adorable fawn ears, complete with cream inner details, add that whimsical woodland charm that makes this piece truly one-of-a-kind.
Materials Needed
Before we begin our woodland adventure, let's gather all the necessary supplies. This project is wonderfully portable and requires only a few essential items:
Yarn
- Main Color (MC): Worsted weight yarn in warm brown, approximately 200g (about 400 yards). Look for a soft, pliable yarn that will feel gentle against baby's delicate skin—a merino wool blend or premium acrylic works beautifully.
- Contrast Color (CC): Worsted weight yarn in cream, approximately 50g (about 100 yards). Choose a shade that complements your brown beautifully—think creamy vanilla against rich chocolate.
Needles & Notions
- US 7 (4.5mm) 16-inch circular needle for the main body
- US 7 (4.5mm) double-pointed needles (DPNs) for the crown shaping and small circumference work
- Stitch markers (at least 2)
- Tapestry needle for weaving in ends and sewing ears
- Scissors
- Measuring tape
Gauge
20 stitches and 28 rows = 4 inches in stockinette stitch (knit every round). Achieving the correct gauge is crucial for ensuring the perfect fit, so take a moment to knit a swatch before diving in. If your gauge is off, adjust your needle size accordingly—smaller needles for tighter gauge, larger needles for looser.
Step-by-Step Instructions
Now, let's bring this little fawn to life! This pattern is worked from the top of the hood down to the cowl neck, with the adorable ears created separately and attached at the end. Follow along carefully, and you'll have a beautiful hooded cowl in no time.
Part 1: The Hood
Step 1: Cast On and Join
With your main color (MC) yarn and the 16-inch circular needle, cast on 80 stitches using your preferred method (long-tail cast on works beautifully here). Place a stitch marker to mark the beginning of the round, then join in the round, being very careful not to twist your stitches. The cast-on edge should lie flat and smooth around your needle.
Step 2: Ribbed Edge
Work in k2, p2 ribbing for 1.5 inches. This means you'll knit 2 stitches, purl 2 stitches, and repeat this pattern all the way around. The ribbing creates a stretchy, snug edge that will frame baby's face beautifully. Continue in this rib pattern until your work measures 1.5 inches from the cast-on edge.
Step 3: Stockinette Body
Switch to stockinette stitch by knitting every round. This creates that smooth, classic fabric that's both soft and elegant. Continue knitting every round until the piece measures 6 inches from the cast-on edge. This will be the main body of the hood that covers baby's head.
Step 4: Crown Shaping
Now we'll shape the top of the hood to create a rounded crown. This is where the magic happens! Follow these decrease rounds carefully:
- Round 1: *K8, k2tog* repeat from * to * around (72 stitches remain). The k2tog (knit two together) is a right-leaning decrease that will gently taper the fabric.
- Round 2: *K7, k2tog* repeat from * to * around (64 stitches remain). Notice how we're working one fewer stitch between decreases each time.
- Round 3: *K6, k2tog* repeat from * to * around (56 stitches remain).
- Round 4: *K5, k2tog* repeat from * to * around (48 stitches remain).
- Round 5: *K4, k2tog* repeat from * to * around (40 stitches remain).
- Round 6: *K3, k2tog* repeat from * to * around (32 stitches remain).
- Round 7: *K2, k2tog* repeat from * to * around (24 stitches remain).
- Round 8: *K1, k2tog* repeat from * to * around (16 stitches remain).
At this point, you may find it easier to switch to your double-pointed needles as the circumference becomes too small for the circular needle. Simply distribute the stitches evenly across three or four DPNs and continue.
Step 5: Finishing the Crown
Cut your yarn, leaving a generous 8-inch tail. Thread the tail through a tapestry needle, then slide the needle through all 16 remaining stitches, removing them from the knitting needle. Pull the yarn tight to gather the stitches closed, creating a smooth, rounded crown. Secure with a few small stitches and weave in the end on the inside of the hood.
Part 2: The Fawn Ears (Make 2)
These adorable ears are what give this cowl its whimsical woodland charm. Each ear is actually two layers—a larger brown outer ear and a smaller cream inner ear—sewn together for a beautiful dimensional effect.
Outer Ear (MC - Brown):
- With MC, cast on 10 stitches onto a straight needle (or your circular needle, working back and forth).
- Work back and forth in stockinette stitch (knit one row, purl one row) for 2 inches. Your piece should look like a smooth rectangle.
- Decrease Row 1: K2tog, k6, k2tog (8 stitches remain). This creates a gentle taper on both sides.
- Next Row: Purl all 8 stitches.
- Decrease Row 2: K2tog, k4, k2tog (6 stitches remain).
- Next Row: Purl all 6 stitches.
- Decrease Row 3: K2tog, k2, k2tog (4 stitches remain).
- Next Row: Purl all 4 stitches.
- Decrease Row 4: K2tog, k2tog (2 stitches remain).
- Next Row: Purl both stitches.
- Final Decrease: K2tog (1 stitch remains). Cut yarn and pull through the last stitch to fasten off.
Inner Ear (CC - Cream):
- With CC, cast on 8 stitches.
- Work back and forth in stockinette stitch for 1.5 inches (slightly shorter than the outer ear).
- Follow the same decrease pattern as the outer ear, starting with: K2tog, k4, k2tog (6 stitches), then purl one row, K2tog, k2, k2tog (4 stitches), purl one row, K2tog, k2tog (2 stitches), purl one row, K2tog to fasten off.
Assembling the Ears:
Place the cream inner ear on top of the brown outer ear, centering it so the brown edge shows evenly around all sides. Using a tapestry needle and matching yarn, sew the two layers together along the edges using a simple whip stitch or mattress stitch. Leave the bottom edge open—this will be the base that attaches to the hood. Repeat for the second ear.
Part 3: The Cowl Neck
Now we'll add the cozy, stretchy neck portion that keeps little necks warm and snug.
Step 1: Pick Up Stitches
With the right side of the hood facing you, use your circular needle to pick up 80 stitches evenly around the bottom edge of the hood. To pick up stitches, insert your needle into the edge stitch, wrap the yarn around, and pull through a loop. Work your way around until you have 80 stitches on your needle. Place a marker to indicate the beginning of the round.
Step 2: Ribbed Neck
Work in k2, p2 ribbing for 4 inches. This creates a stretchy, comfortable neck that will fit snugly but not too tightly. The ribbing also adds a beautiful textured detail that echoes the ribbed edge at the top of the hood.
Step 3: Bind Off
Bind off loosely in pattern. To do this, continue working in the k2, p2 pattern while binding off—knit the knit stitches and purl the purl stitches as you bind off. This ensures the edge remains stretchy and doesn't pucker. A loose bind-off is essential for easy on-and-off over baby's head.
Part 4: Finishing Touches
Step 1: Attach the Ears
Position the ears on top of the hood, about 2 inches apart, angled slightly outward for that adorable fawn look. The ears should sit approximately 1-2 inches down from the crown seam. Using a tapestry needle and matching MC yarn, sew each ear securely to the hood. Make sure to catch both the ear base and the hood fabric firmly, and reinforce with a few extra stitches for durability—babies love to grab and pull!
Step 2: Weave in All Ends
Using your tapestry needle, carefully weave in all loose ends on the inside of the work. Take your time to ensure ends are secure and invisible from the outside. Pay special attention to the crown, the ear attachments, and the bind-off edge.
Step 3: Block Gently
To give your hooded cowl a professional finish, block it gently. Fill a basin with lukewarm water and a drop of mild wool wash, then submerge the cowl and let it soak for 15-20 minutes. Gently press out excess water (never wring or twist!), then lay flat on a towel to dry, shaping it to the desired dimensions. This relaxes the yarn and evens out your stitches beautifully.
Your Woodland Masterpiece Awaits
And there you have it—a Whimsical Woodland Fawn Hooded Cowl that's sure to become a beloved favorite! This pattern is perfect for baby showers, first birthdays, or just because you want to wrap your little one in handmade love. The combination of practical warmth and whimsical design makes it a gift that will be remembered and cherished.
As you knit, remember that every stitch carries your love and intention. Don't rush the process—enjoy the rhythm of the needles, the softness of the yarn, and the anticipation of seeing your little fawn all bundled up and ready for adventure. Whether it's a crisp autumn walk, a winter stroller ride, or just cozy cuddles by the fireplace, this hooded cowl will keep your woodland creature warm and stylish.
Happy knitting, and may your days be filled with cozy stitches and woodland wonder!