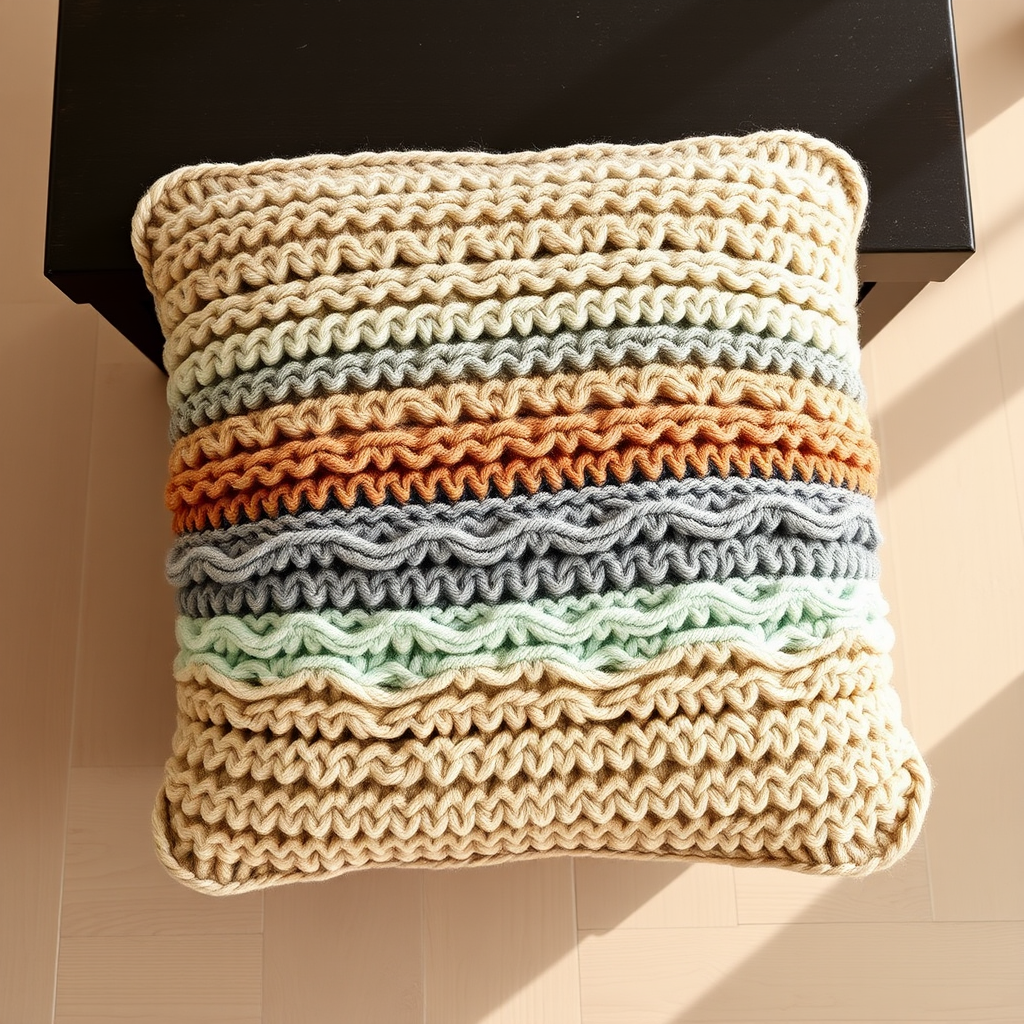
The Whispering Willow Wall Tapestry: A Free Knitting Pattern for a Textured, Modern Macrame-Inspired Hanging

Transform Your Space with the Whispering Willow Wall Tapestry
Bring the warmth of handcrafted art into your home with this stunning knitted wall tapestry. Designed to blend the cozy texture of yarn with the bohemian spirit of macrame, this free pattern guides you through creating a richly textured, modern hanging that adds artistic flair to any room. Using a combination of simple knit and purl stitches, you'll craft a piece that mimics woven macrame—perfect for beginners looking to create statement decor. The finished tapestry measures approximately 15 inches wide and 20 inches long (before fringe), making it an ideal focal point for a living room, bedroom, or entryway.
Materials Needed
To recreate this exact tapestry, gather the following supplies:
- Yarn: Lion Brand Wool-Ease Thick & Quick (Super Bulky weight, 80% Acrylic, 20% Wool) in 3 colors:
- Color A - 'Fisherman' (Cream): 1 skein (approx 106 yards)
- Color B - 'Oatmeal' (Light Beige): 1 skein (approx 106 yards)
- Color C - 'Charcoal' (Dark Gray): 1 skein (approx 106 yards)
- Needles: US 15 (10 mm) straight knitting needles
- Notions: Tapestry needle for weaving ends and sewing, 20-inch wooden dowel or branch for hanging
- Gauge: 8 stitches x 12 rows = 4 inches in Stockinette stitch (after blocking). Tip: Always check your gauge to ensure the tapestry matches the intended dimensions.
Step-by-Step Instructions
Note: This pattern uses a combination of knit and purl stitches to create a woven, macrame-like texture. The tapestry is worked flat from the bottom up. All rows are worked with the right side (RS) facing you on odd-numbered rows and wrong side (WS) on even-numbered rows, unless otherwise specified.
Abbreviations
- CO: Cast on
- K: Knit
- P: Purl
- St(s): Stitch(es)
- Rep: Repeat
- RS: Right side
- WS: Wrong side
Section 1: Base (Color A - Cream)
- CO 30 stitches using your preferred method (long-tail cast-on works well).
- Row 1 (WS): Knit all stitches.
- Row 2 (RS): Knit all stitches.
- Repeat Rows 1-2 until piece measures 4 inches from cast-on edge, ending with a WS row. This creates a garter stitch base that will be the bottom border.
Section 2: Textured Body (Colors A, B, C)
You will now create a series of textured bands. Each band is 6 rows tall. Follow the sequence exactly to achieve the striped, macrame-inspired look.
Band 1 (Color A - Cream) - Stockinette Band
- Row 1 (RS): Knit all stitches.
- Row 2 (WS): Purl all stitches.
- Row 3 (RS): Knit all stitches.
- Row 4 (WS): Purl all stitches.
- Row 5 (RS): Knit all stitches.
- Row 6 (WS): Purl all stitches.
Band 2 (Color B - Oatmeal) - Garter Ridge Band
- Row 1 (RS): Knit all stitches.
- Row 2 (WS): Knit all stitches.
- Row 3 (RS): Knit all stitches.
- Row 4 (WS): Knit all stitches.
- Row 5 (RS): Knit all stitches.
- Row 6 (WS): Knit all stitches. (This creates a garter stitch ridge that stands out from the stockinette bands)
Band 3 (Color C - Charcoal) - Stockinette Band
- Row 1 (RS): Knit all stitches.
- Row 2 (WS): Purl all stitches.
- Row 3 (RS): Knit all stitches.
- Row 4 (WS): Purl all stitches.
- Row 5 (RS): Knit all stitches.
- Row 6 (WS): Purl all stitches.
Band 4 (Color A - Cream) - Stockinette Band
- Row 1 (RS): Knit all stitches.
- Row 2 (WS): Purl all stitches.
- Row 3 (RS): Knit all stitches.
- Row 4 (WS): Purl all stitches.
- Row 5 (RS): Knit all stitches.
- Row 6 (WS): Purl all stitches.
Band 5 (Color B - Oatmeal) - Garter Ridge Band
- Row 1 (RS): Knit all stitches.
- Row 2 (WS): Knit all stitches.
- Row 3 (RS): Knit all stitches.
- Row 4 (WS): Knit all stitches.
- Row 5 (RS): Knit all stitches.
- Row 6 (WS): Knit all stitches.
Band 6 (Color C - Charcoal) - Stockinette Band
- Row 1 (RS): Knit all stitches.
- Row 2 (WS): Purl all stitches.
- Row 3 (RS): Knit all stitches.
- Row 4 (WS): Purl all stitches.
- Row 5 (RS): Knit all stitches.
- Row 6 (WS): Purl all stitches.
Section 3: Top Border (Color A - Cream)
- Row 1 (RS): Knit all stitches.
- Row 2 (WS): Knit all stitches.
- Repeat Rows 1-2 for 2 inches (approximately 6 more rows, or until piece measures about 2 inches from the last band).
- Bind off loosely in knit on RS. Tip: Use a larger needle or a stretchy bind-off to ensure the top border is not too tight for the dowel.
Finishing
- Weave in ends: Using a tapestry needle, weave in all yarn tails securely on the wrong side of the tapestry. Trim excess yarn close to the fabric.
- Create the hanging casing: Fold the top border (the 2-inch garter stitch section) over the wooden dowel or branch, creating a casing. The bound-off edge should be on the inside of the tapestry. Using the tapestry needle and matching cream yarn, sew the bound-off edge to the inside of the tapestry, stitching through both layers. Leave the dowel free to slide within the casing. Ensure the stitches are secure but not visible from the front.
- Add fringe: For added macrame effect, cut 12-inch lengths of Color A (Cream) and Color B (Oatmeal) yarn. You'll need about 15-20 strands total. Fold each strand in half. Using a lark's head knot, attach them to the bottom edge of the tapestry (the cast-on edge). To do this: insert the folded loop through a stitch on the bottom edge, then pass the two tails through the loop and pull tight. Space them evenly across the width (about every 2 stitches). Trim the ends to create an even fringe, about 6 inches long.
- Hang: Place the dowel on a wall hook or nail, and adjust the tapestry so it hangs straight. Enjoy your handcrafted boho decor!