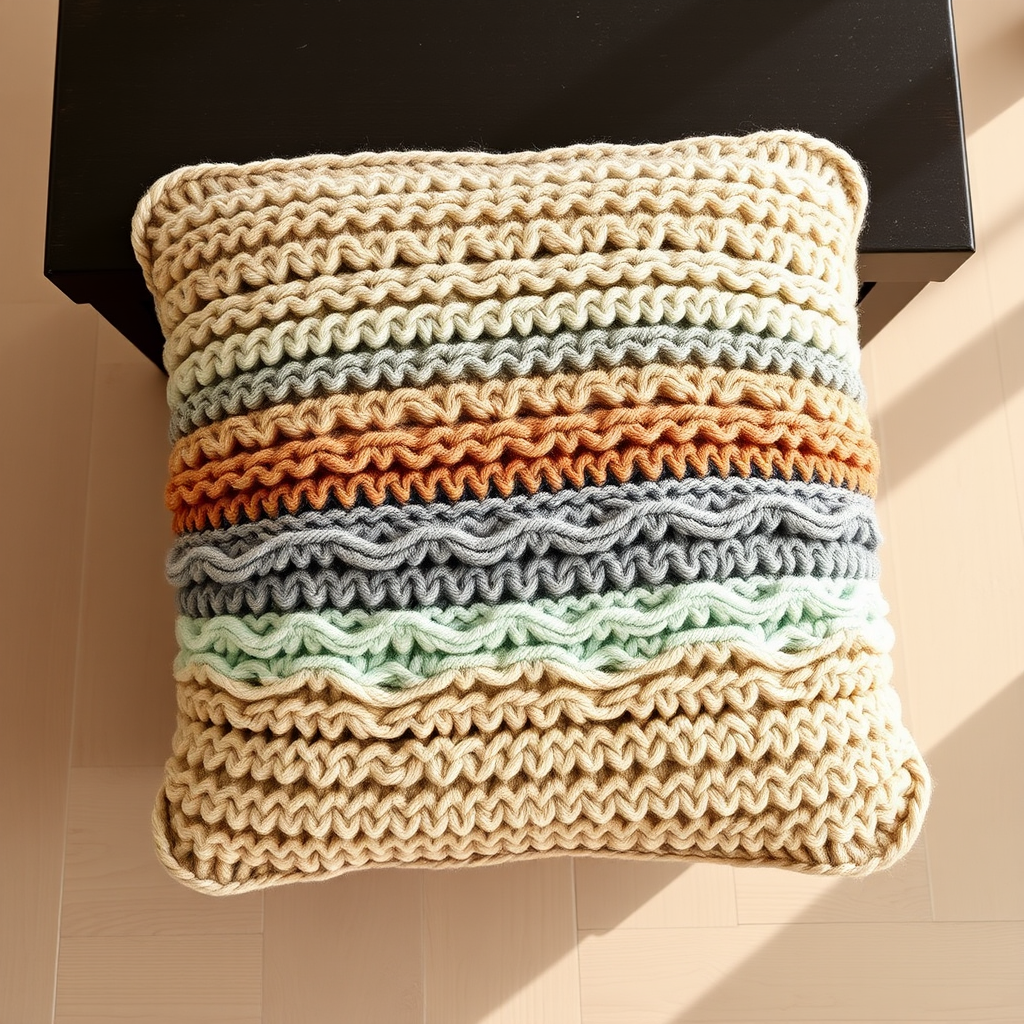
Gossamer Grove Spiderweb Throw Pillow Free Pattern – A Knitted Lace Web Cushion

Gossamer Grove Spiderweb Throw Pillow Free Pattern – A Knitted Lace Web Cushion
Wrap your sofa in the haunting beauty of a hand-knitted spiderweb pillow, where delicate lace stitches mimic a dewy morning web. This cozy, textured cushion brings a touch of woodland mystery to any reading nook. Whether you're looking for a subtle autumn accent or a year-round piece of nature-inspired decor, this pattern delivers both elegance and intrigue. The combination of deep forest green and warm amber creates a striking contrast that will make your living space feel instantly more inviting.
This project is perfect for intermediate knitters who want to expand their lace skills, but it's also accessible to confident beginners willing to learn a few new techniques. The pattern is worked flat in pieces, so you don't need to worry about circular knitting or complex shaping. The result is a plump, 12-inch square pillow that looks like it was plucked straight from an enchanted forest.
Materials Needed
Before you begin, gather the following supplies. Having everything ready will make your knitting session smooth and enjoyable.
Yarn
- Main Color (MC): Worsted weight cotton or cotton-blend yarn in deep forest green – approximately 250g (about 500-550 yards)
- Contrast Color (CC): Worsted weight cotton or cotton-blend yarn in warm amber – approximately 100g (about 200-220 yards) for the spider motif
Tip: Cotton yarn is ideal for home decor because it holds its shape well, is durable, and has a beautiful stitch definition. However, you can substitute any worsted weight yarn you love – just make sure to check your gauge.
Needles and Tools
- US 7 (4.5 mm) knitting needles – straight or circular, whichever you prefer
- Tapestry needle for seaming and weaving in ends
- Stitch markers (at least 2)
- Crochet hook (any size, for making the spider legs)
- 12 x 12 inch pillow form
Gauge
20 stitches and 28 rows = 4 inches in stockinette stitch. Always knit a swatch first to ensure your tension matches. If your gauge is off, adjust your needle size accordingly – smaller needles for tighter knitting, larger needles for looser knitting.
Step-by-Step Instructions
This pillow front is knitted flat in one piece, using a combination of stockinette, garter, and lace patterns to create a spiderweb motif. The back is a simple stockinette panel. You will seam the two panels together and insert a pillow form. Let's break it down step by step.
Front Panel (Spiderweb Motif)
Step 1: Cast On
With MC, cast on 80 stitches using your preferred method (long-tail cast on works beautifully here).
Step 2: Garter Stitch Border
Rows 1–6: Knit every row. This creates a neat, sturdy garter stitch border that will frame your lace panel beautifully.
Step 3: Begin the Lace Pattern
Row 7 (RS): Knit 10, place marker, work Row 1 of Lace Web Chart across next 60 stitches, place marker, knit 10.
Continue in this manner, working the 10 edge stitches on each side in garter stitch (knit every row) and the center 60 stitches in the Lace Web Chart. Repeat the 20-row chart until the piece measures 12 inches from cast-on edge, ending with a wrong-side row.
Step 4: Finish the Border
Work 6 rows of garter stitch across all stitches. Bind off loosely – you don't want the edge to pucker.
Lace Web Chart (Worked over 60 stitches, 20 rows)
This chart creates the intricate spiderweb pattern. The yarn overs (yo) create the eyelet holes that form the web, while the knit-two-together (k2tog) and slip-slip-knit (ssk) decreases shape the radiating lines. Here's the complete chart:
Row 1 (RS): *K2tog, yo, k1, yo, ssk, k5, k2tog, yo, k1, yo, ssk, k1, repeat from * to end (60 stitches).
Row 2 and all WS rows: Purl all stitches.
Row 3: *K2tog, yo, k3, yo, ssk, k3, k2tog, yo, k3, yo, ssk, repeat from * to end.
Row 5: *K2tog, yo, k5, yo, ssk, k1, k2tog, yo, k5, yo, ssk, repeat from * to end.
Row 7: *K2tog, yo, k7, yo, ssk, k2tog, yo, k7, yo, ssk, repeat from * to end.
Row 9: *K2tog, yo, k9, yo, ssk, k2tog, yo, k9, yo, ssk, repeat from * to end.
Row 11: *K2tog, yo, k11, yo, ssk, k2tog, yo, k11, yo, ssk, repeat from * to end.
Row 13: *K2tog, yo, k13, yo, ssk, k2tog, yo, k13, yo, ssk, repeat from * to end.
Row 15: *K2tog, yo, k15, yo, ssk, k2tog, yo, k15, yo, ssk, repeat from * to end.
Row 17: *K2tog, yo, k17, yo, ssk, k2tog, yo, k17, yo, ssk, repeat from * to end.
Row 19: *K2tog, yo, k19, yo, ssk, k2tog, yo, k19, yo, ssk, repeat from * to end.
Row 20: Purl.
Note: The pattern repeat is marked with asterisks. Work the stitches between the asterisks across the 60-stitch center section. The k2tog and ssk decreases slant in opposite directions, creating the beautiful symmetrical web effect.
Back Panel
Step 1: Cast on 80 stitches with MC.
Step 2: Work in stockinette stitch (knit on RS, purl on WS) until piece measures 12 inches from cast-on edge.
Step 3: Bind off all stitches.
Tip: If you want a more decorative back, you could work a simple seed stitch or ribbing pattern. But the plain stockinette keeps the focus on the beautiful web front.
Spider Motif (Optional, Knitted Separately and Sewn On)
This little spider adds the perfect finishing touch to your web. It's quick to knit and easy to assemble.
Step 1: Body
With CC, cast on 3 stitches.
Knit 1 row.
Increase row: K1, M1, K1, M1, K1 (5 stitches).
Work 4 rows stockinette.
Decrease row: K2tog, K1, K2tog (3 stitches).
Knit 1 row.
Bind off.
This creates a small oval body. The increases and decreases give it a rounded, organic shape.
Step 2: Legs
Using a crochet hook, make 8 chains of 6 stitches each. These will be the spider's legs. You can make them all the same length, or vary them slightly for a more natural look.
Step 3: Assembly
Attach the 8 chains to the body – 4 on each side. Position them so they curve outward slightly, like a real spider's legs. Sew the spider onto the center of your web using matching thread or yarn.
Assembly
Step 1: Place front and back panels with right sides together. Make sure the edges align perfectly.
Step 2: Sew around three sides using mattress stitch. This invisible seaming technique creates a beautiful, professional finish. If you're not familiar with mattress stitch, any firm seam will work – just make sure it's secure.
Step 3: Turn right side out. Gently push out the corners with a blunt tool if needed.
Step 4: Insert a 12x12 inch pillow form. The pillow should fit snugly – if it's a bit loose, that's fine; it will plump up nicely.
Step 5: Sew the fourth side closed with invisible stitch. This is also called a ladder stitch or slip stitch. Take small, even stitches that don't show on the outside.
Final Thoughts
Your Gossamer Grove Spiderweb Throw Pillow is now complete! This piece is more than just a cushion – it's a conversation starter, a cozy accent, and a testament to your knitting skills. The lace web pattern catches the light beautifully, and the little spider adds a touch of whimsy that will make you smile every time you see it.
This pillow makes a wonderful gift for nature lovers, Halloween enthusiasts, or anyone who appreciates handmade home decor. You could even create a matching set by making two pillows with different color combinations – imagine a midnight blue web with a silver spider, or a cream web with a burgundy spider.
Remember, the beauty of handcrafted items lies in their imperfections. Don't stress if your tension isn't perfectly even or your spider legs curl a bit differently than expected – these small variations are what make your pillow uniquely yours.
Happy knitting, and may your home be filled with the cozy magic of the Gossamer Grove!