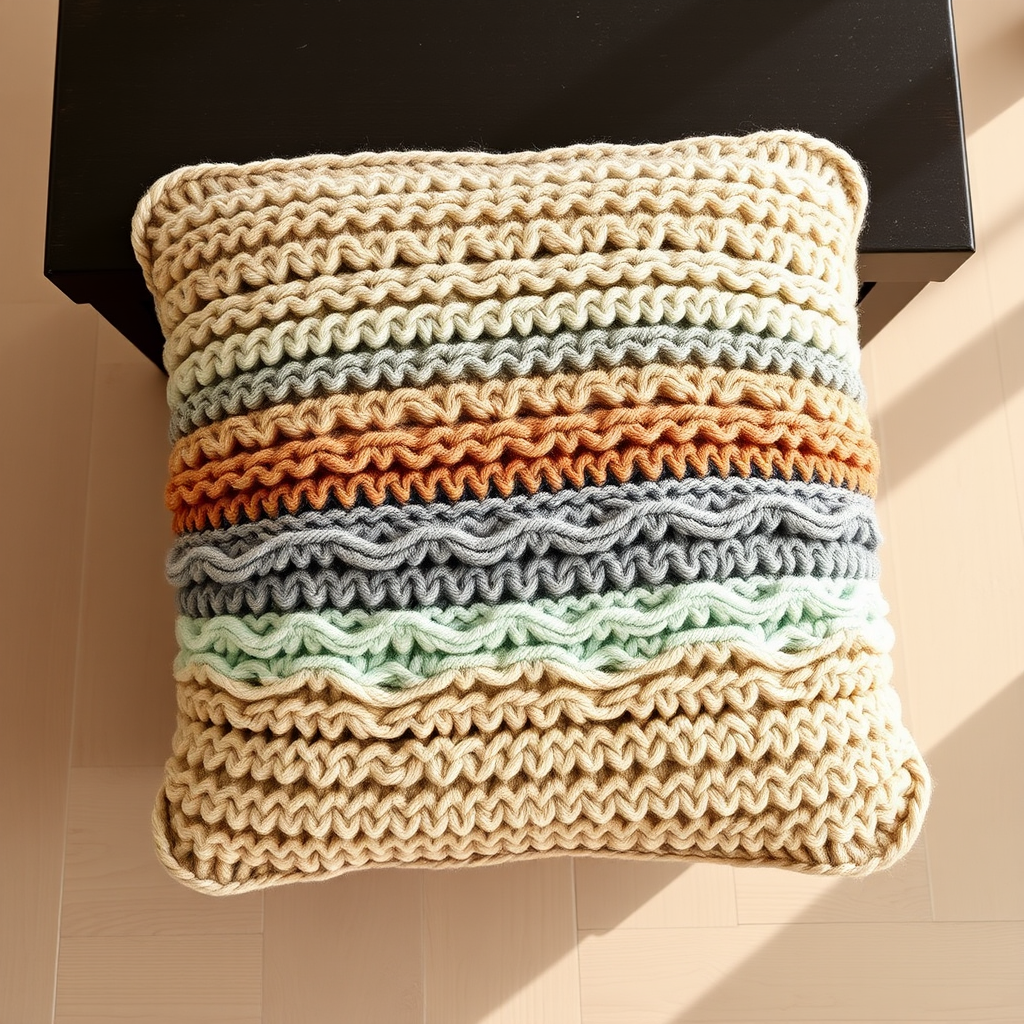
Aurora Dune Shawl Free Pattern – A Gradient Knitted Sunset Wrap

Introducing the Aurora Dune Shawl: A Knitted Sunset You Can Wear
Imagine draping the warm, shifting colors of a desert sunset over your shoulders. That's the magic of the Aurora Dune Shawl. This free knitting pattern is more than just a wrap; it's a wearable piece of art. With a gentle, ripple-like texture that mimics the contours of sand dunes and a breathtaking gradient that flows from warm yellow to deep purple, this shawl is designed to be both cozy and elegant. Whether you're looking for a lightweight layer for cool evenings or a statement accessory, this gradient knitted shawl is the perfect project to add a touch of artistic warmth to your wardrobe.
This pattern is thoughtfully designed for knitters who are ready to move beyond the basics. While it introduces new techniques like yarn overs and decreases, the structured 4-row repeat makes it a meditative and rewarding project. Let's dive into creating your own piece of sunset.
Materials Needed for Your Gradient Shawl
Before you begin, gather these supplies to ensure a smooth knitting experience. The key to this project's beauty is the gradient yarn, so choose your colors to reflect the perfect sunset for you.
- Yarn: Fingering weight yarn in 5 gradient colors (e.g., warm yellow, coral, dusty rose, mauve, deep purple) – approximately 400g total. This allows for a smooth, beautiful color transition.
- Needle: US 6 (4.0 mm) circular knitting needle with a 32-inch cable. The long cable is essential for holding the increasing number of stitches as the shawl grows.
- Gauge: 20 stitches and 28 rows = 4 inches in stockinette stitch (blocked). While gauge isn't critical for a shawl's fit, matching it ensures you use the correct amount of yarn.
- Other Tools: Stitch markers (at least 2), a tapestry needle for weaving in ends, and blocking pins/mats for the final step.
Step-by-Step Instructions for the Aurora Dune Shawl
This shawl is worked from the top center down, increasing on each side to create a beautiful triangular shape. The ripple texture is achieved with a simple 4-row repeat that you'll come to love. Follow these detailed instructions carefully, and you'll be amazed at what you create.
Abbreviations
Familiarize yourself with these standard knitting abbreviations before you start.
- k = knit
- p = purl
- yo = yarn over (creates an increase and a hole)
- k2tog = knit two together (a right-leaning decrease)
- ssk = slip, slip, knit (a left-leaning decrease)
- sl1 = slip one stitch purlwise
- pm = place marker
- sm = slip marker
Getting Started: The Setup
We'll begin by creating a small garter stitch base from which the rest of the shawl will grow.
- Cast on 3 stitches.
- Knit 6 rows (this creates a garter stitch tab).
- Rotate your work: Pick up and knit 3 stitches along the side edge of the tab. Then, pick up and knit 3 stitches from the cast-on edge. You should now have 9 stitches on your needle. This is your foundation.
Shaping the Shawl: The Increase Section
Now we will establish the increases that form the shawl's triangular shape. The garter stitch border (first and last 3 stitches) is worked on every single row.
Row 1 (Right Side): k3, yo, k1, yo, pm, k1 (center stitch), pm, yo, k1, yo, k3 – you will have 13 stitches.
Row 2 (Wrong Side): k3, purl to last 3 stitches, k3.
Row 3: k3, yo, k1, yo, k2, yo, k1, yo, sm, k1, sm, yo, k1, yo, k2, yo, k1, yo, k3 – 21 stitches.
Row 4: k3, purl to last 3 stitches, k3.
Row 5: k3, yo, k1, yo, k4, yo, k1, yo, sm, k1, sm, yo, k1, yo, k4, yo, k1, yo, k3 – 29 stitches.
Row 6: k3, purl to last 3 stitches, k3.
Row 7: k3, yo, k1, yo, k6, yo, k1, yo, sm, k1, sm, yo, k1, yo, k6, yo, k1, yo, k3 – 37 stitches.
Row 8: k3, purl to last 3 stitches, k3.
Continue increasing in this manner: On every right-side row, work a yo immediately after the first k3, before and after the center stitch, and before the last k3. The number of stitches between the increases grows by 2 each repeat. Always work the garter stitch edge (first and last 3 stitches) on every row. Continue this pattern until you have 45 stitches on your needle.
Creating the Ripple Texture
Once you have 45 stitches, you'll begin the beautiful ripple pattern that gives this shawl its name. This is a 4-row repeat that you will work until the shawl reaches your desired size.
Row 1 (RS): k3, yo, *k2tog, yo* repeat to 2 stitches before marker, k2, yo, sm, k1, sm, yo, k2, *yo, ssk* repeat to 3 stitches before end, yo, k3.
Row 2 (WS): k3, purl to last 3 stitches, k3.
Row 3: k3, yo, *k1, yo, k2tog* repeat to 2 stitches before marker, k2, yo, sm, k1, sm, yo, k2, *ssk, yo, k1* repeat to 3 stitches before end, yo, k3.
Row 4: k3, purl to last 3 stitches, k3.
Note: You are still increasing on the edges and at the center marker on every right-side row (Rows 1 and 3). The ripple pattern is created by the combination of yarn overs and decreases in the body of the shawl.
Adding the Gradient Colors
After you have worked approximately 10 inches of the ripple pattern, it's time to introduce your gradient colors. This is where the shawl truly comes to life.
- Work 2 rows of each color, transitioning from warm yellow to coral to dusty rose to mauve to deep purple, or in any order you prefer.
- Continue working the ripple pattern and increases while changing colors. When you join a new color, simply tie the new yarn to the old and continue knitting, weaving in the ends later.
Finishing Touches
Your shawl is almost complete! Follow these final steps to finish your masterpiece.
- Continue knitting until the shawl measures approximately 60 inches across the top edge, or until you have used most of your yarn and reached your desired size.
- Bind off loosely on a wrong-side row. A loose bind-off is crucial to ensure the edge remains stretchy and doesn't pull the shawl out of shape.
- Weave in all ends carefully with your tapestry needle, making sure to secure the yarn from your color changes.
- Block the shawl. This is a vital step. Soak the shawl in lukewarm water with a gentle wool wash, then gently squeeze out excess water (do not wring). Lay it flat on a blocking mat and pin it out to the desired dimensions, opening up the lace and setting the shape. Allow it to dry completely.
Once dry, your Aurora Dune Shawl is ready to wear. The soft, flowing fabric and stunning gradient will make it a cherished piece in your handmade collection. Enjoy the compliments and the cozy warmth of your own personal sunset.