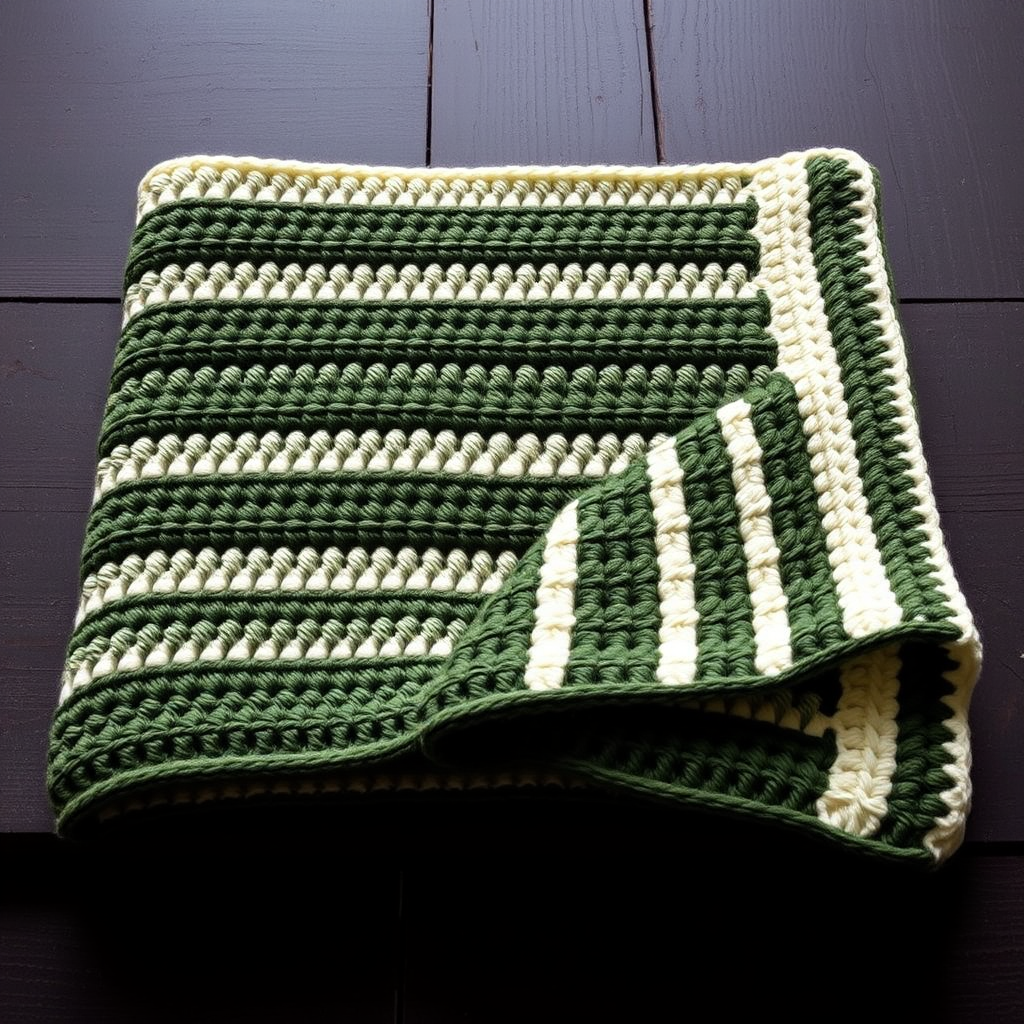
The Rainbow Ripple Drift Throw Free Pattern – A Crocheted Ombre Wave Blanket with Cascading Chevron Stitches

The Rainbow Ripple Drift Throw: A Meditative Crochet Journey
There's something deeply soothing about the rhythmic motion of crocheting a ripple blanket. The gentle peaks and valleys of the chevron stitch mimic the ebb and flow of ocean waves, creating a sense of calm with every row. The Rainbow Ripple Drift Throw takes this meditative experience to the next level with a breathtaking ombre color sequence that transitions from soft cream through deep navy, vibrant turquoise, fresh green, sunny yellow, and warm pumpkin orange. This pattern is perfect for crafters seeking a project that is both relaxing to make and stunning to display. Whether you're a seasoned crocheter or a confident beginner ready for a rewarding challenge, this throw will become a cherished heirloom piece in your home.
This free pattern uses simple double crochet stitches in a repeating ripple sequence, making it surprisingly easy to memorize. The result is a textured, three-dimensional blanket that drapes beautifully and adds a pop of color to any room. Let's dive into this delightful project!
Materials Needed
Before you begin your crochet journey, gather the following materials. This list is based on the technical specifications for the Rainbow Ripple Drift Throw.
Yarn
- Red Heart Super Saver (or any worsted weight yarn) in the following colors:
- Color A (Aran): 2 skeins – for the foundation, border, and first color stripe
- Color B (Soft Navy): 2 skeins
- Color C (Turqua): 2 skeins
- Color D (Spring Green): 2 skeins
- Color E (Lemon): 2 skeins
- Color F (Pumpkin): 2 skeins
Hook and Notions
- Crochet Hook: 5.5 mm (I-9) crochet hook
- Yarn Needle: For weaving in ends
- Scissors: For cutting yarn
- Measuring Tape: To check gauge and finished dimensions
Gauge
14 stitches and 12 rows = 4 inches in ripple pattern (after blocking). It's crucial to check your gauge before starting to ensure your blanket turns out the correct size. If your gauge is off, adjust your hook size accordingly.
Step-by-Step Instructions
Follow these detailed instructions carefully to create your own Rainbow Ripple Drift Throw. The pattern is worked in rows, and the ripple effect is created by increasing and decreasing stitches at specific points.
Understanding the Ripple Pattern
The ripple pattern is based on a multiple of 14 + 3 chains. Each full ripple (peak and valley) uses 14 stitches. The pattern creates peaks by working 3 double crochets into a single stitch, and valleys by skipping 2 stitches. This is a classic and beautiful wave pattern.
Foundation Row
- With Color A (Aran), make a slip knot and chain 163. (This is a multiple of 14 + 3: 11 ripples x 14 = 154, plus 9 extra for the edges and turning chain. This will give you 11 full ripples across.)
- Row 1: Work 2 double crochet (dc) into the 4th chain from the hook. (The skipped 3 chains count as your first double crochet, and the 2 dc you just made form the first half of your first peak.)
- Now, *dc in the next 5 chains, skip 2 chains, dc in the next 5 chains, 3 dc in the next chain*. Repeat from * to * across the row. You will end with 2 dc in the last chain. Turn your work. (You should have 11 full ripples, plus the half-ripples at each end.)
Main Ripple Pattern
- Row 2: Chain 3 (this counts as your first double crochet). Work 2 dc in the first stitch (the base of the chain 3). This forms the first half of your peak.
- *Dc in the next 5 stitches, skip 2 stitches, dc in the next 5 stitches, 3 dc in the next stitch*. Repeat from * to * across the row, ending with 2 dc in the top of the turning chain from the previous row. Turn.
- Repeat Row 2 for the remainder of the blanket. This row establishes the pattern, and you will simply repeat it, changing colors as instructed below.
Color Changes and Stripe Sequence
The magic of this blanket comes from its beautiful color progression. Follow this sequence precisely to achieve the ombre effect.
- Stripe Sequence: Work 2 rows of Color A, then 2 rows of Color B, 2 rows of Color C, 2 rows of Color D, 2 rows of Color E, and 2 rows of Color F.
- Repeat the Sequence: Continue repeating this 6-color sequence (A through F) until you have completed a total of 72 rows. This will give you 12 stripes of each color (since each color is used for 2 rows, and 72 rows / 2 rows per stripe = 36 stripes total, or 6 stripes of each color).
- Changing Colors: When you are ready to change colors, do not turn your work at the end of the row. Instead, fasten off the old color, leaving a 6-inch tail. Join the new color with a slip stitch in the first stitch of the row (or the top of the turning chain), then chain 3 and proceed with the pattern. This creates a clean, seamless color change.
Finishing the Blanket Body
- After completing all 72 rows, you will have finished the main body of the blanket. Do not fasten off your yarn; you will use it to create the border.
Adding the Border
The border gives the blanket a polished, finished look and helps to stabilize the edges.
- Round 1: With your working yarn (Color F, or you can switch back to Color A for a cohesive look as shown in the visual details), chain 1. Work a round of single crochet (sc) evenly around the entire blanket.
- Corners: Work 3 single crochet in each corner stitch to ensure the corners lie flat and are nicely rounded.
- Top and Bottom Edges: Work 1 single crochet in each double crochet stitch and 1 single crochet around each chain-3 space (the turning chains at the start of each row).
- Side Edges: Work 2 single crochet for each row of the blanket. This will give you a neat, even edge.
- Join with a slip stitch to the first single crochet of the round. Fasten off and weave in all loose ends with your yarn needle.
Blocking for Perfection
- Wet Block: Gently wet block the blanket to even out the ripples and enhance the drape. Soak the blanket in cool water with a mild soap, then gently squeeze out excess water (do not wring). Lay the blanket flat on a clean towel or blocking mats, and gently shape it to the desired dimensions (approximately 50 inches wide and 65 inches long). Pin the peaks and valleys if needed to define the ripples. Allow it to dry completely.
Once dry, your Rainbow Ripple Drift Throw is ready to be enjoyed! Drape it over a sofa, snuggle under it on a chilly evening, or gift it to someone special. The soothing rhythm of the ripple stitch and the vibrant color journey make this a truly rewarding project. Happy crocheting!