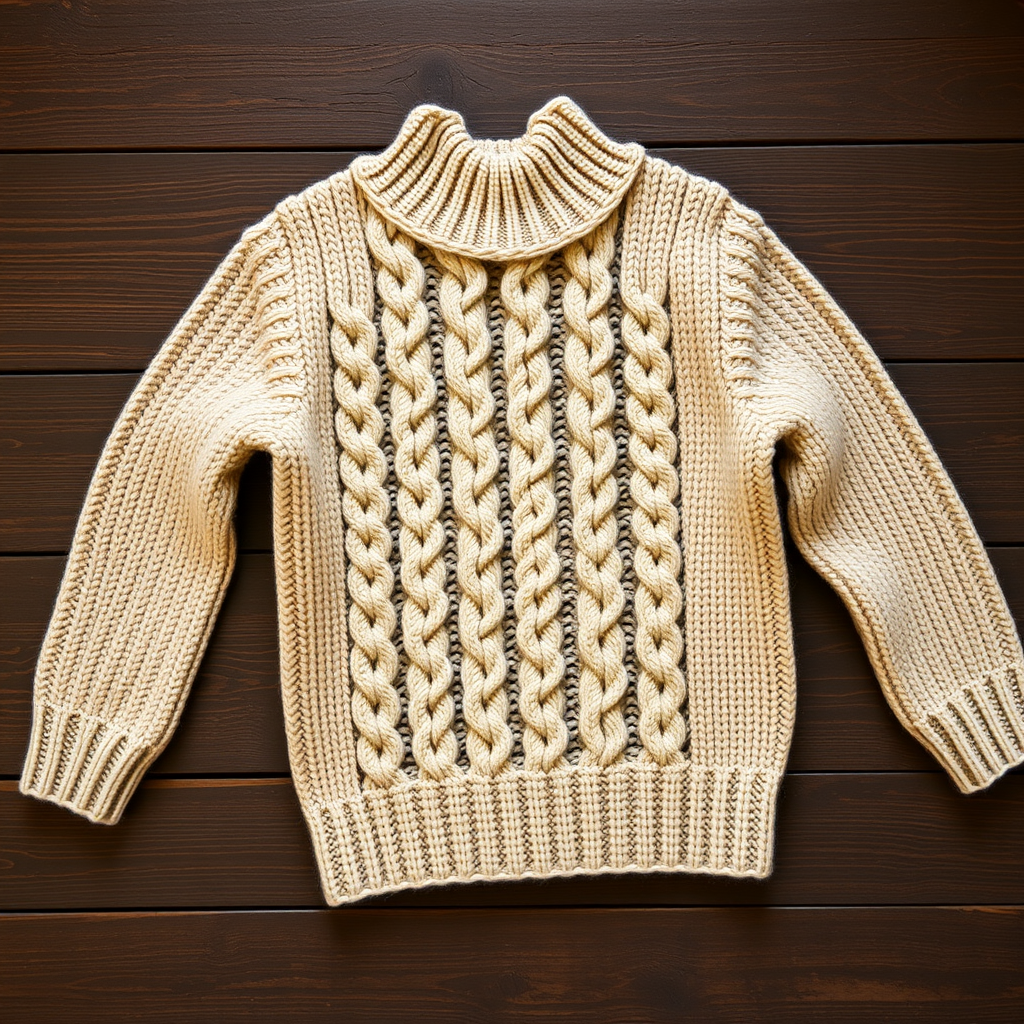
The Nostalgic Cable Knit Sweater Free Pattern

The Nostalgic Cable Knit Sweater Free Pattern
Introduction
Embrace the cozy charm of the early 2000s with this classic cable knit sweater, perfect for adding a touch of vintage flair to your wardrobe. This pattern offers a delightful mix of texture and warmth, making it an ideal project for both beginners and seasoned knitters. With its intricate cable patterns and plush texture, this sweater will not only keep you warm but also make a stylish statement.
Materials Needed
- Yarn: Aran weight yarn, 100% wool
- Needles: US 8 (5mm) knitting needles
- Gauge: 18 stitches and 24 rows = 4 inches in stockinette stitch
Step-by-Step Instructions
1. Casting On
Begin by casting on 96 stitches using the long-tail cast-on method for a stretchy edge. Ensure your stitches are not too tight, as this will affect the ribbing.
2. Ribbing
Work in 2x2 ribbing (knit 2, purl 2) for 2 inches. This will create a snug and stretchy hem for your sweater.
3. Main Body Pattern
Transition to the main body pattern:
- Row 1 (Right Side): *K2, P2, K6 (cable section), P2* repeat from * to end.
- Row 2 (Wrong Side): *P2, K2, P6, K2* repeat from * to end.
Continue working in this pattern for 20 inches or until you reach your desired length. Make sure to check your gauge periodically to ensure consistency.
4. Shaping Shoulders
To shape the shoulders, bind off 6 stitches at the beginning of the next 4 rows. This will create a gentle slope for the shoulder seams.
5. Binding Off
After binding off the stitches for the shoulders, bind off any remaining stitches to complete the body of the sweater.
6. Sleeves
For the sleeves, pick up 48 stitches around the armhole using the same US 8 (5mm) needles. Work in stockinette stitch (knit every row) for 18 inches.
7. Decreasing for Sleeves
To taper the sleeves, decrease 1 stitch at each end every 6th row until you have 36 stitches remaining. This will give your sleeves a fitted look.
8. Ribbing for Sleeves
Once you have 36 stitches, work in 2x2 ribbing for 2 inches to match the body of the sweater.
9. Final Binding Off
Bind off the stitches for the sleeves, ensuring the edge is not too tight to maintain elasticity.
10. Assembly
Carefully sew the side seams and attach the sleeves to the body of the sweater. Make sure to align the seams neatly for a polished finish.
11. Weaving in Ends
Finally, weave in all loose ends using a tapestry needle to give your sweater a clean look.
Conclusion
Congratulations! You have successfully knitted The Nostalgic Cable Knit Sweater. This cozy, vintage-inspired piece is perfect for chilly days and will surely become a staple in your wardrobe. Enjoy wearing your handmade creation!