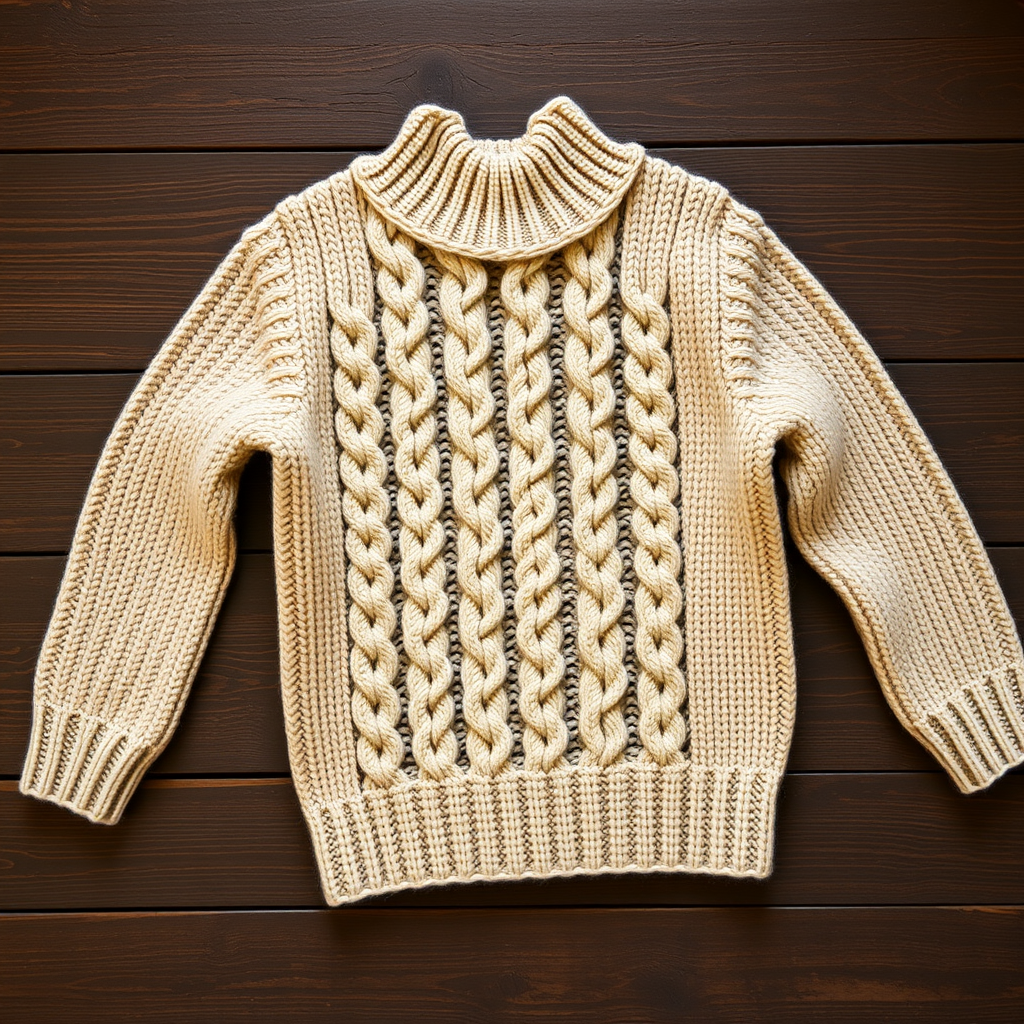
Heritage Pinstripe Pullover Free Pattern – A Knitted Classic for Boys

A Timeless Classic: Knit the Heritage Pinstripe Pullover for Boys
There is something deeply satisfying about knitting a garment that feels both classic and fresh. The Heritage Pinstripe Pullover is exactly that—a timeless piece for young boys that combines crisp, narrow stripes with a soft, durable worsted weight fabric. The subtle contrast between deep charcoal grey and creamy off-white creates a refined, sophisticated look that pairs beautifully with everything from school trousers to weekend jeans. Whether you are an experienced knitter or a confident beginner ready for a rewarding project, this free pattern will guide you through creating a handcrafted sweater that will be treasured for years.
This pattern is designed for boys aged 4 to 9 years, with three sizes included so you can knit the perfect fit. The construction is straightforward—worked flat in pieces and seamed—making it an excellent project for building skills while producing a professional-looking result. The pinstripe effect is achieved with a simple two-row stripe sequence, creating vertical lines that elongate the silhouette and add visual interest without complicating the knitting.
Materials Needed
Before you begin, gather the following materials. Having everything ready will make your knitting experience smooth and enjoyable.
Yarn
- Main Color (MC): Charcoal Grey – Worsted weight yarn, approximately 500g for size 6-7 (adjust for other sizes: 450g for 4-5, 550g for 8-9)
- Contrast Color (CC): Cream – Worsted weight yarn, approximately 100g for size 6-7 (90g for 4-5, 110g for 8-9)
Tip: Choose a soft, machine-washable wool or wool-blend for durability and comfort. The fabric should feel cozy but not bulky.
Needles
- US 7 (4.5mm) knitting needles – for the main body (or size needed to obtain gauge)
- US 6 (4.0mm) knitting needles – for ribbing (hem, cuffs, neckband)
Other Supplies
- Stitch markers
- Yarn needle for weaving in ends and seaming
- Scissors
- Tape measure
Gauge
20 stitches and 26 rows = 4 inches in stockinette stitch using larger needles. Always knit a gauge swatch before starting—this ensures your finished sweater will match the intended measurements.
Step-by-Step Instructions
This pattern includes three sizes: 4-5 (6-7, 8-9) years. Finished chest measurements are 26 (28, 30) inches. Instructions are written for the smallest size, with larger sizes in parentheses. Follow the numbers that correspond to your chosen size throughout.
Abbreviations
- K = knit
- P = purl
- st(s) = stitch(es)
- k2tog = knit two together (decrease)
- ssk = slip slip knit (decrease)
- pm = place marker
- MC = main color (Charcoal Grey)
- CC = contrast color (Cream)
Stripe Pattern
Work in stockinette stitch (knit on right side, purl on wrong side) with the following stripe sequence: *4 rows MC, 2 rows CC*; repeat from * throughout. This creates the elegant pinstripe effect—wider charcoal bands with narrow cream stripes between them.
Back Panel
Ribbing: Using smaller needles (US 6) and MC, cast on 66 (72, 78) sts. Work in K1, P1 ribbing for 2 inches, ending with a wrong-side row.
Body: Switch to larger needles (US 7). Begin the stripe pattern in stockinette stitch. Work even (without increasing or decreasing) until the piece measures 10 (11, 12) inches from the cast-on edge, ending with a wrong-side row.
Armhole Shaping: At the beginning of the next 2 rows, bind off 4 (5, 5) sts. Then decrease 1 stitch at each edge every other row 3 (4, 5) times. To decrease: on the right side, k1, ssk, work to last 3 sts, k2tog, k1. You should now have 52 (54, 58) sts remaining.
Continue in the stripe pattern without further shaping until the armhole measures 5 (6, 7) inches from the bind-off edge, ending with a wrong-side row.
Shoulder Shaping: Bind off 6 (6, 7) sts at the beginning of the next 4 rows. Bind off the remaining 28 (30, 30) sts for the back neck. Cut yarn and fasten off.
Front Panel
Work exactly as you did for the back, including the ribbing, body, and armhole shaping, until the armhole measures 3 (4, 5) inches, ending with a wrong-side row.
Neck Shaping: This step requires working both sides of the neck simultaneously. On the right side, knit across the first 22 (23, 25) sts. Join a second ball of yarn and bind off the center 8 (8, 8) sts. Continue knitting to the end of the row with the second ball. You now have two separate sections, each with 22 (23, 25) sts.
Working both sides at the same time (using separate balls of yarn), decrease 1 stitch at each neck edge every other row 4 times. To decrease at the neck edge: on the right side, work to the last 3 sts before the neck opening, k2tog, k1 (for the left side); for the right side, k1, ssk, work to end. After all decreases, you will have 18 (19, 21) sts remaining on each shoulder.
Continue working even (no further decreases) until the armhole measures the same as the back. Bind off 6 (6, 7) sts at each shoulder edge twice. Cut yarn and fasten off.
Sleeves (Make 2)
Ribbing: Using smaller needles and MC, cast on 34 (36, 38) sts. Work in K1, P1 ribbing for 2 inches, ending with a wrong-side row.
Sleeve Body: Switch to larger needles and begin the stripe pattern in stockinette stitch. Increase 1 stitch at each edge every 6th row 8 (9, 10) times. To increase: on the right side, k1, make 1 (pick up the bar between stitches and knit through the back loop), work to last stitch, make 1, k1. After all increases, you will have 50 (54, 58) sts.
Work even until the sleeve measures 11 (12, 13) inches from the cast-on edge, ending with a wrong-side row.
Cap Shaping: Bind off 4 (5, 5) sts at the beginning of the next 2 rows. Decrease 1 stitch at each edge every other row 10 (11, 12) times (using the same decrease method as for the armhole). Bind off 3 sts at the beginning of the next 4 rows. Bind off the remaining 16 (18, 20) sts. Cut yarn and fasten off.
Finishing
Seaming: Sew the shoulder seams using a mattress stitch or your preferred seaming method. Set in the sleeves, matching the center of the sleeve cap to the shoulder seam. Sew the side seams and sleeve seams, being careful to align the stripe pattern for a polished look.
Neckband: With smaller needles and MC, pick up and knit 72 (76, 80) sts evenly around the neck edge. Work in K1, P1 ribbing for 1 inch. Bind off loosely in rib to maintain stretch. Weave in all loose ends with a yarn needle.
Blocking: To finish, gently wet block the sweater to the specified measurements. Lay it flat on a towel, shape it carefully, and allow it to dry completely. This step evens out the stitches and gives the garment a professional, polished appearance.
Final Thoughts
Your Heritage Pinstripe Pullover is now complete! This classic sweater will become a wardrobe staple—a handmade treasure that combines timeless style with the warmth and love of handcrafted knitting. The crisp pinstripes and soft, durable fabric make it perfect for everyday wear, school photos, or family gatherings. Enjoy watching it become a well-loved favorite, and take pride in the beautiful, lasting piece you have created.