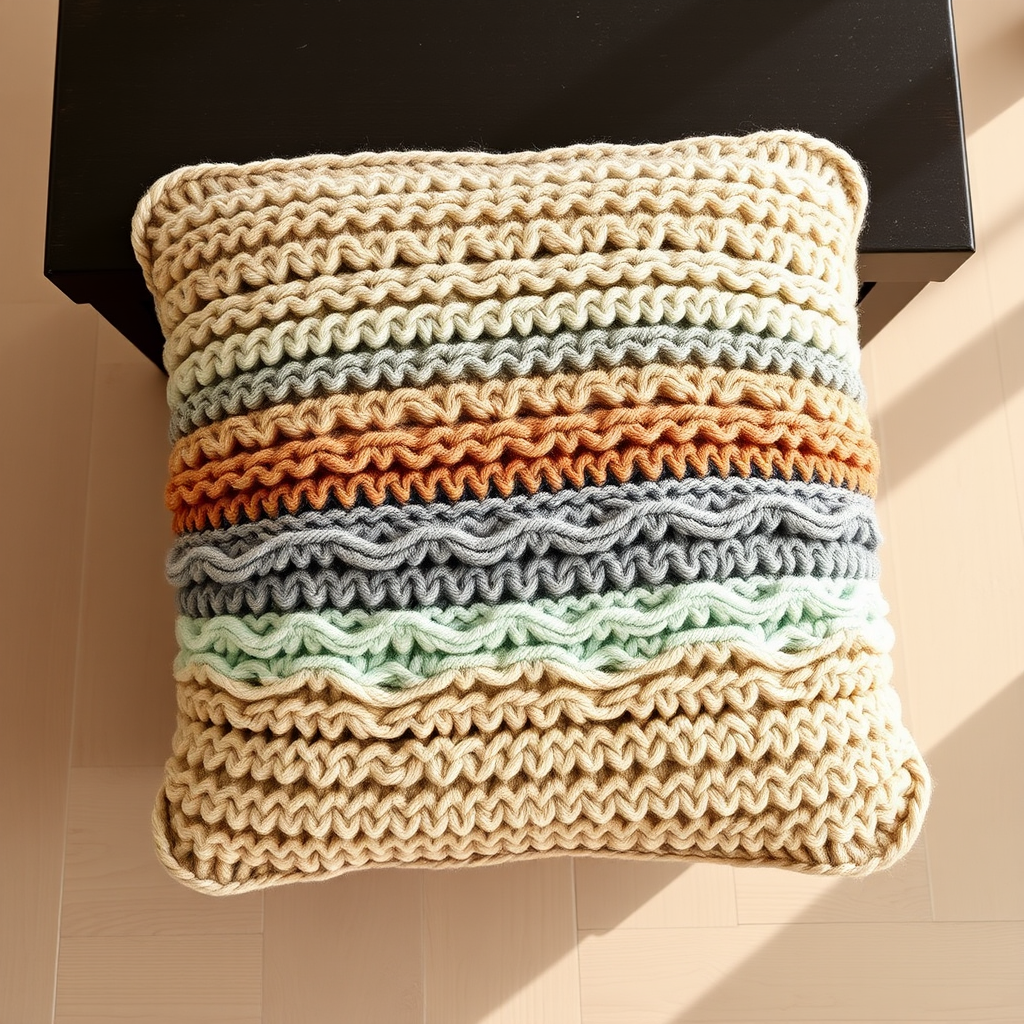
The Lunar Lagoon Textured Wall Hanging Free Pattern – A Knitted Ombre Wave Tapestry

The Lunar Lagoon Textured Wall Hanging Free Pattern – A Knitted Ombre Wave Tapestry
Bring the serene rhythm of ocean waves into your home with this knitted wall hanging, featuring a soothing ombre gradient from deep teal to soft sand. The textured wave stitch creates a tactile, cozy piece that adds warmth and movement to any wall. Whether you're a seasoned knitter or a curious beginner, this free pattern is designed to be approachable, meditative, and deeply rewarding. Let's dive into the gentle art of creating your own coastal-inspired tapestry.
Materials Needed
Before you begin, gather the following supplies. Having everything ready will make your knitting session smooth and enjoyable.
- Yarn: Worsted weight cotton or cotton-blend yarn in 3 shades: deep teal (A), medium aqua (B), and soft sand (C) – approximately 200g total. A soft, matte cotton yarn works beautifully for this project, giving the wall hanging a natural, boho feel.
- Needles: US 8 (5mm) knitting needles. Straight needles are perfect for this flat-knit piece.
- Extras: Tapestry needle for weaving in ends, a wooden dowel or branch (12-16 inches long) for hanging, and a nail or hook for display.
- Gauge: 18 stitches and 24 rows = 4 inches in stockinette stitch. Gauge is important for achieving the correct size, but this pattern is forgiving—even if your gauge is slightly off, your wall hanging will still look beautiful.
Step-by-Step Instructions
This wall hanging is knitted flat in one piece from the bottom up, using a simple wave stitch pattern. The color changes create a gradient effect that mimics the natural transition of ocean water to sandy shore. Follow along carefully, and you'll have a stunning piece of art in no time.
Abbreviations
- K = knit
- P = purl
- K2tog = knit two stitches together (decrease)
- YO = yarn over (increase)
- Sl = slip stitch purlwise
- RS = right side
- WS = wrong side
Getting Started: Cast On and Border
Cast on: With color A (deep teal), cast on 48 stitches. Use a long-tail cast on for a neat, stretchy edge that will form the bottom of your wall hanging.
Rows 1-4 (Garter Stitch Border): Knit all stitches. This creates a sturdy, flat border that will anchor the bottom of your piece.
The Wave Pattern
Now we begin the textured wave stitch. This pattern is worked over a multiple of 12 stitches, plus 2 edge stitches. Our 48 stitches give us exactly 4 full repeats of the wave.
Row 5 (RS): With color A, K1, *K2tog, K2tog, YO, K1, YO, K1, YO, K1, YO, K2tog, K2tog*, repeat from * to * across, end with K1. (48 stitches)
Tip: The two K2tog at the beginning and end of each repeat balance the four YO increases in the middle, keeping your stitch count consistent. The YO creates the "peaks" of the wave, while the K2tog forms the "valleys."
Row 6 (WS): Purl all stitches. This purl row creates a smooth background that lets the wave texture pop on the right side.
Row 7 (RS): With color A, K1, *K2tog, K2tog, YO, K1, YO, K1, YO, K1, YO, K2tog, K2tog*, repeat from * to * across, end with K1.
Row 8 (WS): Purl all stitches.
You've now completed the first section of waves in deep teal. Notice how the pattern creates gentle ripples across the fabric—this is the magic of the wave stitch.
Color Transition to Medium Aqua (B)
Row 9 (RS): Switch to color B (medium aqua). Repeat Row 5: K1, *K2tog, K2tog, YO, K1, YO, K1, YO, K1, YO, K2tog, K2tog*, repeat across, end with K1.
Row 10 (WS): Purl all stitches.
Row 11 (RS): Repeat Row 5.
Row 12 (WS): Purl all stitches.
Continue with color B for 12 more rows (Rows 13-24), repeating the wave pattern every 2 rows (RS rows are wave, WS rows are purl). This gives you a substantial section of aqua, creating a beautiful mid-tone transition in your ombre.
Color Transition to Soft Sand (C)
Row 25 (RS): Switch to color C (soft sand). Repeat Row 5.
Row 26 (WS): Purl all stitches.
Row 27 (RS): Repeat Row 5.
Row 28 (WS): Purl all stitches.
Continue with color C for 12 more rows (Rows 29-40), repeating the wave pattern. As you knit, you'll see the piece transform from deep ocean tones to warm, sun-bleached sand.
Top Border and Bind Off
Rows 41-44: With color C, knit all stitches (garter stitch). This creates a matching border at the top of your wall hanging, which will also serve as the casing for your dowel.
Bind off: Bind off all stitches loosely. A loose bind off is essential here—if it's too tight, the top edge will pucker and won't hang straight. You can use a larger needle to bind off if needed, or simply bind off with a relaxed tension.
Finishing Touches
Your knitted piece is complete, but a few finishing steps will transform it into a polished wall hanging.
- Weave in all ends with a tapestry needle. Take your time here—secure ends will ensure your piece lasts for years. Weave each end through the back of the work, following the path of the yarn to keep it invisible.
- Block the piece gently to even out the waves and set the shape. To block, soak the piece in lukewarm water with a drop of mild soap, gently squeeze out excess water (never wring), and lay it flat on a towel. Shape it to the correct dimensions (approximately 12 inches wide and 20 inches long) and allow it to dry completely. Blocking will make the wave pattern more defined and the edges crisper.
- Fold the top garter stitch border over the wooden dowel and sew it down, creating a casing. Use a whip stitch or a running stitch with your tapestry needle and matching yarn. Make sure the dowel is centered and the piece hangs evenly.
- Trim any excess yarn and hang your wall hanging using a nail or hook. Choose a spot where the light catches the texture—you'll love watching the shadows play across the waves.
Your Lunar Lagoon Textured Wall Hanging is now ready to grace your home. This piece is more than just decor; it's a handcrafted reminder of calm, coastal serenity. The rhythmic wave stitch is meditative to knit, and the ombre gradient is endlessly pleasing to the eye. Whether you gift it or keep it for yourself, this wall hanging is sure to become a cherished piece in your space.
Happy knitting, and may your home always feel a little closer to the shore.