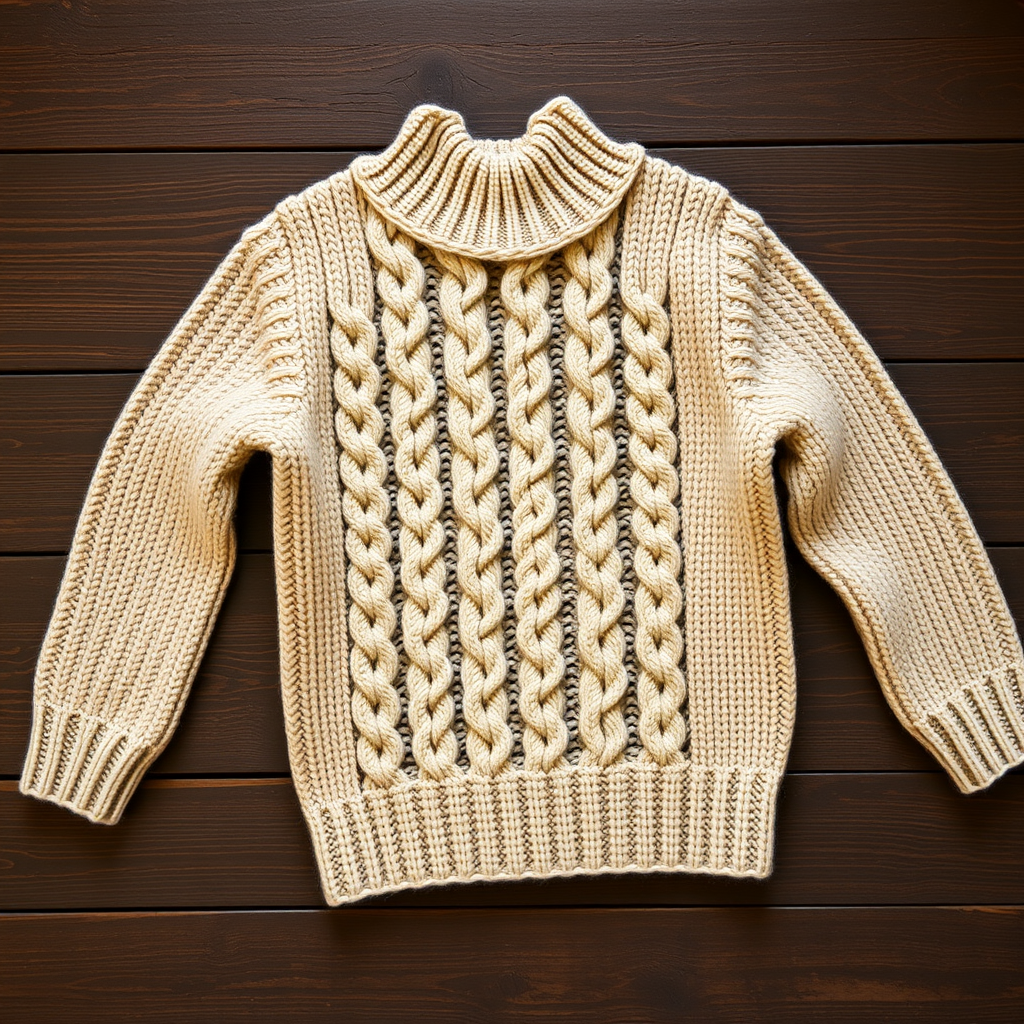
The Hyperreality Halo Sweater Free Pattern – A Knitted Trompe L'Oeil Yoke Pullover with Optical Illusion Cables
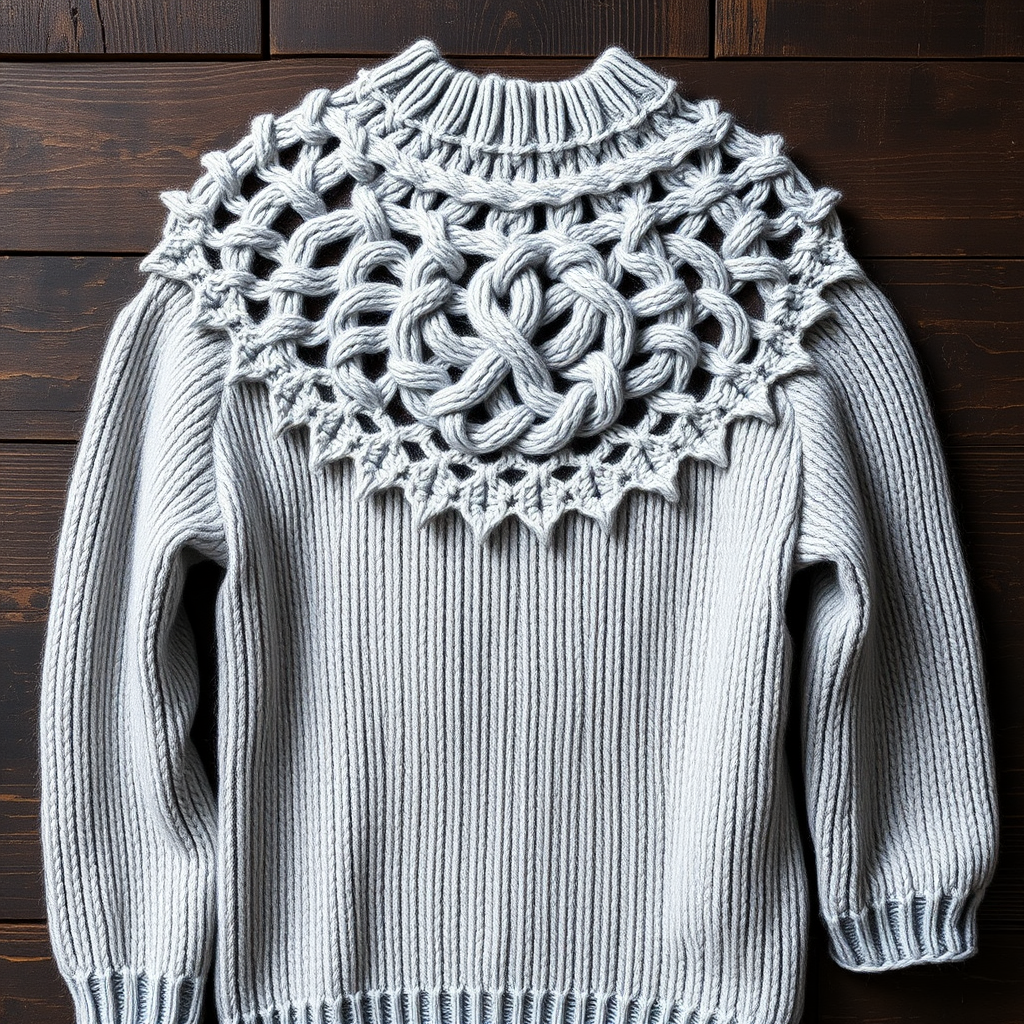
The Hyperreality Halo Sweater: A Knitted Optical Illusion You Can Wear
Prepare to knit something truly extraordinary. The Hyperreality Halo Sweater is not just another pullover—it's a wearable work of art that plays with perception. This pattern features a sculptural yoke crafted with twisted cables and shadow lace, creating a mesmerizing "halo" effect that seems to shimmer and move around your neckline. Knitted in soft, heathered worsted-weight yarn, this sweater blurs the line between reality and dream, making it the perfect statement piece for cozy evenings and artistic expressions.
Whether you're a confident intermediate knitter looking for a challenge or a beginner ready to stretch your skills, this pattern is designed to guide you through every step. The optical illusion is achieved through cleverly placed cable twists and delicate yarn overs, all worked in the round for a seamless finish. Let's dive into this enchanting project.
Materials Needed
Before you begin, gather these essential supplies. Having everything ready will make your knitting experience smooth and enjoyable.
Yarn
- Main Color (MC): Soft heather grey, worsted weight (approx. 800-1000 yards)
- Contrast Color (CC): Pale lavender, worsted weight (approx. 400-500 yards)
- Total Yardage: Approximately 1200-1500 yards depending on size
Needles & Notions
- US 7 (4.5 mm) circular needles, 24-32 inches long (for body and yoke)
- US 7 (4.5 mm) double-pointed needles (for sleeves)
- Stitch markers (at least 4)
- Cable needle
- Tapestry needle for weaving in ends
- Scissors
Gauge
18 stitches and 24 rows = 4 inches in stockinette stitch (after blocking). Always knit a gauge swatch first—your finished sweater's fit depends on it!
Step-by-Step Instructions
This pattern is worked in four main sections: the body, sleeves, yoke, and finishing. Follow each step carefully, and you'll be amazed at the optical illusion you create. Sizes are given as S (M, L, XL) with finished chest measurements of 36 (40, 44, 48) inches.
Special Stitches You'll Need
Master these techniques before starting. Practice on a swatch if needed—they're easier than they look!
- C4F (Cable 4 Front): Slip 2 stitches to cable needle, hold in front, knit 2, knit 2 from cable needle.
- C4B (Cable 4 Back): Slip 2 stitches to cable needle, hold in back, knit 2, knit 2 from cable needle.
- M1L (Make 1 Left): Pick up the bar between stitches from front to back, knit through back loop.
- M1R (Make 1 Right): Pick up the bar between stitches from back to front, knit through front loop.
- K2tog (Knit Two Together): Decrease by knitting two stitches as one.
- SSK (Slip Slip Knit): Slip two stitches knitwise one at a time, then knit them together through back loops.
- YO (Yarn Over): Bring yarn to front, wrap over needle, knit next stitch—creates a decorative hole.
Body (Worked in the Round)
The body is a simple stockinette tube with ribbed hem—the perfect canvas for your stunning yoke.
- With MC, cast on 180 (200, 220, 240) stitches. Place a marker for the beginning of the round and join in the round, being careful not to twist your stitches.
- Work in k2, p2 ribbing for 2 inches. This creates a neat, stretchy hem.
- Switch to stockinette stitch (knit every round) and work even until the piece measures 12 (13, 14, 15) inches from the cast-on edge.
- Place a second marker after 90 (100, 110, 120) stitches to mark the sides. This helps with sleeve placement later.
- Continue in stockinette until the piece measures 15 (16, 17, 18) inches from the cast-on edge.
- Bind off all stitches loosely. Set aside.
Sleeves (Make 2)
These sleeves are worked from the cuff up with gentle increases for a comfortable fit.
- With MC, cast on 40 (44, 48, 52) stitches onto double-pointed needles. Join in the round, place a marker.
- Work k2, p2 ribbing for 2 inches.
- Switch to stockinette stitch. Work an increase round: K1, M1L, knit to last stitch, M1R, k1. This adds 2 stitches.
- Repeat the increase round every 6 rounds until you have 60 (66, 72, 78) stitches on your needles.
- Work even (no increases) until the sleeve measures 17 (18, 19, 20) inches from the cast-on edge.
- Bind off loosely. Repeat for the second sleeve.
Yoke: The Optical Illusion Magic
This is where the sweater transforms into art. The yoke is worked in CC first, creating the ethereal halo effect.
- With CC, cast on 90 (100, 110, 120) stitches. Join in the round and place a marker.
- Work 4 rounds of stockinette stitch (knit every round).
- Begin the cable pattern:
- Round 1: *K2, C4F, C4B, K2* repeat to end of round.
- Round 2: Knit all stitches.
- Round 3: *C4B, K4, C4F* repeat to end of round.
- Round 4: Knit all stitches.
- Repeat these 4 rounds until the yoke measures 4 inches from the cast-on edge. You'll see the cables twisting in alternating directions, creating a mesmerizing spiral.
- Now begin increases for the halo shaping:
- Increase round: *K9, M1L* repeat to end of round. This adds 10 stitches (total now 100, 110, 120, 130).
- Work 3 rounds even in stockinette stitch.
- Repeat the increase round and 3 even rounds until you have 140 (150, 160, 170) stitches on your needles. The yoke will flare beautifully, mimicking a glowing halo.
- Switch to MC and work in stockinette stitch for 2 inches. This creates a smooth transition into the body.
Assembly
Time to bring all the pieces together. Take your time—this is where the sweater takes shape.
- Sew the shoulder seams of the body. Measure approximately 4 inches from each side and seam those sections, leaving the center open for the neck.
- Attach the sleeves to the body armholes. Distribute the ease evenly, pinning in place before sewing to ensure a smooth fit.
- Sew the yoke to the neckline of the body. Align the center back of the yoke with the center back of the body. Use mattress stitch or whip stitch for a neat finish.
- Weave in all loose ends with your tapestry needle.
Finishing Touches
The final details make all the difference. Follow these steps for a polished, professional look.
- With MC, pick up stitches around the neck edge. Aim for approximately 90-110 stitches, depending on your size.
- Work 4 rounds of k2, p2 ribbing. This creates a tidy, stretchy neckband that complements the hem and cuffs.
- Bind off in pattern (knit the knits, purl the purls) to maintain the ribbed elasticity.
- Weave in any remaining ends.
- Block your sweater to the finished measurements. Wet block for best results—this will even out your stitches and make the cables pop.
Tips for Success
- Mark your cables: Use locking stitch markers to mark each cable repeat. This helps you spot mistakes early.
- Count your stitches: After each increase round, count to ensure you have the correct number before proceeding.
- Block patiently: Blocking is crucial for this pattern. It opens up the lace holes and defines the cables, making the optical illusion truly shine.
- Customize the length: The body and sleeves are easily lengthened or shortened by working more or fewer rounds before binding off.
Your Hyperreality Halo Sweater is now complete! Step back and admire your work—the twisted cables and shadow lace create a shimmering halo that seems to dance around your neckline. This sweater is more than just clothing; it's a conversation piece, a testament to your skill, and a cozy hug on chilly days. Wear it with pride, knowing you've created something truly magical with your own two hands.
Happy knitting, and may your stitches always be even and your cables always twist perfectly!