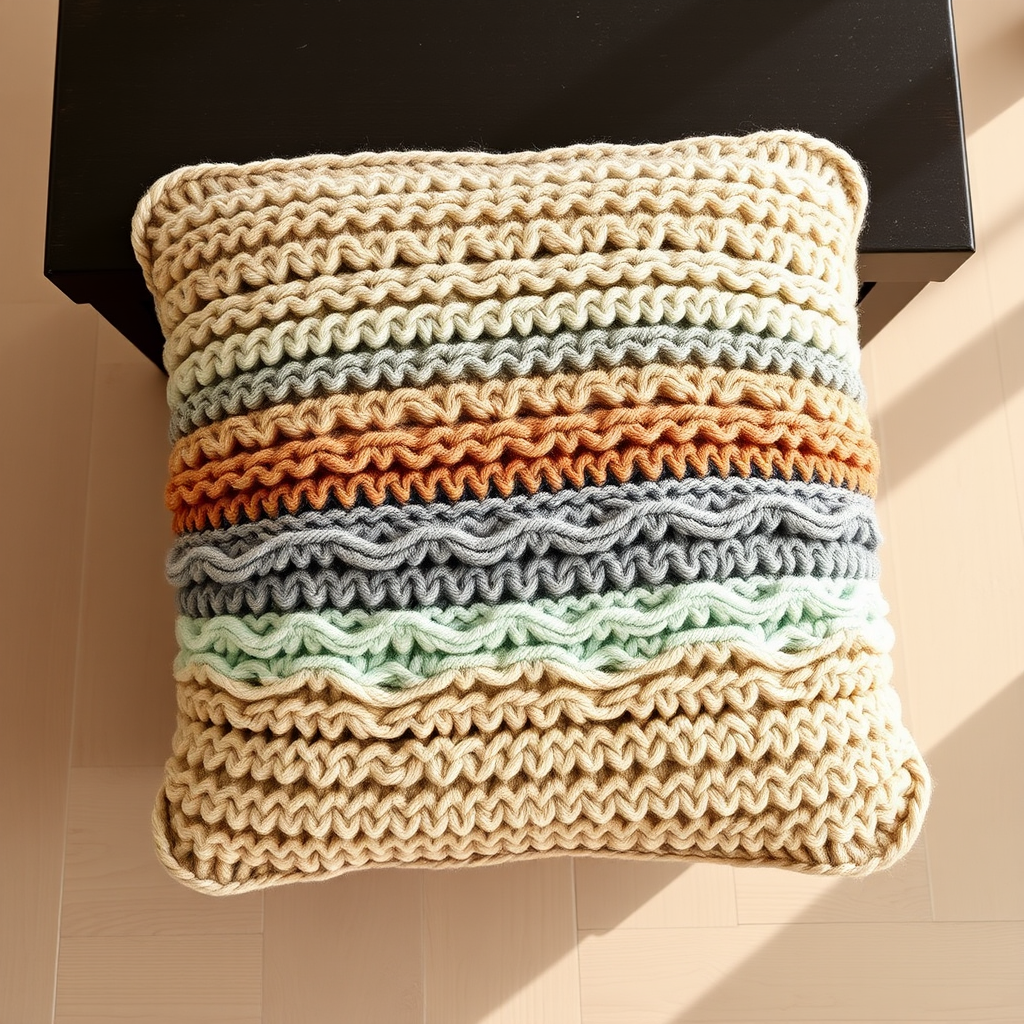
The Harvest Moon Wreath Free Pattern – A Knitted Autumn Tapestry

The Harvest Moon Wreath: A Free Knitted Autumn Tapestry Pattern
As the days grow shorter and the air turns crisp, there's a special kind of magic in bringing the warmth of autumn into our homes. What better way to celebrate the season than with a handmade piece that captures its very essence? Introducing the Harvest Moon Wreath—a stunning knitted tapestry that wraps your door in the rich, textured glow of fall. This isn't just a wreath; it's a cozy statement piece blending rustic charm with modern design, featuring a palette of burnt orange, deep burgundy, and golden yellow that evokes the beauty of a harvest sunset. Whether you're a seasoned knitter or a curious beginner, this project is a delightful journey into textured, seasonal home decor.
Unlike traditional wreaths made of twigs or silk flowers, this knitted version offers a soft, tactile, and utterly unique aesthetic. It's a conversation starter, a labor of love, and a piece you'll be proud to hang year after year. Let's dive into the pattern and create a heirloom-worthy decoration for your home.
Materials Needed
Before we begin, let's gather our supplies. This project is wonderfully portable and requires minimal equipment, making it perfect for cozy evenings by the fire.
- Yarn: Worsted weight yarn in four colors: Burnt Orange (for the base), Golden Yellow (for leaves), Deep Burgundy (for berries), and Cream (for the hanging loop). Approximate total yardage: 200g (about 400-450 yards).
- Needles: US Size 8 (5mm) knitting needles. Straight needles are fine, but a circular needle (24" or longer) can be helpful if you find the long strip cumbersome.
- Notions: Tapestry needle for sewing and weaving in ends, scissors, and a tape measure.
- Optional: A wreath form (wire or foam) to wrap your knitted strip around for extra structure, or you can let it stand alone as a soft, floppy ring.
Gauge: 18 stitches and 24 rows = 4 inches in stockinette stitch. While gauge isn't critical for this project, it helps ensure your wreath is the desired size. If you knit loosely, you might need fewer stitches; if tightly, more.
Step-by-Step Instructions
This wreath is ingeniously constructed in a single, long piece—a textured strip that's sewn into a circle and then embellished. Follow these detailed instructions, and you'll have a beautiful wreath in no time.
Part 1: Knitting the Wreath Base
The base is a simple, reversible ribbed pattern that creates a lovely, squishy texture, reminiscent of a cozy scarf wrapped into a ring.
- Cast On: With your burnt orange yarn, cast on 20 stitches. Use a long-tail cast-on for a neat, stretchy edge.
- Row 1 (Right Side): *Knit 2, Purl 2*; repeat from * to end of row. (You'll end with K2).
- Row 2 (Wrong Side): *Purl 2, Knit 2*; repeat from * to end of row. (You'll end with P2).
- Repeat Rows 1 and 2 until your strip measures 60 inches (or long enough to wrap around your chosen wreath form with a slight overlap). This will take some time, but it's wonderfully rhythmic and meditative. To check, wrap the strip around your form—it should overlap by about 1-2 inches.
- Bind Off: Bind off all stitches loosely in pattern (knit the knits and purl the purls). A loose bind-off is crucial to maintain the stretch of the ribbing. Cut your yarn, leaving a long tail (about 12 inches) for sewing.
Forming the Circle:
- Sew the Ends: Fold your strip in half to find the center. Using your tapestry needle and the long tail, mattress-stitch the short ends together to form a continuous circle. Weave in this end securely.
- Shape the Wreath: If using a wreath form, slide the knitted tube over it, arranging the fabric evenly. If not, simply shape the knitted ring into a circle with your hands, gently stretching it to make it even. The ribbing will naturally want to curl, giving it a lovely, full look.
Part 2: Knitting the Leaves (Make 8-10)
These leaves are simple to knit and have a beautiful, subtle texture. They're worked flat, starting from the stem and increasing outward.
- Cast On: With golden yellow yarn, cast on 3 stitches.
- Row 1 (Increase Row): K1, yarn over (yo), K1, yo, K1. (You now have 5 stitches).
- Row 2: Purl all 5 stitches.
- Row 3: K2, yo, K1, yo, K2. (You now have 7 stitches).
- Row 4: Purl all 7 stitches.
- Row 5: K3, yo, K1, yo, K3. (You now have 9 stitches).
- Row 6: Purl all 9 stitches.
- Row 7 (Decrease Row): Knit 2 together (K2tog), knit 5, K2tog. (You now have 7 stitches).
- Row 8: Purl all 7 stitches.
- Row 9: K2tog, knit 3, K2tog. (You now have 5 stitches).
- Row 10: Purl all 5 stitches.
- Row 11: K2tog, K1, K2tog. (You now have 3 stitches).
- Row 12: Purl 3 stitches together (P3tog). This closes the top of the leaf.
- Fasten Off: Cut the yarn, leaving a long tail (about 10 inches) for sewing. Pull the tail through the last loop.
Pro Tip: Make a few leaves in different sizes by adding an extra increase row (Row 7: K4, yo, K1, yo, K4) before starting the decreases. This adds organic variety to your wreath.
Part 3: Knitting the Berries (Make 6-8)
These little berries are quick, fun, and add a wonderful pop of deep color and dimension.
- Cast On: With deep burgundy yarn, cast on 1 stitch.
- Increase Row: Knit into the front and back of the stitch (Kfb) repeatedly until you have 5 stitches. (Kfb, Kfb, Kfb, Kfb—you'll have 5 stitches on your needle).
- Row 2: Knit all 5 stitches.
- Row 3 (Decrease): K2tog, K1, K2tog. (You now have 3 stitches).
- Row 4: Knit 3 stitches together (K3tog).
- Fasten Off: Cut the yarn, leaving a long tail (about 8 inches). Pull the tail through the last loop.
- Shape the Berry: Thread the tail onto your tapestry needle. Gently pull the tail to gather the knitted piece into a round, plump berry shape. The increases and decreases will naturally form a sphere. Secure it with a few small stitches through the base.
Part 4: Assembly and Embellishment
Now for the fun part—bringing your wreath to life!
- Arrange Your Pieces: Lay your knitted wreath base flat. Arrange the leaves and berries around the circle, overlapping them for a lush, abundant look. Play with the placement until you're happy with the composition. Try clustering a few berries together and spacing the leaves evenly.
- Sew the Leaves: Using the long tails from the leaves, sew each one securely to the wreath base. Use a whip stitch along the center vein of the leaf to attach it flat. Weave in the ends.
- Sew the Berries: Using the tails from the berries, sew each one securely to the base, tucking them slightly under the leaves for a natural look. Weave in the ends.
- Create the Hanging Loop: Cut a piece of cream yarn about 12 inches long. Fold it in half to create a loop. Thread the two ends through the top of the wreath from front to back, then pull the loop over the ends and tighten to create a secure hanging loop. Alternatively, you can simply sew a small loop of cream yarn to the back of the wreath.
- Final Weave-In: Double-check your entire wreath for any loose ends and weave them in neatly with your tapestry needle. Give your wreath a gentle shake and fluff to ensure all the pieces are sitting nicely.
And there you have it—your very own Harvest Moon Wreath! Hang it on your door, above the mantel, or on a prominent wall to welcome the season with handmade warmth. This project is a beautiful way to practice increases, decreases, and simple seaming, all while creating a stunning piece of art. Happy knitting, and enjoy the cozy glow of your creation!