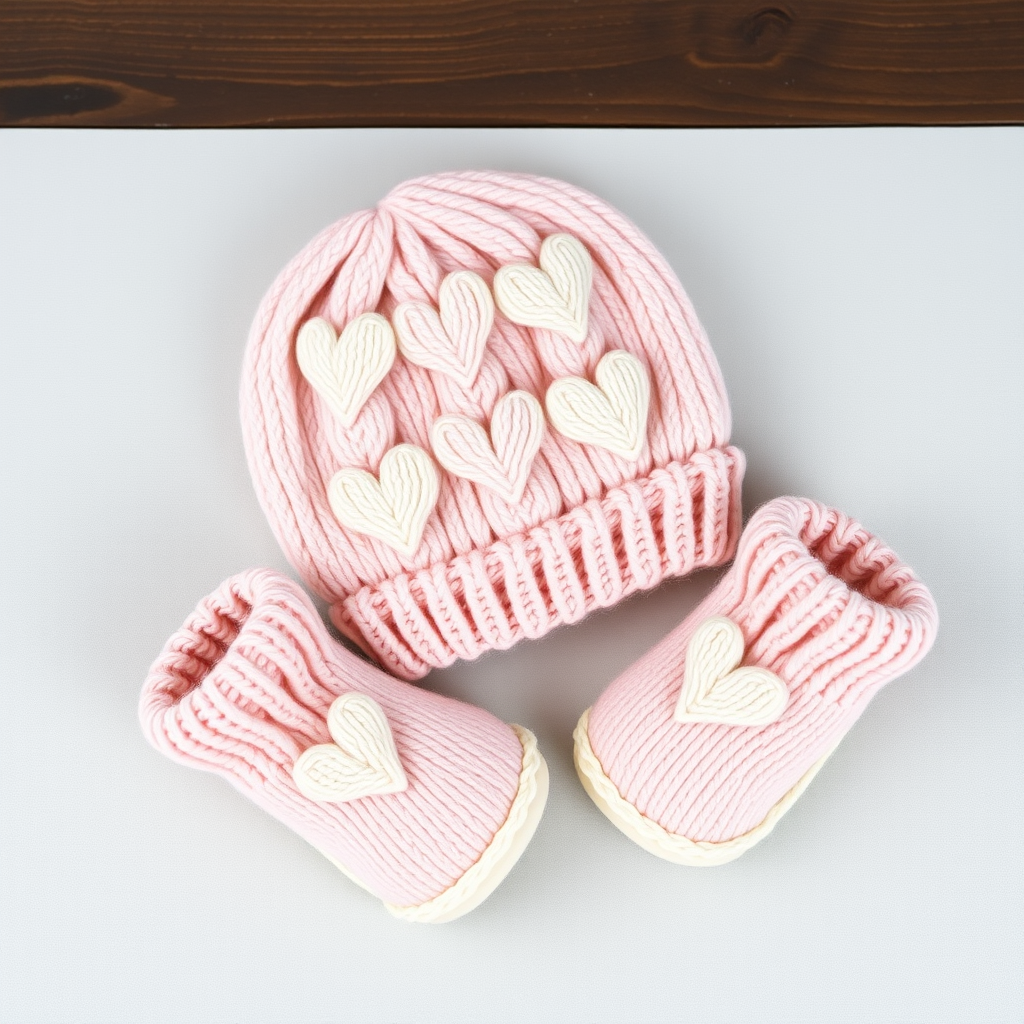
The Enchanted Acorn Pixie Bonnet Free Pattern – A Knitted Woodland Crown with Leafy Trim

The Enchanted Acorn Pixie Bonnet: A Free Knitting Pattern for Woodland Whimsy
Wrap your little one in woodland magic with this enchanting pixie bonnet, shaped like a magical acorn complete with a delicate leaf-trimmed brim. This cozy, textured pattern is perfect for autumn strolls, fairy-tale snuggles, and capturing those precious early months. Whether you're a seasoned knitter or a brave beginner ready for a rewarding project, this free pattern will guide you through creating a heirloom-quality piece that's as functional as it is adorable. The pointed crown drapes softly, mimicking an acorn cap, while the sage green ribbed brim and matching leaf appliqués add a touch of forest charm. Let's dive into this delightful knit!
Materials Needed: Gathering Your Knitting Basket
Before you begin your woodland creation, ensure you have all the necessary supplies on hand. This pattern uses simple, readily available materials, making it an accessible project for knitters of all levels.
Yarn & Notions
- Yarn: Worsted weight yarn in three colors:
- Main Color (MC): Warm brown (approx. 100g)
- Contrast Color 1 (CC1): Cream (approx. 25g, for ties)
- Contrast Color 2 (CC2): Sage green (approx. 25g, for brim and leaves)
- Needles: US 6 (4.0 mm) circular needle, 16-inch length, and US 6 (4.0 mm) double-pointed needles (or size needed to obtain gauge).
- Notions: Stitch markers, tapestry needle for weaving in ends, scissors.
Gauge & Size
Gauge: 20 stitches and 28 rows = 4 inches in stockinette stitch. Always take time to check your gauge to ensure the correct fit.
Sizes: This pattern includes instructions for 0-3 months (3-6 months, 6-12 months). The finished head circumference measures approximately 13 (14.5, 16) inches.
Step-by-Step Instructions: Knitting Your Acorn Crown
Follow these detailed instructions carefully, and you'll have a beautiful pixie bonnet in no time. The pattern is broken down into manageable sections: the brim, the crown, the leaf trim, and the finishing touches.
Abbreviations
- CO: Cast on
- K: Knit
- P: Purl
- K2tog: Knit two stitches together (decrease)
- SSK: Slip, slip, knit (decrease)
- PM: Place marker
- SM: Slip marker
- St st: Stockinette stitch (knit on right side, purl on wrong side)
- BO: Bind off
- M1: Make one stitch (increase)
Part 1: The Ribbed Brim (Worked Flat)
We'll start with the sage green brim, which is worked back and forth in rows before joining in the round for the crown.
- With CC2 (sage green), CO 72 (80, 88) stitches.
- Row 1 (Right Side): K1, *P1, K1; repeat from * to end of row.
- Row 2 (Wrong Side): P1, *K1, P1; repeat from * to end of row.
- Repeat Rows 1 and 2 until the brim measures 1.5 inches from the cast-on edge. End with a wrong-side row.
Part 2: The Acorn Crown (Worked in the Round)
Now we'll switch to the warm brown yarn and work the main body of the bonnet in the round, creating that iconic pointed acorn shape.
- Switch to MC (brown): On the next right-side row, knit across all stitches, increasing 4 stitches evenly spaced. You should now have 76 (84, 92) stitches on your needle.
- Join to work in the round, being careful not to twist your stitches. Place a marker at the beginning of the round.
- Work in stockinette stitch (knit every round) for 3 (3.5, 4) inches from the brim. End at the beginning-of-round marker.
Part 3: Shaping the Crown
This section involves decreasing stitches to shape the top of the bonnet. Pay close attention to the marker placement.
- Place Markers: PM after 19 (21, 23) stitches, PM after 38 (42, 46) stitches, PM after 57 (63, 69) stitches. You will now have 4 sections of 19 (21, 23) stitches each.
- Decrease Round: *Knit to 2 stitches before the marker, K2tog, SM, SSK; repeat from * 3 more times, then knit to the end of the round. You have decreased 8 stitches.
- Next Round: Knit all stitches even.
- Repeat these last 2 rounds until you have 20 (24, 28) stitches remaining on your needles. End with a knit round.
- Final Decrease Round: *K2tog; repeat from * across the round. You will now have 10 (12, 14) stitches remaining.
- Cut the yarn, leaving a 12-inch tail. Thread the tail through a tapestry needle, then thread it through the remaining stitches on your knitting needle. Slip the stitches off the needle, pull the tail tight to gather the top of the crown, and secure it with a knot.
- Sew the Back Seam: Use the yarn tail to sew the back seam of the bonnet, from the gathered crown down to the brim. Weave in the end securely.
Part 4: The Leaf Trim (Worked in the Round)
This adds a beautiful, finished edge to the brim and echoes the acorn theme.
- With the right side of the bonnet facing you, use CC2 (sage green) to pick up and knit 72 (80, 88) stitches along the cast-on edge of the brim.
- Place a marker and join to work in the round.
- Round 1: Purl all stitches.
- Round 2: *K1, P1; repeat from * to end of round.
- Round 3: *K1, P1; repeat from * to end of round.
- Round 4: *K1, P1; repeat from * to end of round.
- Bind off all stitches in the rib pattern (knit the knit stitches and purl the purl stitches as you bind off).
Part 5: Knitting the Leaf Appliqués (Make 3)
These charming little leaves are the perfect finishing touch. They are worked flat in a simple garter stitch pattern.
- With CC2 (sage green), CO 3 stitches.
- Row 1: K1, P1, K1.
- Row 2: K1, M1, K1, M1, K1. (5 stitches)
- Row 3: Knit all stitches.
- Row 4: K2, M1, K1, M1, K2. (7 stitches)
- Row 5: Knit all stitches.
- Row 6: K3, M1, K1, M1, K3. (9 stitches)
- Row 7: Knit all stitches.
- Row 8: K4, M1, K1, M1, K4. (11 stitches)
- Row 9: Knit all stitches.
- Row 10: K2tog, K7, K2tog. (9 stitches)
- Row 11: Knit all stitches.
- Row 12: K2tog, K5, K2tog. (7 stitches)
- Row 13: Knit all stitches.
- Row 14: K2tog, K3, K2tog. (5 stitches)
- Row 15: Knit all stitches.
- Row 16: K2tog, K1, K2tog. (3 stitches)
- Row 17: K3tog. (1 stitch)
- Fasten off and weave in the end. Repeat to make a total of 3 leaves.
- Attach Leaves: Sew the leaves to the side of the bonnet, near the brim, overlapping them slightly for a natural, gathered look.
Part 6: Creating the Ties (Optional)
These sweet ties keep the bonnet securely in place.
- With CC1 (cream), CO 60 stitches.
- Bind off all stitches knitwise.
- Make a second tie in the same manner.
- Attach one tie to each bottom corner of the brim, sewing them on securely.
Finishing Touches: Weaving & Blocking
Your Enchanted Acorn Pixie Bonnet is almost complete! Take a moment to weave in all remaining loose ends with your tapestry needle, being careful to hide them within the fabric of the bonnet. Finally, block the bonnet gently by wetting it and laying it flat to dry, shaping it to the correct dimensions. This will help even out your stitches and give the bonnet a professional, polished finish.
And there you have it—a truly magical, handmade pixie bonnet ready to adorn your little one. This pattern is a joy to knit and an even greater joy to gift. Happy knitting!