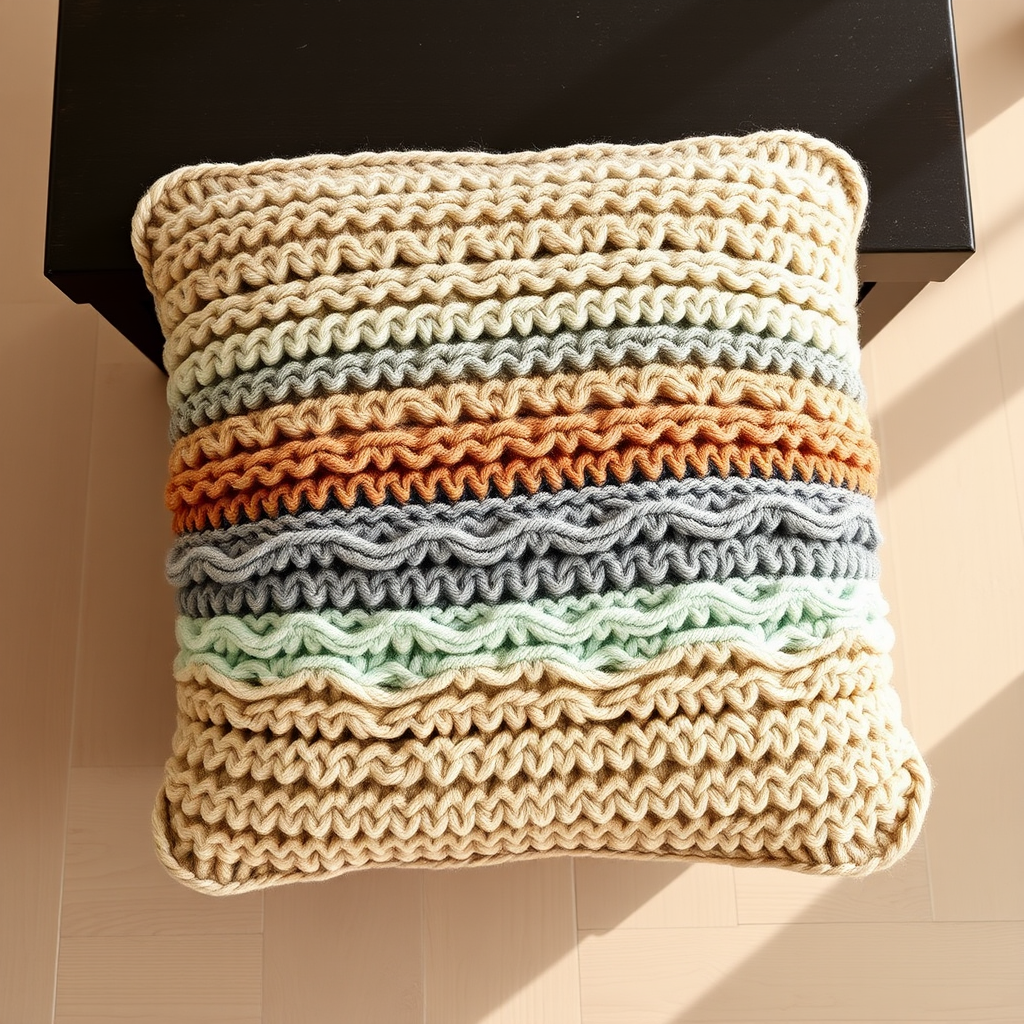
The Driftwood Soap Saver: A Free Knitting Pattern for a Textured, Eco-Friendly Bath Essential

Introduction: Why You'll Love This Driftwood Soap Saver
Elevate your daily shower with this beautifully textured soap saver, designed to cradle your favorite bar soap while providing gentle exfoliation. Knitted in a soft, absorbent cotton, this modern accessory adds a touch of handmade luxury to any bathroom. The alternating seed stitch and stockinette pattern creates a subtle, woven look that is both functional and stylish. Perfect for beginners and experienced knitters alike, this eco-friendly project uses minimal yarn and works up quickly. Plus, it's a wonderful zero-waste alternative to plastic soap dishes—your soap will last longer and your bathroom will look effortlessly chic.
Materials Needed
Before you begin, gather the following supplies. All items are readily available at craft stores or online.
- Yarn: Lily Sugar'n Cream or similar worsted weight 100% cotton yarn (approx. 50g / 80 yards). Shown in 'Ecru' and 'Jute'.
- Needles: US Size 7 (4.5mm) knitting needles
- Gauge: 20 stitches and 28 rows = 4 inches in stockinette stitch (gauge is not critical for this project, but matching it will ensure the correct size)
- Other: Tapestry needle for seaming, scissors, and a small piece of ribbon or thin cord for the drawstring (optional).
Step-by-Step Instructions
This pattern is worked flat in one piece, then seamed. The textured stitch pattern creates a gentle scrub surface. Follow each step carefully, and you'll have a beautiful soap saver in no time.
Abbreviations
- CO: Cast on
- K: Knit
- P: Purl
- K2tog: Knit two stitches together
- P2tog: Purl two stitches together
- BO: Bind off
- yo: Yarn over
Main Body (Textured Pattern)
Row 1 (Right Side): CO 30 stitches. K all stitches.
Row 2 (Wrong Side): P all stitches.
Row 3: K1, *P1, K1; repeat from * to end.
Row 4: P1, *K1, P1; repeat from * to end.
Row 5: K all stitches.
Row 6: P all stitches.
Row 7: K2, *P1, K1; repeat from * to last 2 stitches, K2.
Row 8: P2, *K1, P1; repeat from * to last 2 stitches, P2.
Repeat Rows 1-8 until piece measures approximately 7 inches from cast-on edge, ending with a Row 8. This creates the textured body of the pouch.
Top Flap (Drawstring Casing)
Next Row (Right Side): K all stitches.
Next Row: P all stitches.
Next Row: K all stitches.
Next Row: P all stitches.
Next Row (Eyelet Row): K2, *yo, K2tog; repeat from * to last 2 stitches, K2. (This creates the holes for the drawstring.)
Next Row: P all stitches.
Next Row: K all stitches.
Next Row: P all stitches.
BO all stitches loosely. Do not cut the yarn yet—you'll use it for seaming.
Finishing
- Fold and Seam: Fold the piece in half with right sides together, matching the cast-on edge to the bind-off edge. The eyelet row should be at the top edge. Using a tapestry needle and the yarn tail, sew the side seams, leaving the top flap open (the eyelet row should be at the top edge). Weave in all ends securely.
- Turn Right Side Out: Carefully turn the pouch right side out, pushing out the corners gently.
- Create the Drawstring: Cut a 24-inch length of yarn for the drawstring. Twist or braid it, or simply use a thin ribbon. Thread through the eyelet holes using a tapestry needle or a safety pin.
- Insert Soap: Insert a bar of soap into the pouch, pull the drawstring tight, and tie a bow. Your Driftwood Soap Saver is complete!
Enjoy your handmade, eco-friendly bath accessory. It makes a wonderful gift and a beautiful addition to any bathroom.