The Aurora Borealis Sweater Free Pattern
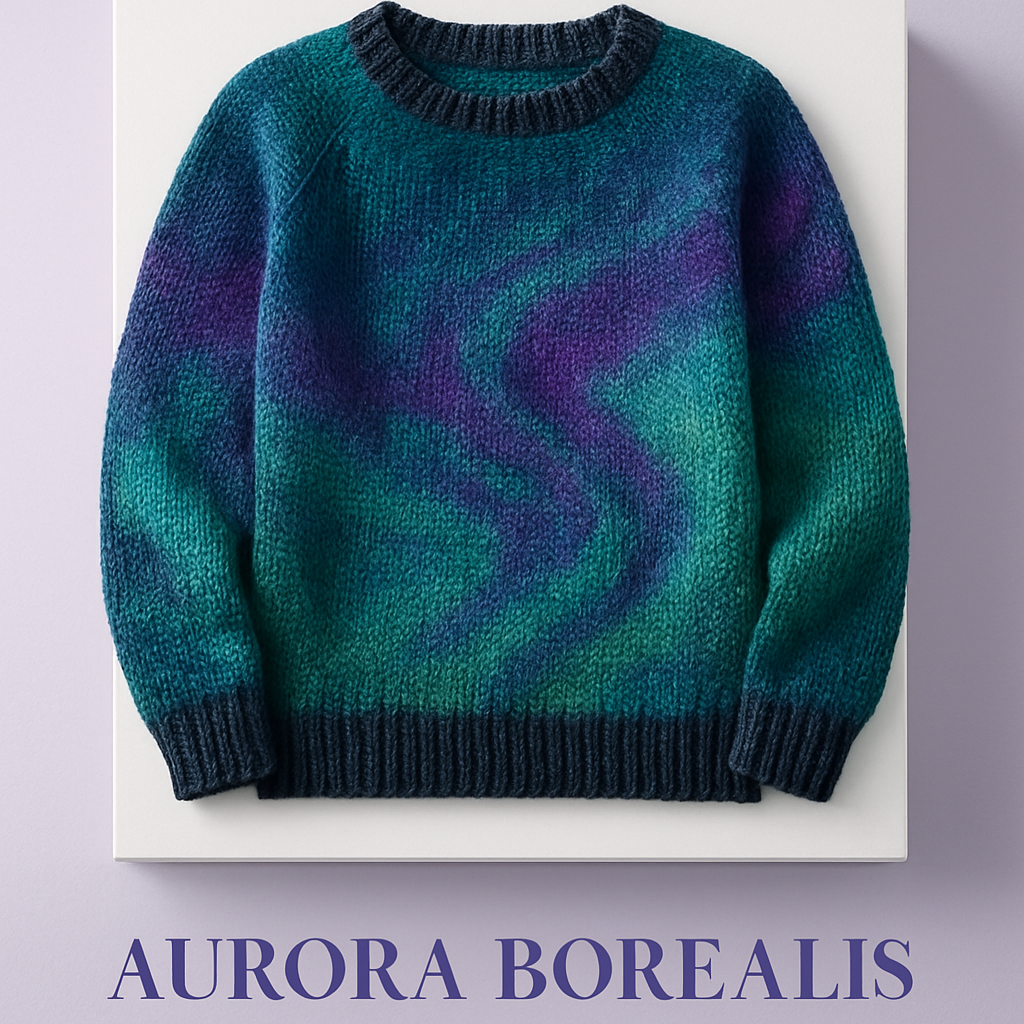
The Aurora Borealis Sweater Free Pattern
Introduction
Capture the ethereal beauty of the northern lights with this stunning Aurora Borealis Sweater. This pattern combines vibrant colorwork with cozy warmth, making it perfect for those chilly nights. Whether you're a seasoned knitter or a beginner, this step-by-step guide will help you create a beautiful piece that showcases your crafting skills.
Materials Needed
- Yarn: DK weight yarn in shades of teal, purple, green, and black
- Needles: US size 6 (4.0 mm) circular needles
- Gauge: 22 stitches and 30 rows = 4 inches in stockinette stitch
Step-by-Step Instructions
1. Ribbed Collar
Begin by casting on 120 stitches using the long-tail cast-on method. Ensure your stitches are evenly distributed on the circular needle.
Join in the round, being careful not to twist your stitches. Work in K2, P2 ribbing for 2 inches. This will create a snug and comfortable collar.
2. Transition to the Body
After completing the ribbed collar, switch to stockinette stitch. This means you will knit every round. Begin the colorwork pattern by following the chart provided for the Aurora Borealis effect. Use the shades of teal, purple, green, and black to create a mesmerizing gradient.
Continue the colorwork for 12 inches from the cast-on edge, ensuring that your tension remains consistent throughout.
3. Divide for Sleeves
Once you reach the desired length of 12 inches, it’s time to divide for the sleeves. Place 30 stitches on a holder for each sleeve. This will leave you with the body stitches to continue working in the round.
Continue knitting the body until you reach approximately 20 inches from the shoulder. This will give you a comfortable length for the sweater.
4. Finish with Ribbed Hem
After reaching the desired body length, finish with a 2-inch ribbed hem using K2, P2 ribbing, just like the collar. This will create a cohesive look throughout the sweater.
5. Sleeves
Transfer the held stitches for the sleeves back to your needles. Pick up additional stitches around the armhole to ensure a seamless transition. Join in the round and follow the colorwork chart for the sleeves, decreasing evenly until you reach the cuff.
Work a 2-inch ribbed cuff using K2, P2 ribbing. Repeat this process for the second sleeve, ensuring both sleeves match in length and colorwork pattern.
6. Final Touches
Once both sleeves are complete, weave in all ends using a tapestry needle. This will give your sweater a clean finish. Finally, block your sweater to the measurements specified in the pattern. This will help even out the stitches and enhance the overall appearance of your work.
Congratulations! You’ve successfully knitted your very own Aurora Borealis Sweater. Wear it with pride and enjoy the warmth and beauty of your creation!