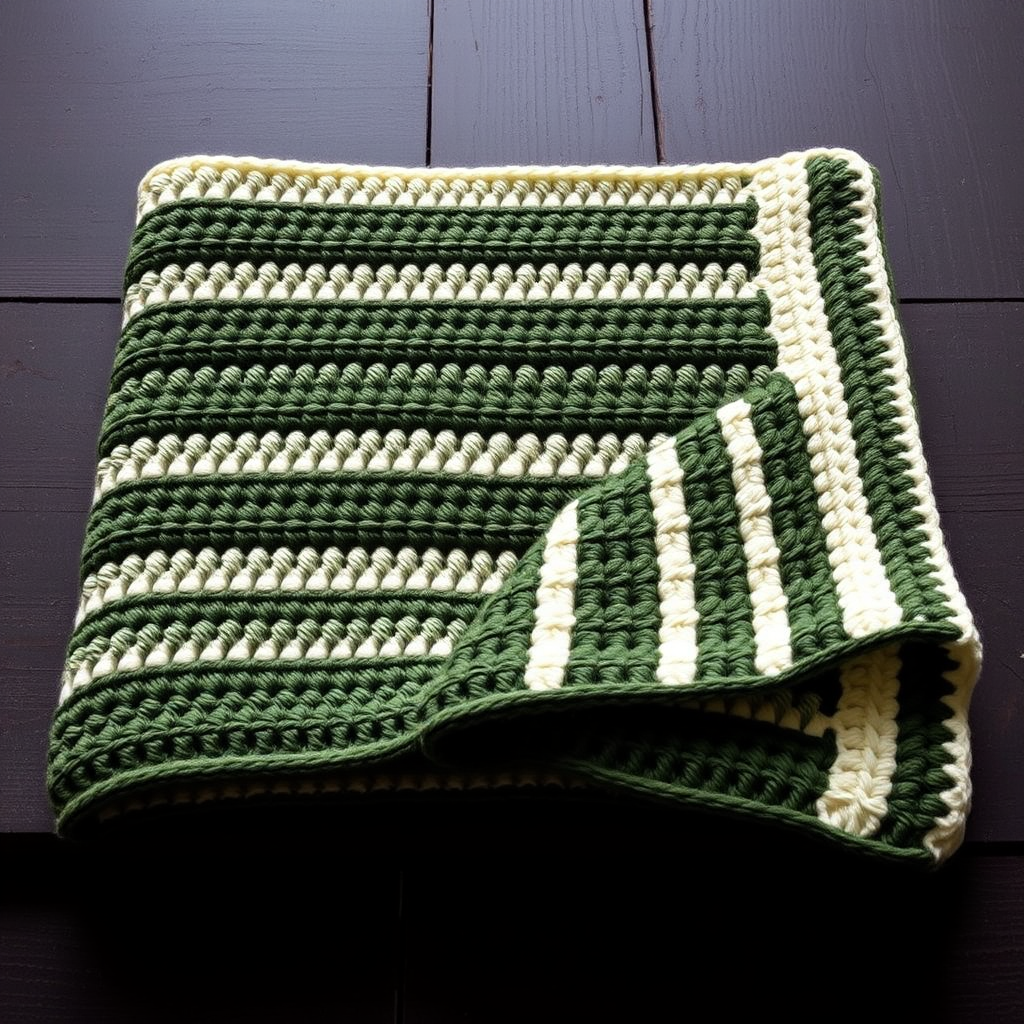
Sunlit Meadow Throw Free Pattern

Wrap Yourself in Sunshine: The Sunlit Meadow Throw Free Crochet Pattern
Imagine curling up on a cool evening, wrapped in a blanket that feels like a warm, sun-drenched field. That’s the magic of the Sunlit Meadow Throw. This free crochet pattern creates a stunning, textured mosaic using a simple combination of front and back post double crochet stitches. The result is a plush, ribbed fabric that’s as delightful to make as it is to snuggle under. With its earthy gradient of golden yellow, sage green, and cream, this throw adds a handcrafted touch to any living space. Best of all, it’s beginner-friendly—if you know basic double crochet, you can create this beautiful heirloom piece.
This pattern is designed to be your complete guide. We’ll walk through every step, from gathering your materials to weaving in the final ends, ensuring you can recreate this cozy masterpiece with confidence.
Materials Needed: Gathering Your Meadow
Before you begin, let's gather your supplies. The beauty of this pattern is its simplicity—you only need a few basic items to get started.
Yarn & Hook
- Yarn: Worsted weight yarn in three colors. You will need approximately:
- Color A (Golden Yellow): 400 grams (approx. 800 yards)
- Color B (Sage Green): 400 grams (approx. 800 yards)
- Color C (Cream): 200 grams (approx. 400 yards)
- Crochet Hook: 5.0 mm (H/8) crochet hook. This size is perfect for worsted weight yarn to achieve the correct gauge.
Additional Tools
- Yarn Needle: A large-eyed tapestry needle for weaving in ends.
- Scissors: For cutting yarn.
- Measuring Tape: To check your gauge and blanket dimensions.
- Stitch Markers (optional): Helpful for keeping track of your rows, especially when changing colors.
Gauge & Size
- Gauge: 14 dc x 8 rows = 4 inches in pattern stitch. Always make a gauge swatch first to ensure your blanket matches the intended size.
- Finished Size: Approximately 50 inches wide x 60 inches long. This is a perfect throw size for a couch or the foot of a bed.
Step-by-Step Instructions: Crafting Your Sunlit Meadow
This pattern uses a simple 12-row repeat that creates a beautiful, textured ribbed effect. The key is mastering the Front Post Double Crochet (fpdc) and Back Post Double Crochet (bpdc). Don't worry—they're easier than they sound! A fpdc is worked around the post of the stitch from the front, and a bpdc is worked around the post from the back. This creates the raised, woven look.
Let's get started! The pattern is worked in rows, back and forth.
Getting Started: The Foundation
Step 1: With Color A (Golden Yellow), chain 121 loosely. This foundation chain determines the width of your blanket. Make sure it’s not too tight, or the edge will pucker.
Step 2 (Row 1): Double crochet (dc) in the 4th chain from your hook. This counts as your first dc. Then, dc in each remaining chain across. At the end of the row, you should have 119 dc total. Turn your work.
The Main Pattern: Rows 2-12
Now we’ll establish the textured pattern. This 11-row sequence is the heart of the blanket.
Step 3 (Row 2): Chain 3 (this counts as your first dc). Dc in the next 2 stitches. Now, *front post double crochet (fpdc) around the next stitch. To do this, yarn over, insert your hook from front to back to front around the post of the stitch (not through the top loops), yarn over and pull up a loop, complete the dc as usual. Then, dc in the next 3 stitches. Repeat from * across the row until you have 3 stitches left. Dc in the last 3 stitches. Turn.
Step 4 (Row 3): Chain 3 (counts as dc). Dc in the next 2 stitches. Now, *back post double crochet (bpdc) around the next stitch. Insert your hook from back to front to back around the post of the stitch. Complete the dc. Then, dc in the next 3 stitches. Repeat from * across, ending with dc in the last 3 stitches. Turn.
Step 5 (Rows 4-5): Repeat Row 2. This means you’ll be doing fpdc in the same columns as before, creating a raised vertical rib.
Step 6 (Row 6): Repeat Row 3. Now you’re doing bpdc in those same columns, which will push the previous fpdc forward, creating a beautiful woven texture.
Step 7 (Rows 7-8): Repeat Row 2.
Step 8 (Row 9): Repeat Row 3.
Step 9 (Rows 10-11): Repeat Row 2.
Step 10 (Row 12): Repeat Row 3. This completes one full pattern repeat.
Color Changes & Repeating the Pattern
Now that you have the rhythm, it’s time to add the color gradient that makes this throw so special.
Step 11: Repeat Rows 2-12 for the pattern, but change colors according to this sequence:
- Work 12 rows with Color A (Golden Yellow) (this includes the rows you've already done).
- Work 12 rows with Color B (Sage Green).
- Work 12 rows with Color C (Cream).
- Work 12 rows with Color B (Sage Green).
- Work 12 rows with Color A (Golden Yellow).
How to change colors: When you're ready to switch, simply finish the last stitch of the row with the new color. For example, when you yarn over to pull through the last two loops of your final dc, use the new color yarn. This creates a clean, seamless color change. Don't cut the old yarn until you're sure you won't need it again, or weave in the ends later.
Step 12: Continue repeating Rows 2-12 with your color sequence until your piece measures approximately 60 inches from the start. It's best to end with a complete Color A section to ensure symmetry, matching the top of the blanket.
Finishing Touches
You're almost done! Now we just need to finish the edge and clean it up.
Step 13 (Final Row): With your last color (Color A), chain 3 (counts as dc). Dc in each stitch across the row. This creates a neat, straight edge. Fasten off and cut your yarn, leaving a 6-inch tail.
Step 14: Weave in all loose ends with your yarn needle. Thread the needle and weave the tail through the back of several stitches in the same color, then trim the excess. Repeat for all color change points and the starting tail.
Step 15 (Optional but Recommended): Block your blanket to size. Lay it flat on a clean surface or blocking mats. Gently pin the edges to the desired dimensions (50" x 60") and mist with water. Allow it to dry completely. This helps even out the stitches and gives your blanket a professional, polished look.
And there you have it—your very own Sunlit Meadow Throw! This textured, cozy blanket is a testament to your skill and a beautiful addition to your home. Whether you're gifting it or keeping it for yourself, the warmth and handmade charm will be felt for years to come. Happy crocheting!