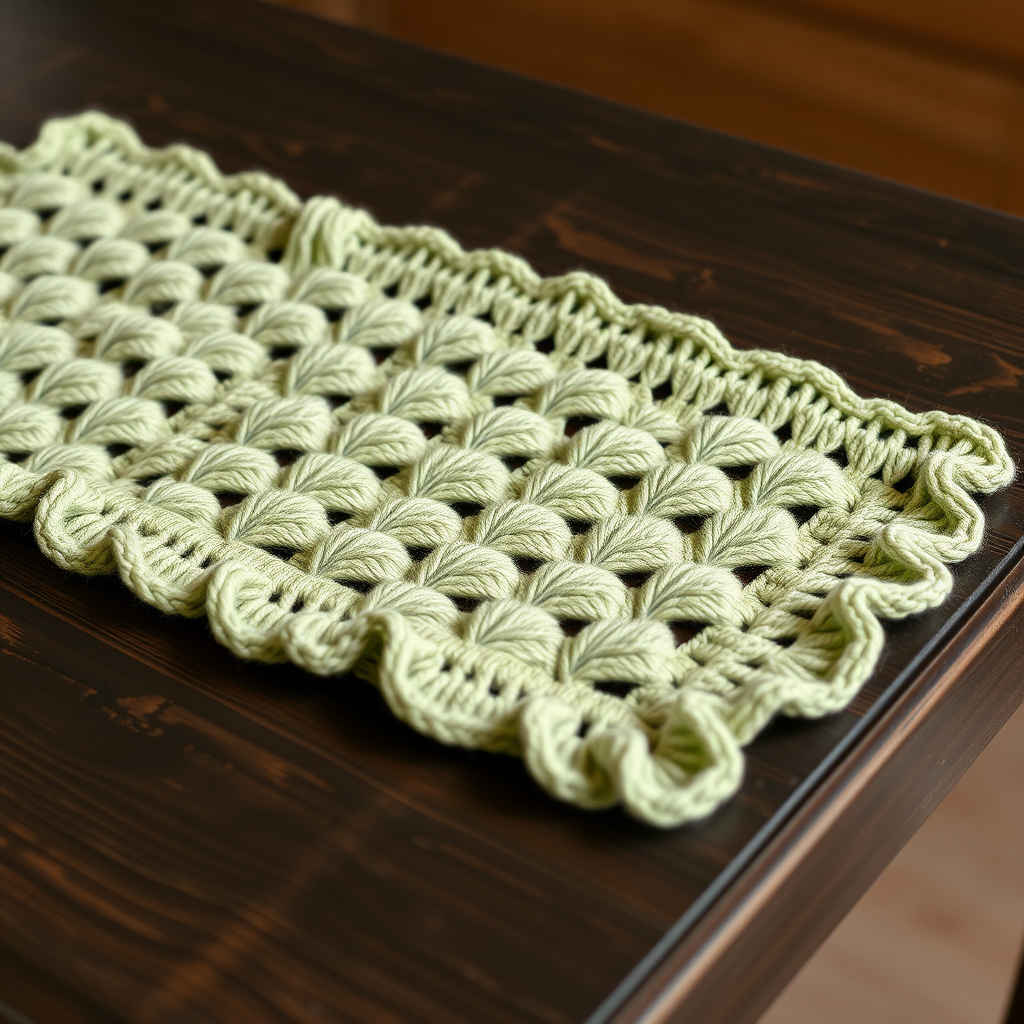
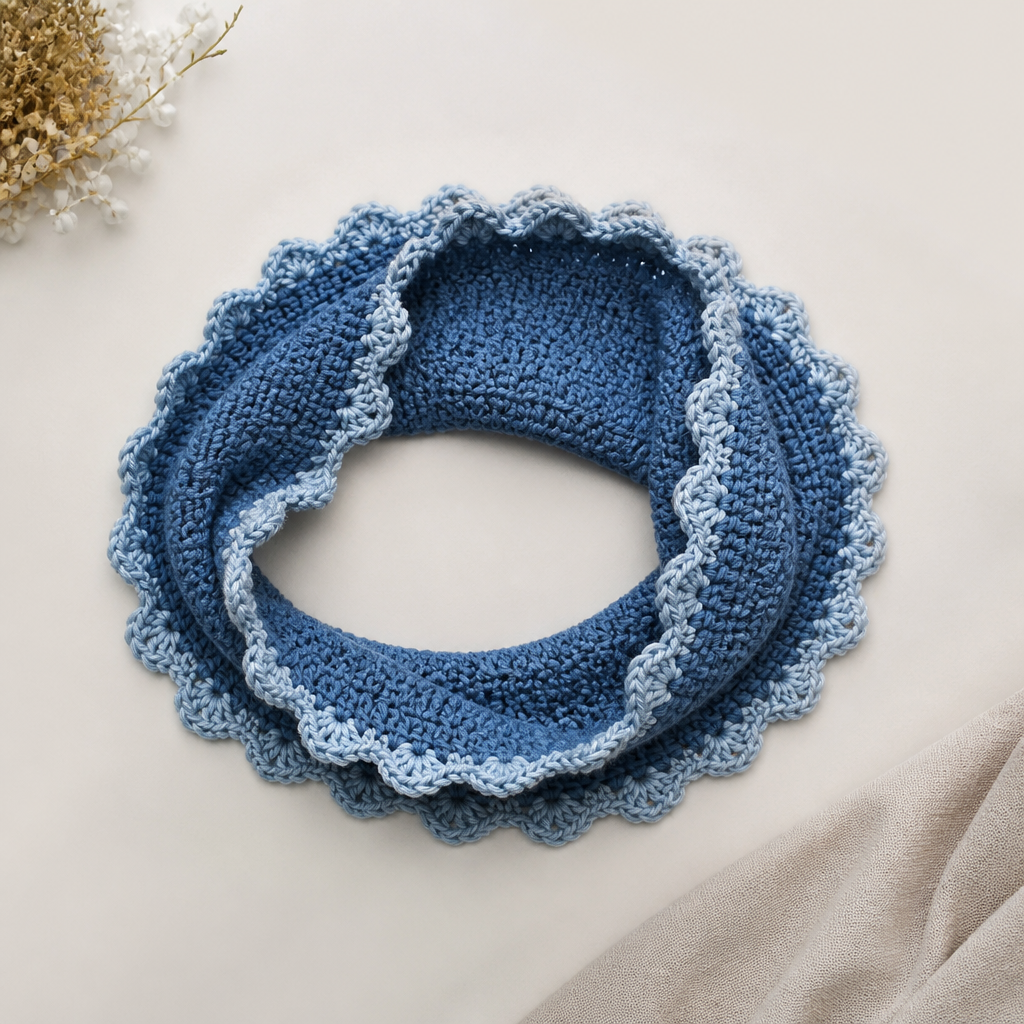
Striped Knit Rectangle Scarf

Striped Knit Rectangle Scarf
This striped knit scarf is a delightful and straightforward project that's ideal for beginners. With alternating rows of stockinette and garter stitch, this pattern creates a lovely texture. The scarf can be customized in length and color, making it a versatile accessory.
Materials:
- Worsted weight yarn in two colors (for example, light pink and cream)
- US size 8 (5 mm) knitting needles
- Scissors
- Tapestry needle for weaving in ends
Gauge:
4 stitches per inch in stockinette stitch, using size 8 needles.
Abbreviations:
- CO - Cast On
- k - Knit
- p - Purl
- st(s) - Stitch(es)
- rep - Repeat
Instructions:
Step 1: Casting On
Cast on 30 stitches using your first color (light pink). Ensure your stitches are not too tight or too loose to maintain an even tension.
Step 2: First Row (Garter Stitch)
Row 1: Knit every stitch across the row (30 stitches). This forms the first row of your garter stitch.
Step 3: Second Row (Stockinette Stitch)
Row 2: Knit the first stitch, then purl every stitch across (30 stitches). This sets up the alternating pattern.
Step 4: Repeat for Stripes
Continue alternating between rows of garter and stockinette stitch as follows:
- Row 3: Knit all stitches (garter stitch)
- Row 4: Purl all stitches (stockinette stitch)
- Row 5: Knit all stitches (garter stitch)
- Row 6: Change color (to cream) and purl all stitches (stockinette stitch)
- Row 7: Knit all stitches (garter stitch)
- Row 8: Purl all stitches (stockinette stitch)
Continue to repeat this pattern until the scarf reaches your desired length, typically around 60 inches for a standard scarf.
Step 5: Finishing
After reaching the desired length, knit a final row in garter stitch before binding off to secure your stitches. To bind off, knit the first two stitches, then pull the first stitch over the second stitch, leaving one on the needle. Knit another stitch and repeat the process until all stitches are bound off.
Step 6: Weaving in Ends
Using a tapestry needle, weave in any loose ends from your yarn color changes. Make sure to tuck these in securely to keep your scarf looking neat.
Step 7: Enjoy Your Scarf!
Block your scarf gently if needed, then wear it or gift it to someone special. Enjoy your beautiful creation!