Prism Cascade Ripple Blanket Free Pattern – A Luminous Rainbow Throw
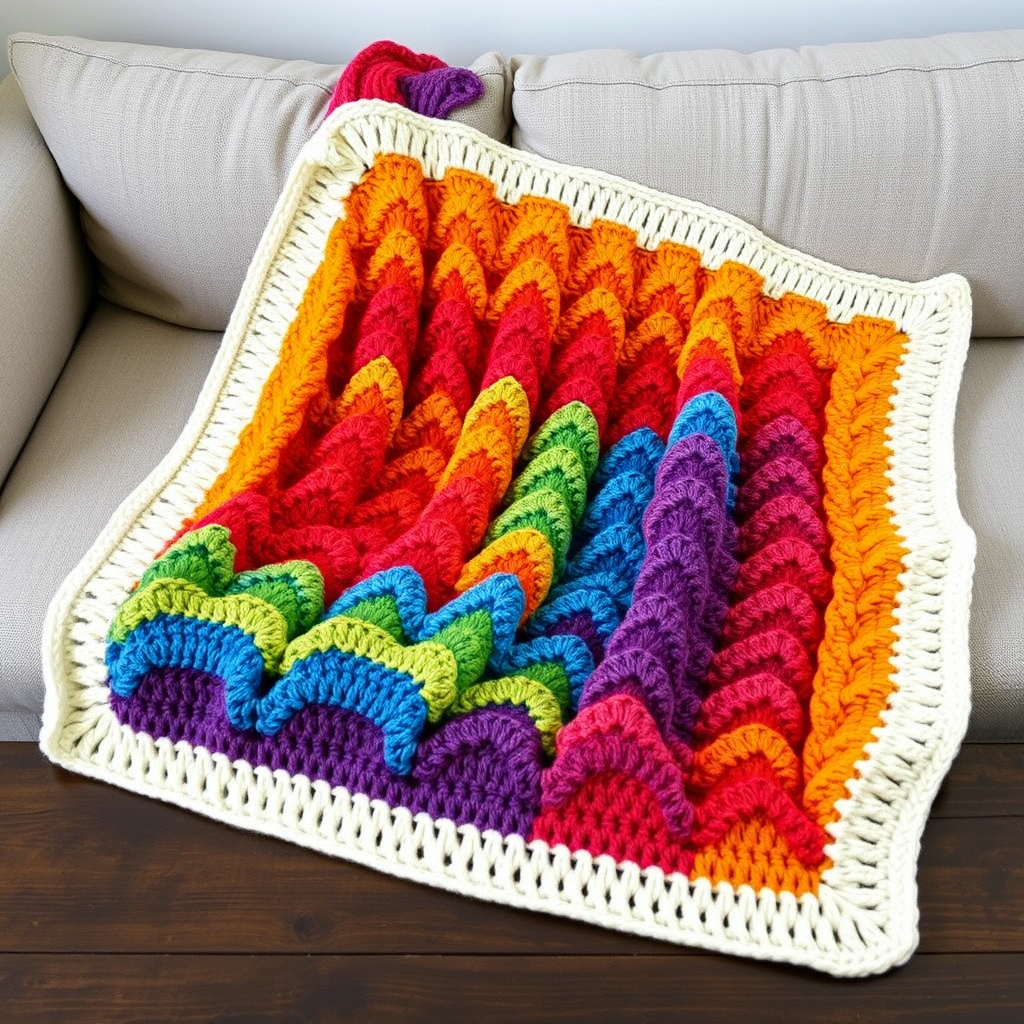
Prism Cascade Ripple Blanket Free Pattern – A Luminous Rainbow Throw
Wrap yourself in a hand-crocheted spectrum with this mesmerizing ripple blanket, where soft gradients of color flow like light through a prism. Each wave is a cozy, textured journey through the entire rainbow, perfect for brightening any room or gifting a piece of handmade joy. This pattern is designed with beginners in mind, using simple double crochet stitches and a rhythmic repeat that becomes meditative once you find your groove. The result is a stunning, sculptural throw that will become the centerpiece of any space.
Materials Needed
Before you begin, gather the following supplies. Having everything ready will make your crochet session smooth and enjoyable.
- Yarn: Worsted weight (#4) cotton or acrylic blend in 7 colors:
- Red (A) – approx. 250g
- Orange (B) – approx. 250g
- Yellow (C) – approx. 250g
- Green (D) – approx. 250g
- Blue (E) – approx. 250g
- Indigo (F) – approx. 250g
- Violet (G) – approx. 250g
- White (H) for borders – approx. 150g
- Crochet Hooks:
- 5.5mm (I-9) hook for the main body
- 6.0mm (J-10) hook for the foundation chain only
- Other: Yarn needle for weaving in ends, scissors, and stitch markers (optional but helpful).
Gauge: 14 dc x 8 rows = 10cm (4 inches) in ripple pattern (using 5.5mm hook). Be sure to check your gauge to ensure your blanket comes out the correct size.
Step-by-Step Instructions
This ripple blanket is worked in rows, with each row using a single color to create bold, horizontal stripes of the rainbow. The pattern uses a simple 3-dc increase and 3-dc decrease to form the peaks and valleys of the waves. Follow along carefully, and you'll be amazed at how quickly the pattern emerges.
Foundation Row (Using 6.0mm Hook)
Using the larger hook for the foundation chain gives your blanket a stretchy, even edge that won't pucker.
- Chain a multiple of 14 + 3.
- For a throw size (approx. 130cm x 180cm), chain 199.
- Adjustments: For a baby blanket, chain 115; for a king-size, chain 283.
Row 1 (Right Side, using 5.5mm hook and Color A)
This row establishes the ripple pattern. Take your time and count your stitches as you go.
- Work 2 dc into the 4th chain from the hook. (The skipped chains count as your first dc, and the 2 dc together form the first increase.)
- Work 1 dc into each of the next 5 chains.
- *Skip 2 chains (this forms the valley).
- Work 1 dc into each of the next 5 chains.
- Work 3 dc into the next chain (this forms the peak).
- Work 1 dc into each of the next 5 chains.
- Repeat from * to * across, ending with: skip 2 chains, work 1 dc into each of the next 5 chains, then work 3 dc into the last chain. Turn.
Pro Tip: Count your stitches at the end of the row. Each repeat of the pattern uses 14 chains and creates 12 dc, plus the 2 extra dc at each end for the half-peaks. For 199 chains, you should have 171 dc total.
Row 2 (Color A)
This row works into the stitches of Row 1, building the ripple upward.
- Chain 3 (counts as first dc).
- Work 2 dc into the same stitch (this is the increase at the start).
- Work 1 dc into each of the next 5 dc.
- *Skip 2 dc (the valley).
- Work 1 dc into each of the next 5 dc.
- Work 3 dc into the next dc (the peak).
- Work 1 dc into each of the next 5 dc.
- Repeat from * to * across, ending with: skip 2 dc, work 1 dc into each of the next 5 dc, then work 3 dc into the top of the turning chain. Turn.
Row 3 and Beyond (Color Changes)
Now that the pattern is established, it's simply a matter of repetition and color changes.
- Row 3 (Color B): Repeat Row 2 exactly, but with Color B.
- Continue in this manner, changing colors every 2 rows to create a thick, bold stripe. (You may change every row for a thinner stripe, but 2 rows lets the ripple texture shine.)
- Follow the color order: A, B, C, D, E, F, G, then repeat from A again.
- Continue until the blanket reaches your desired length, ending with a complete color sequence (finish on a G row).
Pro Tip: When changing colors, do so on the last yarn over of the final stitch of the row. This creates a clean, seamless color transition.
Border (Using Color H, White)
The border frames your beautiful rainbow work and gives it a polished, professional finish.
- Round 1: With right side facing, join White with a slip stitch in any corner.
- Work 1 sc in each dc across the top edge, working 3 sc into the corner stitch.
- Down the side edges, work 1 sc into the end of each row (2 sc per row if your rows are tall).
- Work 3 sc into the bottom corners.
- Across the bottom, work 1 sc into each foundation chain.
- Join with a slip stitch to the first sc.
- Round 2: Chain 1.
- Work 1 sc in each sc around, working 3 sc into each corner sc.
- Join with a slip stitch.
- Fasten off and weave in all ends with your yarn needle.
Finishing
Blocking is the secret to a truly professional-looking ripple blanket. It evens out the waves and makes the peaks and valleys crisp.
- Gently block the blanket to even out the ripples.
- Lay it flat on a clean surface or blocking mats.
- Pin the peaks and valleys to their intended positions.
- Mist with water (or use a steam iron held above the fabric – never directly on it).
- Allow to dry completely before removing pins and using.
Your Prism Cascade Ripple Blanket is now complete! Drape it over a sofa, fold it at the foot of a bed, or gift it to someone special. The vibrant rainbow stripes and plush texture are sure to bring warmth and joy wherever it goes. Happy crocheting!