Crochet Blanket Patterns
Parquet Tiles Crochet Blanket Free Pattern
Anonymous
•
July 18, 2026
Introduction
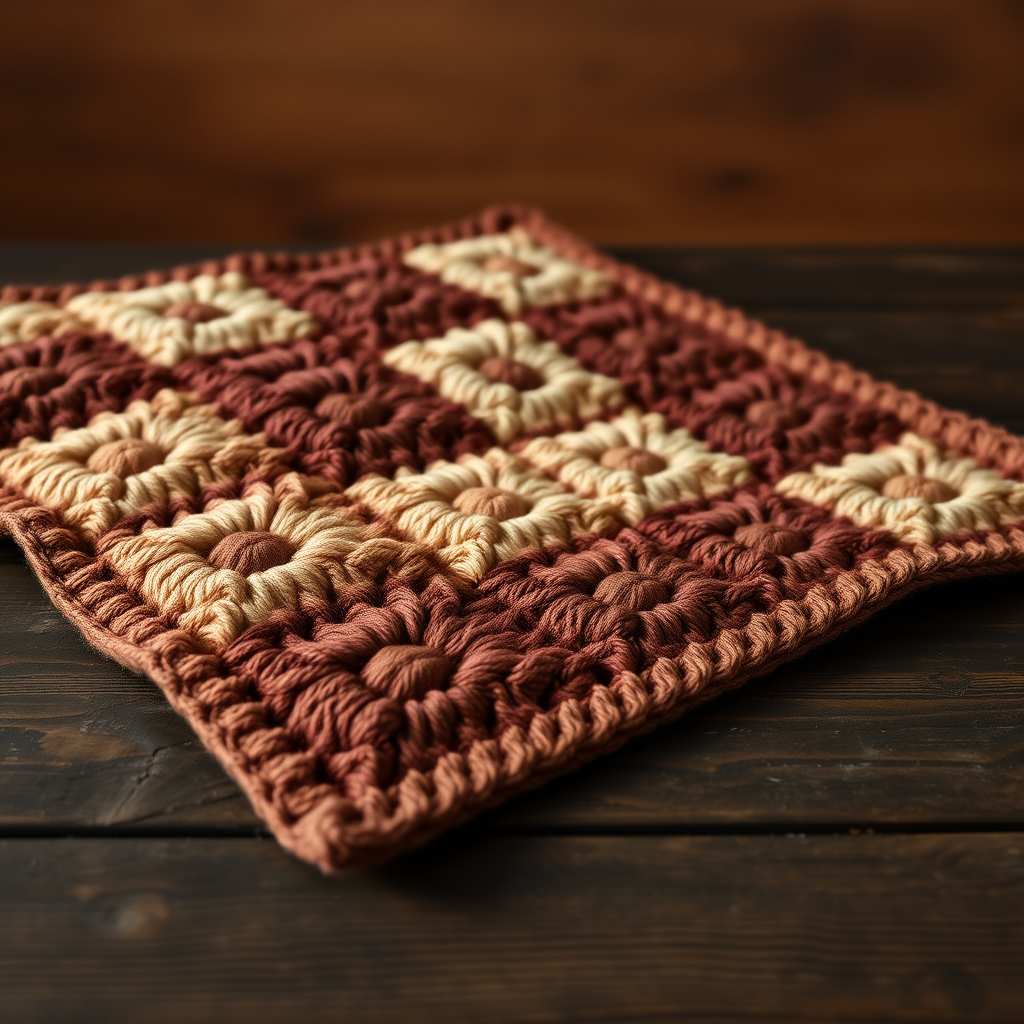
Welcome to the world of crochet! Today, we are excited to share a beautiful and cozy project: the Parquet Tiles Crochet Blanket. This stunning blanket combines intricate textures and a rich color palette that mimics the classic elegance of parquet flooring. Perfect for beginners, this pattern will guide you step-by-step to create a warm and inviting piece for your home.
Materials Needed
- Yarn: Worsted weight yarn in four colors:
- Deep Mahogany
- Warm Oak
- Soft Ash
- Rich Walnut
- Hook: Size H/8 (5.0 mm) crochet hook
- Gauge: 4x4 inch square = 14 double crochet (dc) x 7 rows
Step-by-Step Instructions
Creating the Squares
- Start with a Magic Ring: Create a magic ring to begin your square. This allows for a tight center with no hole.
- Round 1:
- Chain 3 (this counts as your first double crochet).
- Work 11 double crochets into the magic ring.
- Join the round by slip stitching (sl st) to the top of the chain 3. You should have a total of 12 double crochets.
- Round 2:
- Chain 3, then work 1 double crochet in the same stitch.
- Work 2 double crochets in each stitch around the circle.
- Join with a slip stitch to the top of the chain 3. You should have 24 double crochets now.
- Round 3:
- Chain 3, then work 1 double crochet in the same stitch.
- Work 1 double crochet in the next stitch.
- Repeat the sequence: *2 double crochets in the next stitch, 1 double crochet in the next stitch; repeat from * around.
- Join with a slip stitch to the top of the chain 3. You should have 36 double crochets.
- Continue Increasing: Continue this pattern of increasing until your square measures 12 inches across. Make sure to measure your work to ensure accuracy.
- Fasten Off: Once your square is the correct size, fasten off your yarn and weave in any loose ends. Repeat this process to create a total of 20 squares, alternating colors as desired.
Assembling the Blanket
- Arrange Your Squares: Lay out your squares in a parquet pattern. Feel free to mix and match the colors to create a design that you love.
- Join the Squares: Using a whip stitch, join the squares together. Make sure to align the edges neatly for a polished look.
Adding a Border
- Attach Yarn: Choose a corner of your blanket to start. Attach your yarn with a slip knot.
- Round 1:
- Chain 1, then single crochet (sc) evenly around the entire blanket.
- In each corner, work 3 single crochets to create a rounded edge.
- Join with a slip stitch to the first single crochet to complete the round.
- Round 2:
- Chain 2, then half double crochet (hdc) in each stitch around.
- In each corner, work 3 half double crochets.
- Join with a slip stitch to the top of the chain 2 to complete the round.
- Final Touch: Fasten off your yarn and weave in any remaining ends.
Conclusion
Congratulations! You have successfully created your very own Parquet Tiles Crochet Blanket. This cozy and stylish blanket will not only add warmth to your home but also showcase your crafting skills. Enjoy snuggling up with your new creation!