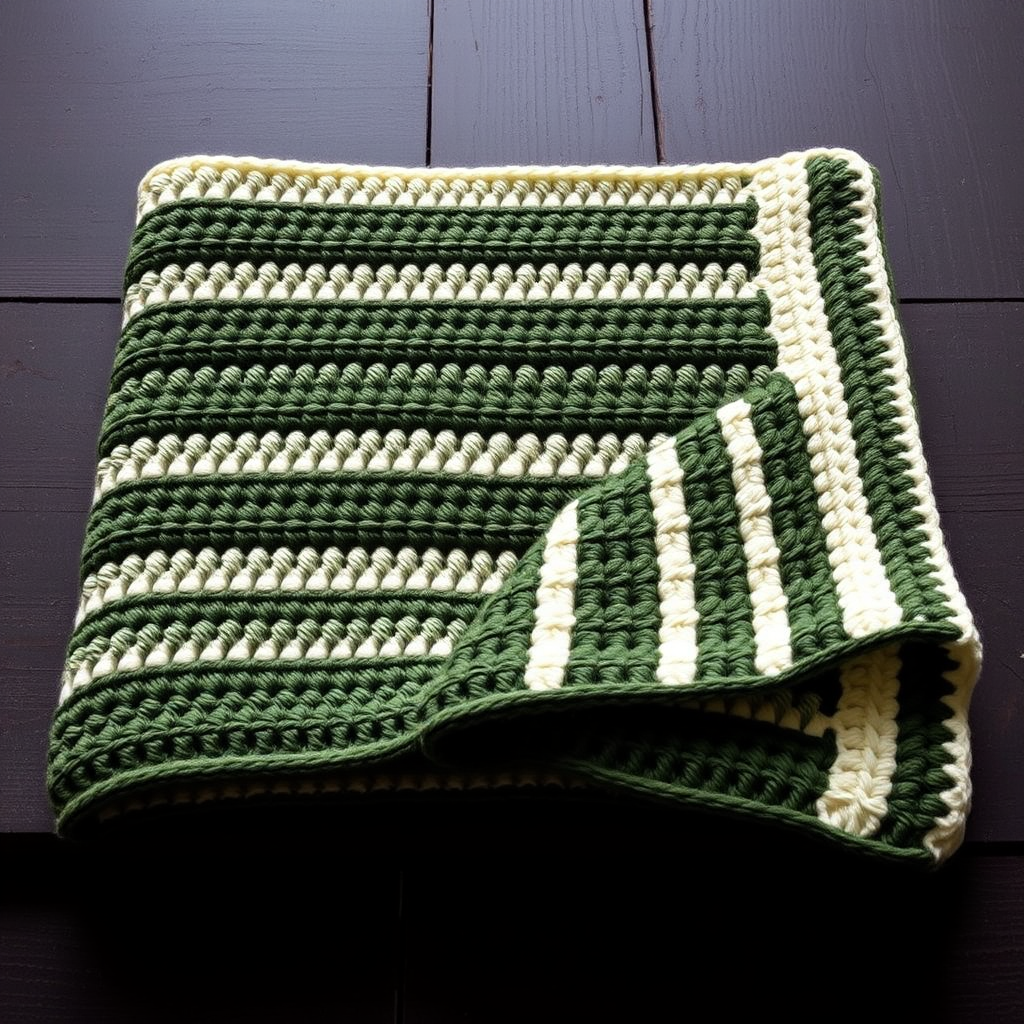
Heirloom Meadow Mosaic Blanket Free Pattern – Crochet a Vintage-Inspired Floral Throw

Heirloom Meadow Mosaic Blanket Free Pattern – Crochet a Vintage-Inspired Floral Throw
Wrap yourself in a garden of textured blooms with this mosaic crochet blanket, where each square blossoms into a unique flower medley. This pattern weaves together soft, earthy tones and dimensional petals for a cozy, handcrafted heirloom piece. Whether you're an experienced crocheter looking for a meditative project or a confident beginner ready for a challenge, this throw will become a treasured family keepsake.
The magic of this design lies in its modular construction—you'll create 12 individual 12-inch squares, each with its own floral personality, then join them into a lush 3x4 grid. The mosaic technique (working over carried yarn) creates geometric, layered petals that grow progressively larger, mimicking a wildflower meadow in full bloom. The finished blanket measures a generous 40" x 52", perfect for draping over a sofa or snuggling under on cool evenings.
Materials Needed
Before you begin, gather these supplies to ensure a smooth crochet experience:
- Yarn: Worsted weight yarn in 5 colors (approx. 1800 yds total):
- Color A: Cream (background & joining) – approx. 600 yds
- Color B: Sage Green (leaves) – approx. 300 yds
- Color C: Dusty Rose (petals) – approx. 300 yds
- Color D: Mustard Yellow (petals) – approx. 300 yds
- Color E: Terracotta (petals) – approx. 300 yds
- Hook: 5.5 mm (I-9) crochet hook
- Other: Yarn needle for weaving ends, scissors, blocking mats and pins (optional but recommended)
Gauge: 4” x 4” = 14 sc x 16 rows (blocked). Gauge is important for achieving the correct finished size, so take a moment to make a test swatch before starting.
Step-by-Step Instructions
Understanding the Mosaic Technique
This pattern uses a simplified mosaic crochet method where you work over carried yarn. When instructed to "work over" a color, simply lay the unused yarn across the top of the previous round and crochet over it, hiding it inside your stitches. This creates the beautiful geometric patterns without complex color changes.
Square Base (Make 12 Squares)
Each square begins with a cream center and builds outward. Follow these rounds carefully—the stitch counts are crucial for maintaining the square shape.
Round 1: With Color A (Cream), ch 4, join with sl st to form ring. Ch 3 (counts as dc), 11 dc in ring, join with sl st to top of ch-3. (12 dc)
Round 2: Ch 3, dc in same st, 2 dc in each st around, join. (24 dc)
Round 3: Ch 3, dc in same st, dc in next st, *2 dc in next st, dc in next st* repeat around, join. (36 dc)
Round 4: Ch 1, sc in same st, *ch 3, skip 2 sts, sc in next st* repeat around, join with sl st to first sc. (12 ch-3 loops)
Round 5 (Mosaic Flower Petals): Sl st into first ch-3 loop, ch 1, (sc, hdc, 3 dc, hdc, sc) in same loop, *(sc, hdc, 3 dc, hdc, sc) in next loop* repeat around, join. (12 petals)
Round 6: Ch 1, sc in same st, *ch 5, sc in center dc of next petal* repeat around, join. (12 ch-5 loops)
Round 7 (Mosaic Leaf Motif): Sl st into first ch-5 loop, ch 1, (sc, hdc, 5 dc, hdc, sc) in same loop, *(sc, hdc, 5 dc, hdc, sc) in next loop* repeat around, join. (12 leaves)
Round 8: Ch 1, sc in same st, *ch 7, sc in center dc of next leaf* repeat around, join. (12 ch-7 loops)
Round 9 (Mosaic Outer Petals): Sl st into first ch-7 loop, ch 1, (sc, hdc, 7 dc, hdc, sc) in same loop, *(sc, hdc, 7 dc, hdc, sc) in next loop* repeat around, join. (12 large petals)
Round 10: Ch 1, sc in same st, *ch 9, sc in center dc of next large petal* repeat around, join. (12 ch-9 loops)
Round 11 (Mosaic Center Accent): Sl st into first ch-9 loop, ch 1, (sc, hdc, 9 dc, hdc, sc) in same loop, *(sc, hdc, 9 dc, hdc, sc) in next loop* repeat around, join. (12 giant petals)
Round 12 (Square Corner Shaping): Ch 1, sc in same st, *ch 5, sc in next st, ch 5, sc in next st, ch 5, sc in next st, (ch 5, sc, ch 5, sc) in next st (corner)* repeat around, join. Fasten off.
Creating Your Flower Medley Variations
This is where the magic happens! For each of the 12 squares, you'll alternate the color placement of Rounds 5, 7, 9, and 11 using colors C (Dusty Rose), D (Mustard Yellow), and E (Terracotta). The leaves (Rounds 7) always use Color B (Sage Green).
Here's a suggested rotation to create a harmonious yet varied medley:
- Square 1: Petals in C, leaves in B, outer petals in D, giant petals in E
- Square 2: Petals in D, leaves in B, outer petals in E, giant petals in C
- Square 3: Petals in E, leaves in B, outer petals in C, giant petals in D
- Square 4: Petals in C, leaves in B, outer petals in E, giant petals in D
- Square 5: Petals in D, leaves in B, outer petals in C, giant petals in E
- Square 6: Petals in E, leaves in B, outer petals in D, giant petals in C
- Square 7: Petals in C, leaves in B, outer petals in D, giant petals in E (repeat of Square 1)
- Square 8: Petals in D, leaves in B, outer petals in E, giant petals in C (repeat of Square 2)
- Square 9: Petals in E, leaves in B, outer petals in C, giant petals in D (repeat of Square 3)
- Square 10: Petals in C, leaves in B, outer petals in E, giant petals in D (repeat of Square 4)
- Square 11: Petals in D, leaves in B, outer petals in C, giant petals in E (repeat of Square 5)
- Square 12: Petals in E, leaves in B, outer petals in D, giant petals in C (repeat of Square 6)
Feel free to experiment with your own color combinations—the beauty of this pattern is its flexibility. Just remember to always use Color B for the leaf rounds to maintain visual cohesion.
Joining the Squares
Once all 12 squares are complete, arrange them in a 3x4 grid. Play with the layout until you're happy with the color distribution—step back and view it from a distance to ensure balance.
With Color A (Cream), whip stitch the squares together through back loops only, matching stitches carefully. This creates a nearly invisible seam on the front and a neat, flat join on the back. Take your time with this step; careful joining makes the finished blanket look professional.
Adding the Scalloped Border
The border echoes the petal shapes within the squares, tying the whole design together beautifully.
Round 1: With Color A, sc evenly around the entire blanket, working 3 sc in each corner. Join with sl st to first sc.
Round 2: Ch 3, dc in each sc around, working 5 dc in each corner. Join with sl st to top of ch-3.
Round 3: Ch 1, sc in same st, *ch 3, skip 2 dc, sc in next dc* repeat around, working (sc, ch 3, sc) in each corner. Join with sl st to first sc.
Round 4: Sl st into ch-3 loop, ch 1, (sc, hdc, 3 dc, hdc, sc) in each ch-3 loop around, working (sc, hdc, 5 dc, hdc, sc) in corner loops. Join. Fasten off.
Finishing Touches
Weave in all ends carefully with your yarn needle, being sure to secure them well so they don't work loose with use. This step is tedious but essential for a durable, beautiful finished piece.
Finally, block your blanket to 40” x 52”. Wet blocking (or steam blocking, depending on your yarn's care instructions) will help even out the stitches, open up the mosaic patterns, and give your blanket that professional, polished look. Pin it to the correct dimensions on blocking mats and allow it to dry completely before removing.
Tips for Success
- Count your stitches after each round—catching an error early saves frustration later.
- Use stitch markers to mark the beginning of rounds, especially when working in the round.
- Keep your tension consistent throughout. If you tend to crochet tightly, consider going up a hook size; if loosely, go down.
- Don't rush the joining process. A well-joined blanket lies flat and looks professional.
This Heirloom Meadow Mosaic Blanket is more than just a crochet project—it's a labor of love that will be passed down through generations. The combination of mosaic technique, dimensional petals, and warm earthy tones creates a piece that feels both vintage and timeless. As you work through each square, you'll watch your meadow of flowers come to life, one petal at a time.
Happy crocheting, and may your home be filled with the warmth of handmade beauty!