Heirloom Honeycomb Cable Baby Cardigan Free Pattern – Knit a Timeless Textured Jacket

Heirloom Honeycomb Cable Baby Cardigan Free Pattern – Knit a Timeless Textured Jacket
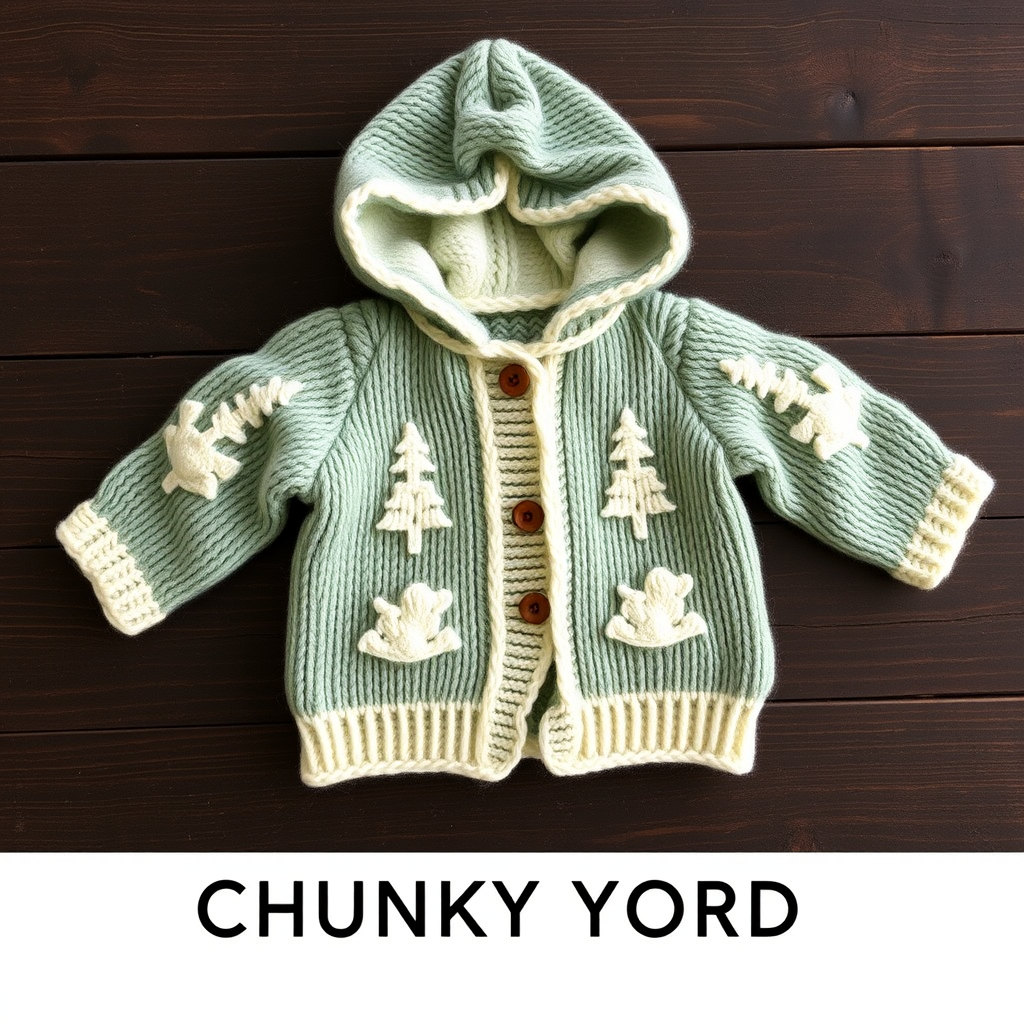
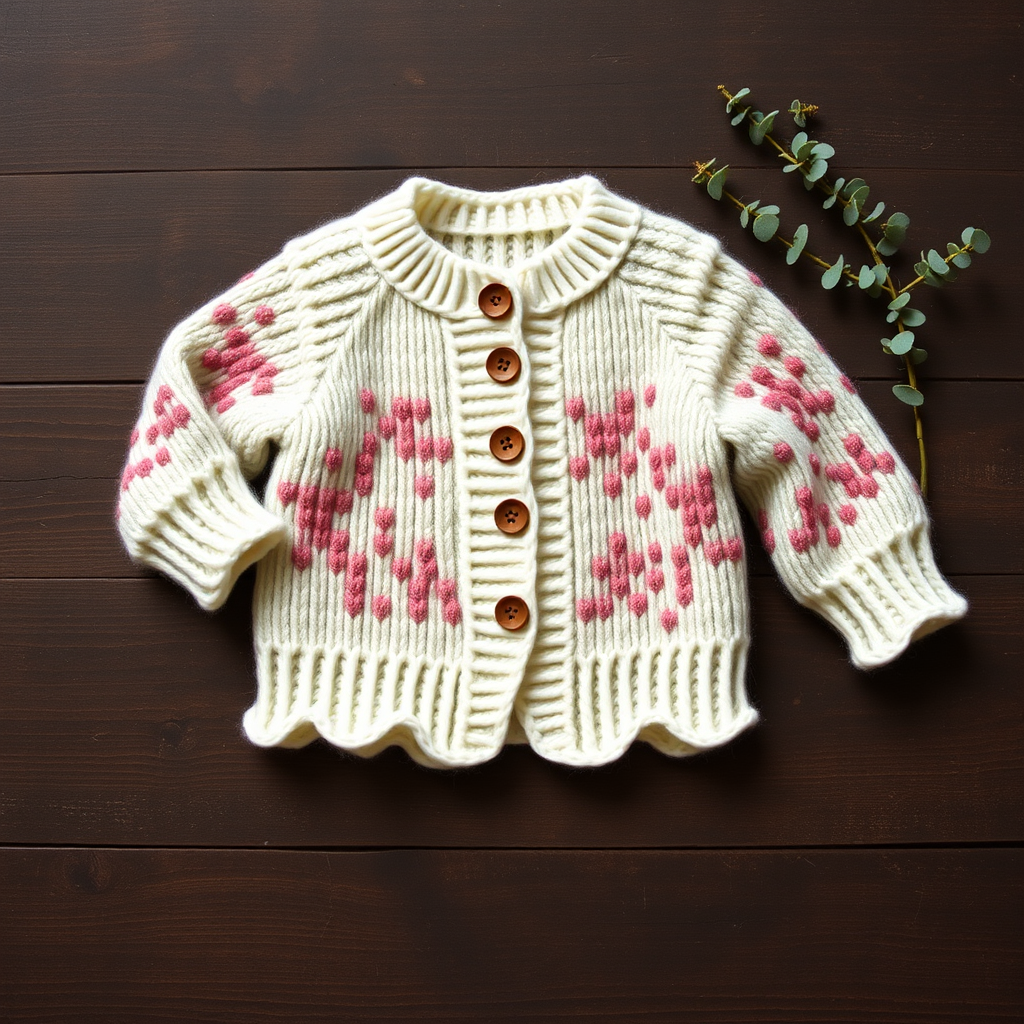
Wrap your little one in the cozy luxury of hand-knit cables with this heirloom-quality baby cardigan. The honeycomb cable panel and delicate seed stitch borders create a timeless, textured look that's perfect for photos and everyday snuggles. This free knitting pattern is designed with beginners in mind, offering clear instructions and a classic silhouette that will become a family treasure. Whether you're crafting for a newborn gift or your own bundle of joy, this baby jacket promises to be a cherished piece.
Materials Needed
Before you begin, gather the following supplies to ensure a smooth knitting experience:
- Yarn: Worsted weight (Category 4) soft baby yarn, approximately 300-400 yards. Recommended: Lion Brand Baby Soft or Cascade 220 Superwash in a warm cream or undyed natural white for that heirloom look.
- Needles: US Size 7 (4.5 mm) knitting needles (straight or circular for the body), plus a cable needle.
- Notions: Stitch markers, tapestry needle for weaving in ends, and 4-5 small wooden buttons in a natural tone.
- Gauge: 20 stitches and 26 rows = 4 inches in stockinette stitch (blocked). Always check your gauge to ensure the correct finished size.
Sizes and Abbreviations
Sizes: 0-3 months (3-6 months, 6-12 months). Finished chest: 16 (18, 20) inches.
Abbreviations:
- k = knit
- p = purl
- k2tog = knit two together
- ssk = slip slip knit
- yo = yarn over
- C4F = slip 2 stitches to cable needle, hold in front, k2, then k2 from cable needle
- C4B = slip 2 stitches to cable needle, hold in back, k2, then k2 from cable needle
- pm = place marker
- sl = slip
Special Stitches
Honeycomb Cable Pattern (worked over 12 stitches, multiple of 12 + 2 for edges)
This pattern creates a rich, textured diamond-like effect that is the centerpiece of the cardigan.
- Row 1 (RS): k2, *C4B, C4F, k4; repeat from * to last 2 sts, k2.
- Row 2 and all WS rows: Purl all stitches.
- Row 3: k2, *k2, C4F, C4B, k2; repeat from * to last 2 sts, k2.
- Row 5: Repeat Row 1.
- Row 7: k2, *C4F, C4B, k4; repeat from * to last 2 sts, k2.
- Row 8: Purl.
- Repeat Rows 1-8 for the pattern.
Step-by-Step Instructions
Back Panel
Cast on 62 (70, 78) stitches. Work in seed stitch (k1, p1 across; on the next row, p1, k1 across) for 6 rows.
Next, set up the pattern:
- Row 1 (RS): Work 5 (7, 9) stitches in seed stitch, place marker, work Honeycomb Cable Pattern over the next 12 stitches, place marker, work 28 (32, 36) stitches in stockinette (knit on RS, purl on WS), place marker, work Honeycomb Cable Pattern over the next 12 stitches, place marker, work 5 (7, 9) stitches in seed stitch.
Continue in this established pattern, working seed stitch edges, cable panels, and the stockinette center, until the piece measures 7 (8, 9) inches from the cast-on edge, ending with a WS row.
Shape Armholes: Bind off 4 (5, 6) stitches at the beginning of the next 2 rows. Continue in pattern until the armhole measures 4 (4.5, 5) inches. Place the remaining 54 (60, 66) stitches on a holder for the back neck.
Left Front Panel
Cast on 34 (38, 42) stitches. Work seed stitch for 6 rows.
Set up the pattern:
- Row 1 (RS): Work 5 (7, 9) stitches in seed stitch (front edge), place marker, work Honeycomb Cable Pattern over the next 12 stitches, place marker, work the remaining 17 (19, 21) stitches in stockinette (side edge).
Continue until the piece measures the same as the back to the armhole, ending with a WS row.
Shape Armhole: Bind off 4 (5, 6) stitches at the beginning of the next row (side edge). Continue in pattern until the armhole measures 2 (2.5, 3) inches, ending with a WS row.
Shape Neck: At the beginning of the next row (front edge), bind off 8 (9, 10) stitches. Continue in pattern, decreasing 1 stitch at the neck edge every RS row 4 times. Work even until the armhole measures the same as the back. Bind off the remaining 18 (20, 22) stitches.
Right Front Panel
Work as for the left front, reversing the shaping. Set up the pattern:
- Row 1 (RS): Work 17 (19, 21) stitches in stockinette (side edge), place marker, work Honeycomb Cable Pattern over the next 12 stitches, place marker, work 5 (7, 9) stitches in seed stitch (front edge).
Shape the armhole at the beginning of the WS row, and the neck at the end of RS rows.
Sleeves (Make 2)
Cast on 30 (34, 38) stitches. Work seed stitch for 6 rows.
Switch to stockinette stitch. Increase 1 stitch on each side every 6th row until you have 42 (48, 54) stitches. Work even until the sleeve measures 6 (7, 8) inches from the cast-on, or the desired length. Bind off all stitches loosely.
Finishing
Sew the shoulder seams. Set in the sleeves, sewing the sleeve caps to the armholes. Sew the side and sleeve seams.
Button Band (Left Front)
With the RS facing, pick up and knit stitches evenly along the left front edge (about 3 stitches for every 4 rows). Work in seed stitch for 5 rows. Bind off in pattern.
Buttonhole Band (Right Front)
Pick up stitches as for the button band. Work in seed stitch for 2 rows. On the next row (RS), work buttonholes: k1, p1, yo, k2tog (or p2tog) at evenly spaced intervals (about 4-5 buttonholes). Continue in seed stitch for 2 more rows. Bind off in pattern.
Collar
With the RS facing, pick up and knit stitches around the neckline, including the front bands. Work in seed stitch for 4 rows. Bind off loosely in pattern.
Final Touches
Weave in all ends. Block gently to the measurements. Sew the buttons opposite the buttonholes.
Your heirloom honeycomb cable baby cardigan is now complete! This textured jacket is not only a beautiful keepsake but also a practical, cozy layer for your little one. Enjoy the process and the timeless result.