Enchanted Meadow Butterfly Baby Jacket Free Pattern – Knit a Whimsical Cocoon

Enchanted Meadow Butterfly Baby Jacket Free Pattern – Knit a Whimsical Cocoon
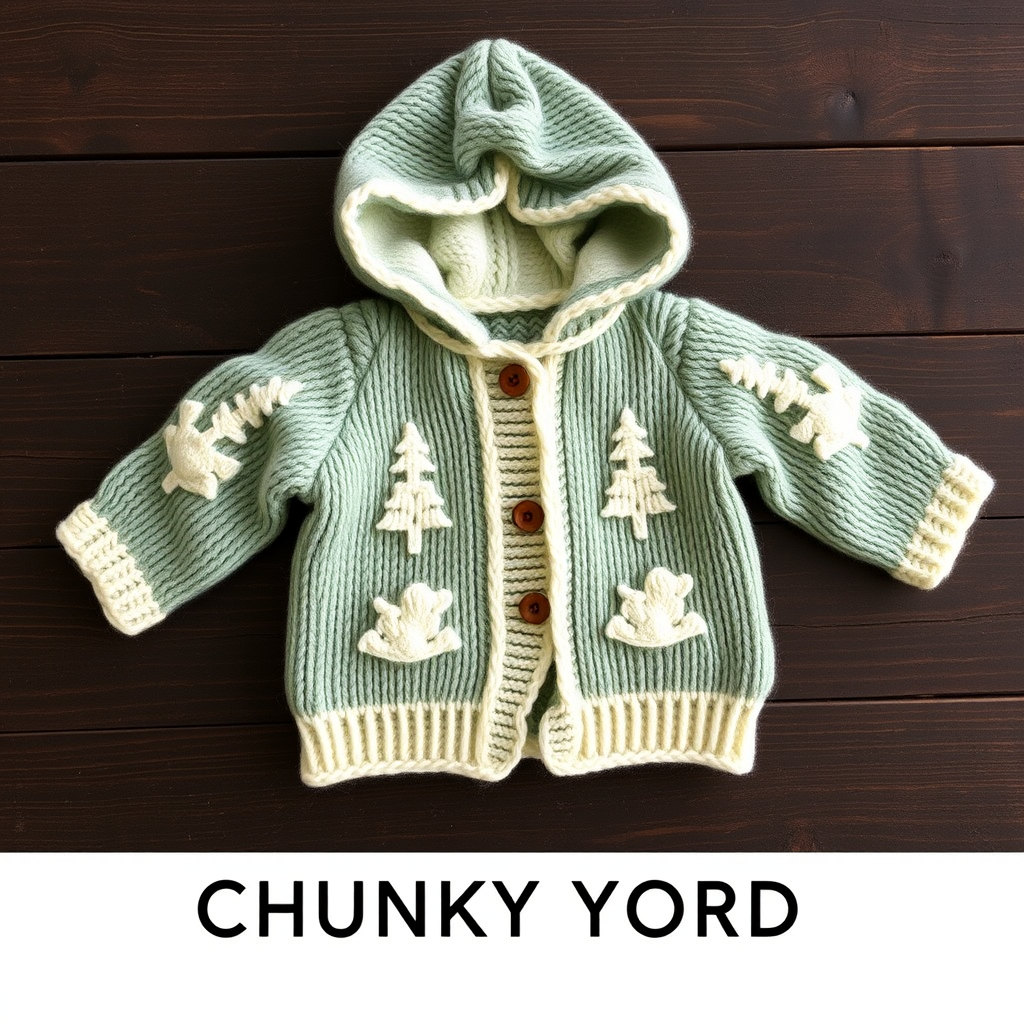
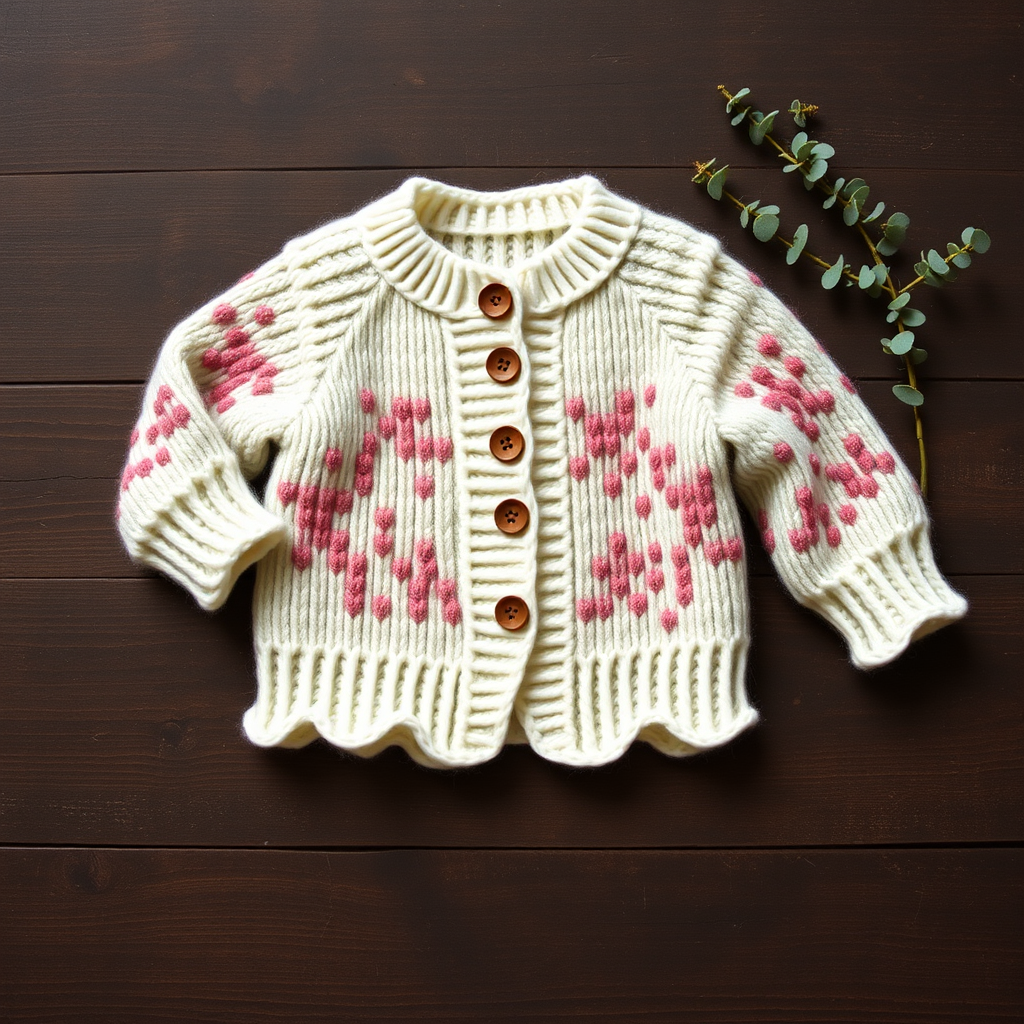
Wrap your little one in the softest wings of spring with this enchanting butterfly-inspired baby jacket. Featuring delicate lace panels that mimic the gentle flutter of butterfly wings and a cozy, cocoon-like fit, this heirloom-quality garment captures the magic of a meadow in bloom. Whether you're a seasoned knitter or a confident beginner looking for a special project, this free pattern offers a rewarding journey into lacework with a truly stunning result.
This pattern is designed to be both beautiful and practical, creating a unique layering piece that will be treasured for years. The combination of a soft sage green body, buttery yellow collar, and rose pink butterfly embellishments creates a palette straight from a spring garden. Let's dive into creating this whimsical masterpiece for your little one.
Materials Needed
Before you begin, gather the following materials to ensure a smooth and enjoyable knitting experience:
Yarn
- Main Color (MC): 2 skeins of DK weight (light worsted) yarn in a soft sage green. Suggested: "Meadow Mist" or Malabrigo Rios in a sage tone (100% superwash merino for drape and softness).
- Contrast Color (CC): 1 skein of DK weight yarn in a warm, buttery yellow. Suggested: "Buttercup" or Malabrigo Rios in a golden yellow.
- Accent Color (AC): 1 skein of DK weight yarn in a soft rose pink. Suggested: "Blush Petal" or Malabrigo Rios in a dusty rose.
Needles & Notions
- US Size 6 (4.0 mm) circular knitting needles, 24-inch (60 cm) length for the body.
- US Size 5 (3.75 mm) double-pointed needles (DPNs) for the sleeves.
- Stitch markers (at least 4)
- Tapestry needle for weaving in ends and seaming
- Waste yarn or stitch holders
- 3-4 small round buttons for the button band
Gauge
20 stitches and 28 rows = 4 inches (10 cm) in stockinette stitch on US Size 6 needles. It is crucial to check your gauge and adjust needle size if necessary to achieve the correct measurements for a perfect fit.
Step-by-Step Instructions
This pattern is worked in several sections: the body (knit in one piece from the bottom up), the sleeves (knit in the round), and the finishing details including the collar and butterfly embellishments. Follow each step carefully for a flawless result.
Sizes & Measurements
This pattern includes three sizes: 0-3 months (3-6 months, 6-12 months). Measurements are as follows:
- Chest: 16 (17, 18) inches
- Length: 9 (10, 11) inches
Instructions are written for the smallest size, with larger sizes in parentheses. Follow the numbers that correspond to your desired size throughout the pattern.
Special Stitches: Butterfly Lace Pattern
This delicate lace pattern is the heart of the design, creating the butterfly wing effect. It is worked over a multiple of 8 stitches plus 3.
Row 1 (RS): K3, *yo, k2tog, k3, ssk, yo, k1; rep from * to last 0 sts, end k0.
Row 2 and all WS rows: Purl all stitches.
Row 3: K2, *yo, k2tog, k1, ssk, yo, k3; rep from * to last 1 st, end k1.
Row 5: K1, *yo, k2tog, k3, ssk, yo, k3; rep from * to last 2 sts, end k2.
Row 7: K4, *yo, ssk, k1, k2tog, yo, k5; rep from * to last 7 sts, yo, ssk, k1, k2tog, yo, k4.
Row 8: Purl.
Note: "yo" means yarn over (increase), "k2tog" means knit two together (decrease), and "ssk" means slip, slip, knit (decrease). These are standard lace techniques.
Body (Worked in One Piece from the Bottom Up)
Step 1: Cast On & Garter Stitch Border
With MC, cast on 83 (91, 99) stitches using the long-tail method. Work in garter stitch (knit every row) for 4 rows. This creates a neat, sturdy bottom edge.
Step 2: Begin Lace Pattern
Next Row (RS): Knit 5 stitches (this forms the button band), place a stitch marker, work the Butterfly Lace Pattern across the next 73 (81, 89) stitches, place another marker, and knit the last 5 stitches (the other button band).
Continue in this established pattern, keeping the 5-stitch button bands in garter stitch (knit every row) throughout the entire body. Work until the piece measures 5 (6, 7) inches from the cast-on edge, ending with a wrong-side (WS) row.
Step 3: Shape Armholes
Next Row (RS): Knit 5, bind off 4 (5, 6) stitches, work in pattern until 9 (10, 11) stitches remain before the next marker, bind off 4 (5, 6) stitches, knit to end.
You now have three separate sections on your needle: the left front (including the button band), the back, and the right front. We will work each section separately.
Left Front
Step 4: Continue in pattern on the left front stitches (approximately 20 (22, 24) stitches) for 2 (2.5, 3) inches, ending at the armhole edge (the side where you bound off).
Step 5: Shape Neck
At the neck edge (the side closest to the center of the jacket), bind off 5 (6, 7) stitches once. Then, decrease 1 stitch at the neck edge every right-side (RS) row 3 times. To decrease, work to the last 2 stitches before the neck edge and knit them together (k2tog).
Work even on the remaining 12 (13, 14) stitches until the armhole measures 4 (4.5, 5) inches. Place these stitches on waste yarn or a stitch holder.
Back
Step 6: Attach MC to the back section (approximately 35 (39, 43) stitches). Work even in the established lace pattern until the armhole measures the same as the left front (4 (4.5, 5) inches). Place these stitches on waste yarn.
Right Front
Step 7: Attach MC to the right front section. Work to match the left front, reversing the neck shaping. This means you will bind off at the neck edge (the side closest to the center) and then decrease at the neck edge on RS rows. Place the remaining 12 (13, 14) stitches on waste yarn.
Sleeves (Make 2)
Step 8: Cast On & Ribbing
With DPNs and MC, cast on 30 (34, 38) stitches. Distribute evenly across three needles. Join in the round, being careful not to twist the stitches. Place a marker at the beginning of the round. Work in k2, p2 ribbing for 1 inch.
Step 9: Increase for Sleeve Shape
Switch to stockinette stitch (knit every round). Increase 1 stitch at the beginning and end of the round every 4th round. To increase, knit into the front and back of the first and last stitch of the round. Continue increasing until you have 40 (44, 48) stitches on your needles.
Step 10: Sleeve Length
Work even in stockinette stitch until the sleeve measures 5 (6, 7) inches from the cast-on edge. Bind off all stitches loosely. Repeat for the second sleeve.
Finishing & Assembly
Step 11: Seam Shoulders
Using the three-needle bind-off method or mattress stitch, sew the shoulder seams together. This joins the front sections to the back at the shoulders.
Step 12: Set in Sleeves
With the right side facing you, sew the sleeves into the armholes. The bound-off edge of the sleeve should align with the bound-off stitches of the armhole. Sew the sleeve seams closed from the underarm to the cuff.
Step 13: Button Band (Left Front – No Buttonholes)
With MC, pick up and knit stitches along the left front button band (the side without buttonholes). Pick up approximately 3 stitches for every 4 rows. Work in garter stitch for 4 rows. Bind off all stitches.
Step 14: Button Band (Right Front – With Buttonholes)
Repeat the same process for the right front band, but on the 2nd row, create buttonholes. Work as follows: K2, yo, k2tog, work to last 4 sts, k2tog, yo, k2. Space the buttonholes evenly across the band (typically 3-4 buttonholes depending on size). Continue in garter stitch for a total of 4 rows, then bind off.
Step 15: Collar
With CC, pick up and knit stitches around the entire neckline, including the top of both button bands. Work in k1, p1 ribbing for 1 inch. Bind off in pattern. This creates the beautiful buttery yellow collar.
Butterfly Embellishments (Make 2)
Step 16: With AC, cast on 5 stitches. Knit 2 rows.
Next Row: K1, yo, k1, yo, k1, yo, k1, yo, k1 (you will now have 9 stitches). Knit 3 rows.
Next Row: K2tog, k5, k2tog (7 stitches). Knit 1 row.
Next Row: K2tog, k3, k2tog (5 stitches). Bind off.
Fold the piece in half lengthwise and sew the edges together to form a small bow. Sew one butterfly to the center of each sleeve, just above the ribbing.
Final Steps
Step 17: Weave in all loose ends with your tapestry needle. Block the jacket gently to the specified measurements. This will open up the lace pattern and give your garment a professional, polished finish.
Your Enchanted Meadow Butterfly Baby Jacket is now complete! This beautiful, handcrafted piece is sure to become a cherished keepsake. The soft, cozy yarn and whimsical design make it perfect for spring walks, family photos, or simply cuddling at home. Enjoy watching your little one nestle into their very own cocoon of handmade love.