Golden Hour Drift Scarf Free Pattern

Golden Hour Drift Scarf: A Free Crochet Pattern for Beginners
Imagine wrapping yourself in the warm, hazy glow of a late summer evening—that's the magic of the Golden Hour Drift Scarf. This airy, textured crochet scarf features a beautiful interplay of open mesh and dense shell clusters, creating a fabric that catches the light with every gentle movement. Whether you're a seasoned crocheter or a confident beginner looking for your next project, this pattern is a joy to make. The alternating stitches are simple to master, and the result is a stunning, lightweight accessory that feels like a sunset draped around your neck. Let's dive into creating this wearable piece of art.
Materials Needed
Before you begin, gather your supplies. This project is wonderfully portable and requires minimal materials, making it perfect for on-the-go crafting.
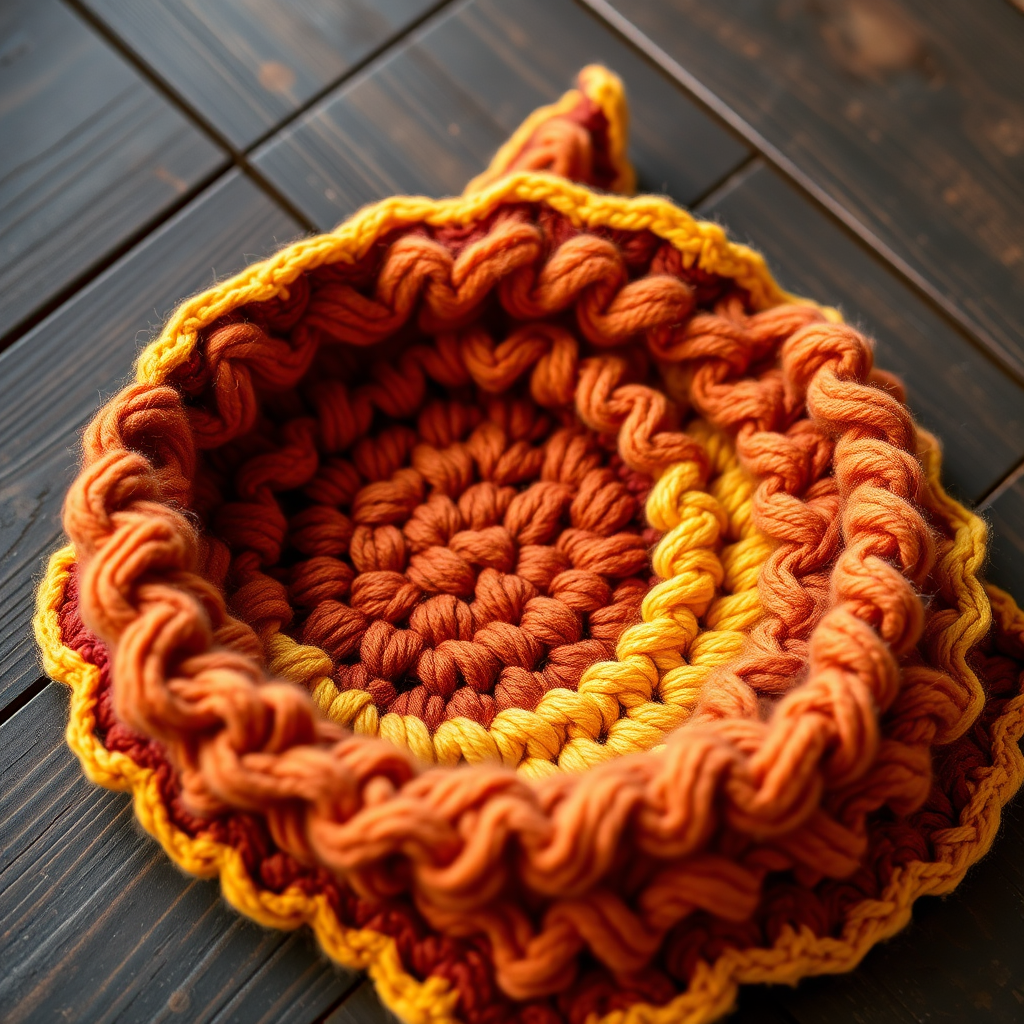
- Yarn: DK weight (Category 3) cotton or cotton-blend yarn in a gradient or variegated colorway. You will need approximately 350–400 yards. The sample uses a warm sunset gradient (peach to golden yellow), but any color palette will look gorgeous.
- Crochet Hook: J/10 (6.0 mm) crochet hook. This larger hook size (relative to the DK yarn) is what gives the scarf its lovely, airy drape.
- Other Tools: Yarn needle for weaving in ends, scissors for cutting yarn and trimming fringe.
Gauge: 4 pattern repeats (shell + mesh) = 4 inches (10 cm) wide; 6 rows = 4 inches (10 cm) tall. Note: Gauge is not critical for this scarf, but it will affect the final size and drape. If you want a wider or narrower scarf, simply adjust your starting chain in multiples of 6.
Step-by-Step Instructions
This pattern is worked in rows, back and forth. The finished size is approximately 12 inches (30 cm) wide x 70 inches (178 cm) long (excluding fringe). Let's break down the special stitches first, then move into the pattern.
Special Stitches
- Shell (sh): Work (2 dc, ch 1, 2 dc) all in the same stitch or space. This creates a fan-like cluster.
- Mesh (ms): Ch 2, skip 2 stitches, sc in the next stitch. This creates the open, airy gaps.
Foundation and Row 1
Foundation Row: Ch 31 loosely. Tip: If you tend to crochet tightly, use a hook one size larger just for this foundation chain to ensure your edge isn't too stiff.
Row 1: Sc in the 2nd ch from the hook. *Skip 2 ch, work a sh in the next ch, skip 2 ch, sc in the next ch.* Repeat from * to * across the row. You should have 5 shells completed. Turn your work.
Row 2: Creating the Mesh
Row 2: Ch 1 (this counts as your first sc), sc in the first sc. *Ch 2 (this is your mesh), skip over the next 2 dc stitches, work a sh in the ch-1 space of the next shell from the previous row. Ch 2, sc in the next sc (the sc between the shells).* Repeat from * to * across the row. Turn.
Detail: You are essentially working the shells into the center "hole" of the shells below, and the mesh bridges the gap between them. This is what creates the beautiful staggered effect.
Row 3: Solid Shells
Row 3: Ch 1, sc in the first sc. *Work a sh in the ch-1 space of the next shell (from Row 2), sc in the next sc (the one at the end of the mesh).* Repeat from * to * across the row. Turn.
Detail: Notice that in this row, you are skipping over the ch-2 mesh spaces entirely. The shells are worked directly into the shells below, and the sc's are worked into the sc's from the row below. This creates a denser, more solid row.
Repeating the Pattern
To continue the scarf, simply repeat Rows 2 and 3 until your piece measures approximately 70 inches (178 cm) from the start. It is best to end with a Row 3 repeat so that your final row is a solid shell row, giving you a neat edge for the fringe.
Once you reach your desired length, fasten off and weave in all loose ends with your yarn needle.
Adding the Fringe
The fringe is the perfect finishing touch, adding movement and a bohemian feel. Here’s how to do it:
- Cut the Yarn: Cut your yarn into 12-inch (30 cm) lengths. You will need quite a few strands.
- Group the Strands: For each fringe tassel, take 3 strands of yarn and fold them in half together, creating a loop at the top.
- Attach the Fringe: Insert your crochet hook from the back to the front through an edge stitch on the short end of the scarf. Pull the folded loop of yarn through the stitch.
- Secure the Fringe: Pull the loose ends of the yarn through the loop and pull tight to secure the knot against the edge of the scarf.
- Placement: Add fringe evenly along both short ends of the scarf. You should have approximately 7–8 fringe groups per end, placing one in each shell and mesh space.
- Final Trim: Once all fringe is attached, lay the scarf flat and trim the ends of the fringe evenly with sharp scissors for a clean, professional look.
And there you have it—your very own Golden Hour Drift Scarf! This pattern is a wonderful way to practice shell stitches and mesh techniques while creating a stunning, wearable piece. The lightweight cotton yarn makes it perfect for cool summer evenings or as a layering piece in transitional weather. Enjoy wearing your handmade creation, and don't forget to share your finished scarf with the crafting community!