Ember Dune Scarf Free Pattern – Crochet a Desert Sunset Wrap
Wrap Yourself in a Desert Sunset: The Ember Dune Scarf
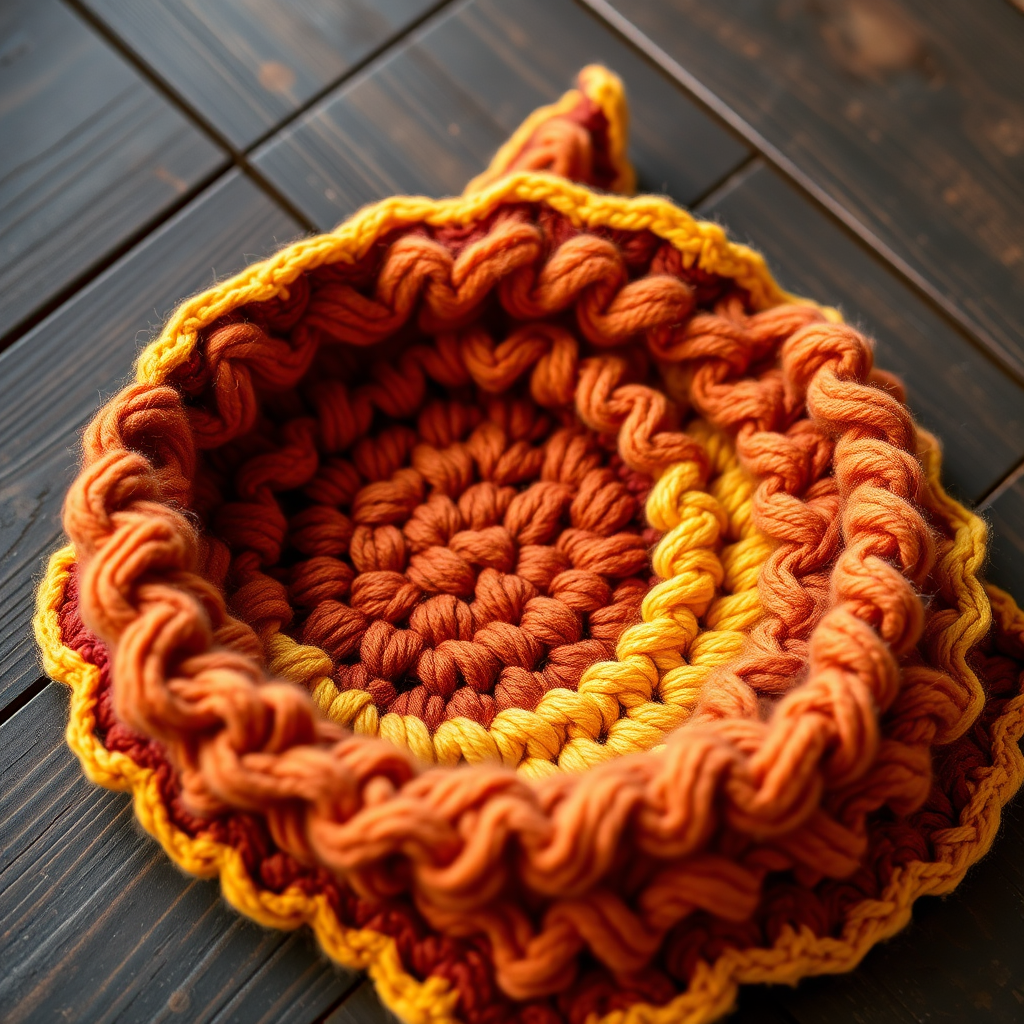
Imagine the warm, shifting sands of a desert landscape as the sun dips below the horizon, painting the sky in hues of terracotta, burnt orange, and golden yellow. That breathtaking moment is now something you can wrap around your shoulders with the Ember Dune Scarf. This free crochet pattern is not only a visual masterpiece but also a joy to create, thanks to its mesmerizing and surprisingly simple ripple stitch. Designed with beginners in mind, this project uses basic single crochet stitches to build a richly textured, wavy fabric that catches the light beautifully. Whether you're looking for a cozy handmade gift or a striking addition to your own wardrobe, this scarf is the perfect project to ignite your creativity.
Materials Needed
Before you begin your crafting journey, gather the following materials. The beauty of this pattern lies in its simplicity—you only need a few supplies to create a stunning, artisanal piece.
- Yarn: Worsted weight yarn in 3 colors (approximately 350g total). For the authentic desert sunset look, choose:
- Color A (Terracotta): ~150g
- Color B (Burnt Orange): ~120g
- Color C (Golden Yellow): ~80g
- Crochet Hook: 5.5 mm (I-9) crochet hook
- Other: Yarn needle for weaving in ends, scissors
Gauge: 14 stitches and 10 rows = 4 inches in ripple stitch pattern. (While gauge is important for size, this scarf is forgiving—just keep your tension consistent for a neat finish.)
Step-by-Step Instructions
This pattern is a fantastic way to practice the ripple stitch. The entire scarf is worked in rows of single crochet, with increases (3 sc in one stitch) and decreases (skipping 2 stitches) creating the beautiful wave effect. Follow these detailed instructions carefully, and you'll have a gorgeous scarf in no time.
Getting Started: The Foundation Chain
To begin, make a slip knot and place it on your 5.5 mm hook. Then, chain 31 stitches loosely. This foundation chain will be the width of your scarf. Keeping it loose is crucial—if it's too tight, the bottom edge of your scarf will pucker.
Row 1: Establishing the Ripple Pattern
This first row sets the structure for all subsequent rows. Work your single crochet (sc) stitches into the back bumps of the chain for a clean edge.
- Sc in 2nd ch from hook: Insert your hook into the second chain from your hook, yarn over, pull up a loop, yarn over, and pull through both loops on the hook. (1 sc)
- Sc in next 2 ch: Work one single crochet into each of the next two chains. (3 sc total)
- 3 sc in next ch: Work three single crochet stitches into the very next chain. This creates the "peak" of your ripple. (6 sc total)
- Sc in next 3 ch: Work one single crochet into each of the next three chains. (9 sc total)
- Skip next 2 ch: Simply skip the next two chains without working into them. This creates the "valley" of your ripple. (9 sc total)
- Sc in next 3 ch: Work one single crochet into each of the next three chains. (12 sc total)
- 3 sc in next ch: Work three single crochet stitches into the next chain. (15 sc total)
- Sc in next 3 ch: Work one single crochet into each of the next three chains. (18 sc total)
- Skip next 2 ch: Skip the next two chains. (18 sc total)
- Sc in next 3 ch: Work one single crochet into each of the next three chains. (21 sc total)
- 3 sc in next ch: Work three single crochet stitches into the next chain. (24 sc total)
- Sc in next 3 ch: Work one single crochet into each of the next three chains. (27 sc total)
- Skip next 2 ch: Skip the next two chains. (27 sc total)
- Sc in next 3 ch: Work one single crochet into each of the next three chains. (30 sc total)
- 3 sc in next ch: Work three single crochet stitches into the next chain. (33 sc total)
- Sc in next 2 ch: Work one single crochet into each of the last two chains. (35 sc total)
Turn your work. You should now have 35 single crochet stitches, with the row forming a gentle wave.
Row 2: Building the Ripple
This row is the magic repeat. You will work into the stitches of the previous row, creating the peaks and valleys that give the scarf its texture.
- Ch 1 (this counts as your turning chain, but you will not work into it).
- Sc in first sc: Work one single crochet into the very first stitch of the row. (1 sc)
- Sc in next 2 sc: Work one single crochet into each of the next two stitches. (3 sc total)
- 3 sc in next sc: Work three single crochet stitches into the next single stitch. This is the peak. (6 sc total)
- Sc in next 3 sc: Work one single crochet into each of the next three stitches. (9 sc total)
- Skip next 2 sc: Skip the next two stitches. This is the valley. (9 sc total)
- Sc in next 3 sc: Work one single crochet into each of the next three stitches. (12 sc total)
- 3 sc in next sc: Work three single crochet stitches into the next stitch. (15 sc total)
- Sc in next 3 sc: Work one single crochet into each of the next three stitches. (18 sc total)
- Skip next 2 sc: Skip the next two stitches. (18 sc total)
- Sc in next 3 sc: Work one single crochet into each of the next three stitches. (21 sc total)
- 3 sc in next sc: Work three single crochet stitches into the next stitch. (24 sc total)
- Sc in next 3 sc: Work one single crochet into each of the next three stitches. (27 sc total)
- Skip next 2 sc: Skip the next two stitches. (27 sc total)
- Sc in next 3 sc: Work one single crochet into each of the next three stitches. (30 sc total)
- 3 sc in next sc: Work three single crochet stitches into the next stitch. (33 sc total)
- Sc in next 2 sc: Work one single crochet into each of the last two stitches. (35 sc total)
Turn your work. You have now completed your first full ripple row. Notice how the pattern naturally forms the wave.
Repeating the Pattern & Color Changes
Now, you will simply repeat Row 2 for the entire length of the scarf, changing colors according to the schedule below. This is where the desert sunset comes to life! When changing colors, do so at the end of a row: work the last stitch of the row with the new color, pulling the new yarn through the final two loops of the stitch.
- Rows 3-10: Work with Color A (Terracotta). This forms the deep, earthy base of your sunset.
- Rows 11-20: Switch to Color B (Burnt Orange). The warm orange begins to glow.
- Rows 21-30: Switch to Color C (Golden Yellow). This is the brilliant, radiant center of your scarf—the sun itself.
- Rows 31-40: Switch back to Color B (Burnt Orange) to mirror the first half.
- Rows 41-50: Switch back to Color A (Terracotta) to complete the symmetrical sunset.
After completing Row 50, fasten off your yarn by cutting it, leaving a 6-inch tail, and pulling it through the last loop on your hook. Weave in all loose ends with your yarn needle to secure them.
Finishing Touches: The Edging
The edging gives your scarf a polished, professional look and helps it lie flat. This simple single crochet border in Golden Yellow ties the whole piece together.
- Attach Color C (Golden Yellow): Insert your hook into any corner stitch of the scarf. Yarn over with Color C and pull up a loop. Ch 1 to secure.
- Work 1 round of sc evenly: Work single crochet stitches evenly around the entire perimeter of the scarf. The goal is to keep the edge flat, so work one sc into each stitch along the top and bottom, and approximately 1 sc into the side of each row along the long edges.
- Work 3 sc in each corner: When you reach a corner, work three single crochet stitches into that corner stitch. This creates a neat, rounded corner.
- Join with sl st: When you return to your starting point, join the round by making a slip stitch (sl st) into the first single crochet you made.
- Fasten off: Cut the yarn, leaving a tail, and pull it through the loop. Weave in this final end securely.
And there you have it—your very own Ember Dune Scarf! Lay it flat to admire the gentle, wavy ridges and the beautiful gradient of colors. This scarf is not just an accessory; it's a wearable piece of art, perfect for cozy evenings or as a thoughtful, handmade gift. Enjoy the process and the stunning result!