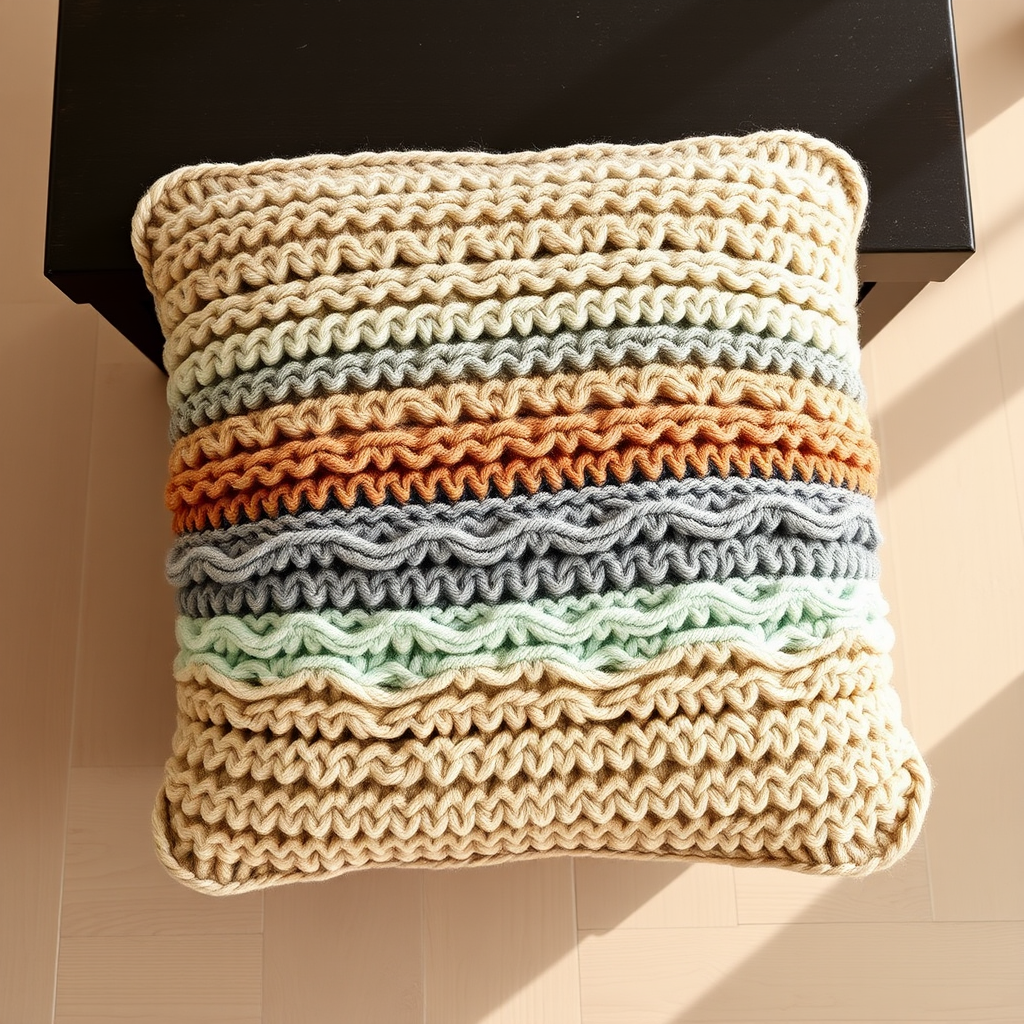
Frosted Pinecone Cable Pillow Cover Free Pattern – A Cozy Knitted Winter Accent

Frosted Pinecone Cable Pillow Cover Free Pattern – A Cozy Knitted Winter Accent
Wrap your living space in woodland charm with this richly textured pillow cover, featuring a central cable that mimics a frosted pinecone and a seed-stitch border like fresh snowfall. Knitted in a soft chunky yarn, this pattern brings a tactile, hygge-inspired warmth to any sofa or reading nook. The combination of a cream cable panel framed by deep forest green seed stitch creates a stunning visual contrast that evokes a rustic winter woodland aesthetic. Whether you're an experienced knitter looking for a satisfying weekend project or a confident beginner ready to tackle cables, this pillow cover will become a cherished handmade accent in your home.
This pattern is designed to be approachable yet rewarding. The front panel features a beautiful 32-stitch cable motif that resembles a stylized pinecone, while the back panel is a simple stockinette with seed-stitch borders—making it a perfect project for practicing cable techniques without overwhelming complexity. The finished pillow measures 18 inches square, fitting a standard pillow form perfectly.
Materials Needed
Before you begin, gather the following materials. Having everything ready will make your knitting experience smooth and enjoyable.
Yarn
- Lion Brand Wool-Ease Thick & Quick (super bulky, weight category 6)
- Color A (Cream/Fisherman): 1 skein (approx. 106 yards) – used for the front cable panel
- Color B (Forest Green): 1 skein (approx. 106 yards) – used for the back panel and seed-stitch borders
Note: The pattern uses Color A for the front panel's cable section and Color B for the back panel. The seed-stitch borders on the front are worked in Color A, while the back panel's borders use Color B. This creates the beautiful contrasting frame described in the design.
Needles and Tools
- US 11 (8 mm) knitting needles – straight or circular (if you prefer to work flat on circulars)
- Cable needle – for working the C6F and C6B cable stitches
- Tapestry needle – for seaming and weaving in ends
- Stitch markers (optional, but helpful for marking the cable panel sections)
- 18 x 18 inch pillow form – for finishing
Gauge
10 stitches x 14 rows = 4 inches in stockinette stitch (after blocking). Always knit a gauge swatch before starting to ensure your finished pillow measures correctly. If your gauge is off, adjust your needle size accordingly.
Step-by-Step Instructions
This pillow cover is knitted flat in two identical-sized panels (front and back) and seamed together. Each panel measures 18 inches square after blocking. The front features a central cable panel flanked by seed stitch; the back is a simple stockinette with a seed stitch border. You will need to know how to knit, purl, and work a 6-stitch cable (C6F and C6B). If you're new to cabling, don't worry—the instructions below are detailed and easy to follow.
Abbreviations
- K: Knit
- P: Purl
- RS: Right side (the front of the work)
- WS: Wrong side (the back of the work)
- C6F: Slip 3 stitches to cable needle, hold to front, knit 3, then knit 3 from cable needle
- C6B: Slip 3 stitches to cable needle, hold to back, knit 3, then knit 3 from cable needle
Panel 1 (Front) – The Frosted Pinecone Cable Panel
Cast On: With Color A, cast on 46 stitches loosely. A long-tail cast-on works beautifully for this pattern.
Row 1 (RS): Work the seed stitch border: K1, p1, k1, p1, k1, p1, k1 (7 stitches). Then work the cable panel over the next 32 stitches as follows: P2, k6, p2, k12, p2, k6, p2 (32 stitches). End with the seed stitch border: K1, p1, k1, p1, k1, p1, k1 (7 stitches).
Row 2 (WS): Work seed stitch over the first 7 stitches: P1, k1, p1, k1, p1, k1, p1. Then work the cable panel: K2, p6, k2, p12, k2, p6, k2. Finish with seed stitch over the last 7 stitches: P1, k1, p1, k1, p1, k1, p1.
Rows 3-4: Repeat Rows 1 and 2. This establishes the seed stitch borders and the cable panel foundation.
Row 5 (RS) – Cable Row: Work seed stitch over 7 stitches. Then work the cable panel: P2, C6F (slip 3 stitches to cable needle, hold to front, knit 3, then knit 3 from cable needle), p2, k12, p2, C6B (slip 3 stitches to cable needle, hold to back, knit 3, then knit 3 from cable needle), p2. Finish with seed stitch over 7 stitches.
Rows 6-10: Work in pattern as established. On RS rows: seed stitch 7, then p2, k6, p2, k12, p2, k6, p2, then seed stitch 7. On WS rows: seed stitch 7, then k2, p6, k2, p12, k2, p6, k2, then seed stitch 7.
Repeat Rows 5-10 until the piece measures 17 inches from the cast-on edge, ending with a WS row. This repeating sequence creates the beautiful pinecone-like cable texture.
Final Rows: Work 3 more rows in pattern (without cables) to create a smooth edge before binding off. This helps the seam lie flat when seaming.
Bind Off: Bind off loosely in pattern. To do this, work the stitches as they appear (knit the knits and purl the purls) while binding off. This maintains the elasticity of the seed stitch and cable pattern.
Panel 2 (Back) – Simple Stockinette with Seed Stitch Border
Cast On: With Color B, cast on 46 stitches loosely.
Row 1 (RS): Work seed stitch border: K1, p1, k1, p1, k1, p1, k1 (7 stitches). Then knit 32 stitches. Finish with seed stitch border: K1, p1, k1, p1, k1, p1, k1 (7 stitches).
Row 2 (WS): Work seed stitch border: P1, k1, p1, k1, p1, k1, p1 (7 stitches). Then purl 32 stitches. Finish with seed stitch border: P1, k1, p1, k1, p1, k1, p1 (7 stitches).
Repeat Rows 1-2 until the piece measures 17 inches from the cast-on edge, ending with a WS row.
Bind Off: Bind off loosely in pattern, maintaining the seed stitch rhythm at the borders and stockinette in the center.
Finishing – Seaming and Assembly
Blocking: This step is crucial for achieving the perfect 18x18 inch square. Wet block both panels by soaking them in lukewarm water with a mild wool wash, gently squeezing out excess water (never wring), and laying them flat on towels. Pin them to 18x18 inches and allow to dry completely. Blocking also helps the cables relax and look their best.
Seaming: Place the two panels with right sides together, ensuring the front cable panel faces inward. Using Color A yarn and a tapestry needle, sew three sides together using the mattress stitch. The mattress stitch creates an invisible, professional-looking seam. Leave one side open for inserting the pillow form.
Insert Pillow Form: Carefully turn the pillow cover right side out. Insert the 18x18 inch pillow form through the open side, gently pushing it into the corners.
Close the Fourth Side: Using the mattress stitch, sew the fourth side closed. Take care to match the pattern at the seam for a polished finish.
Weave in Ends: Weave in all loose ends using your tapestry needle, hiding them within the seams or on the wrong side of the work. Trim any excess yarn.
Tips for Success
- Keep your tension even throughout the cable panel. Cables naturally pull the fabric in, so blocking is essential to achieve the correct measurements.
- Use stitch markers to separate the seed stitch borders from the cable panel. This will help you keep track of your place, especially when working the cable rows.
- Count your stitches after each cable row to ensure you haven't accidentally dropped or added stitches.
- If you're new to cabling, practice the C6F and C6B on a small swatch first. Once you get the rhythm, it becomes second nature.
- For a more pronounced pinecone effect, you can add a few extra rows between cables, but the pattern as written creates a beautiful, balanced texture.
This Frosted Pinecone Cable Pillow Cover is more than just a home decor piece—it's a statement of craftsmanship and cozy winter style. The combination of the warm cream cable against the deep forest green border creates a stunning focal point for any room. Whether you're knitting it for yourself or as a handmade gift, this pillow is sure to be treasured for years to come. Happy knitting!