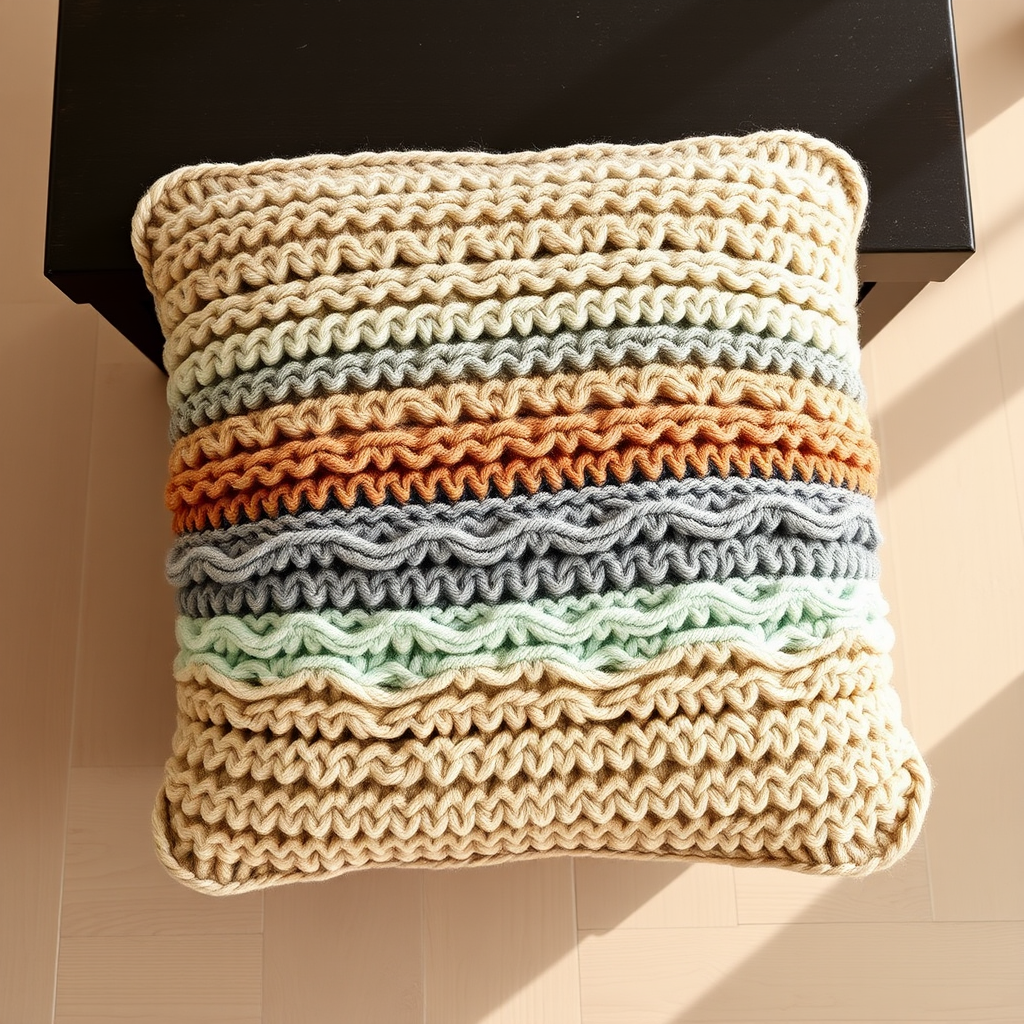
Enchanted Forest Fern Coaster Set Free Pattern – A Textured Knit Botanical Accent
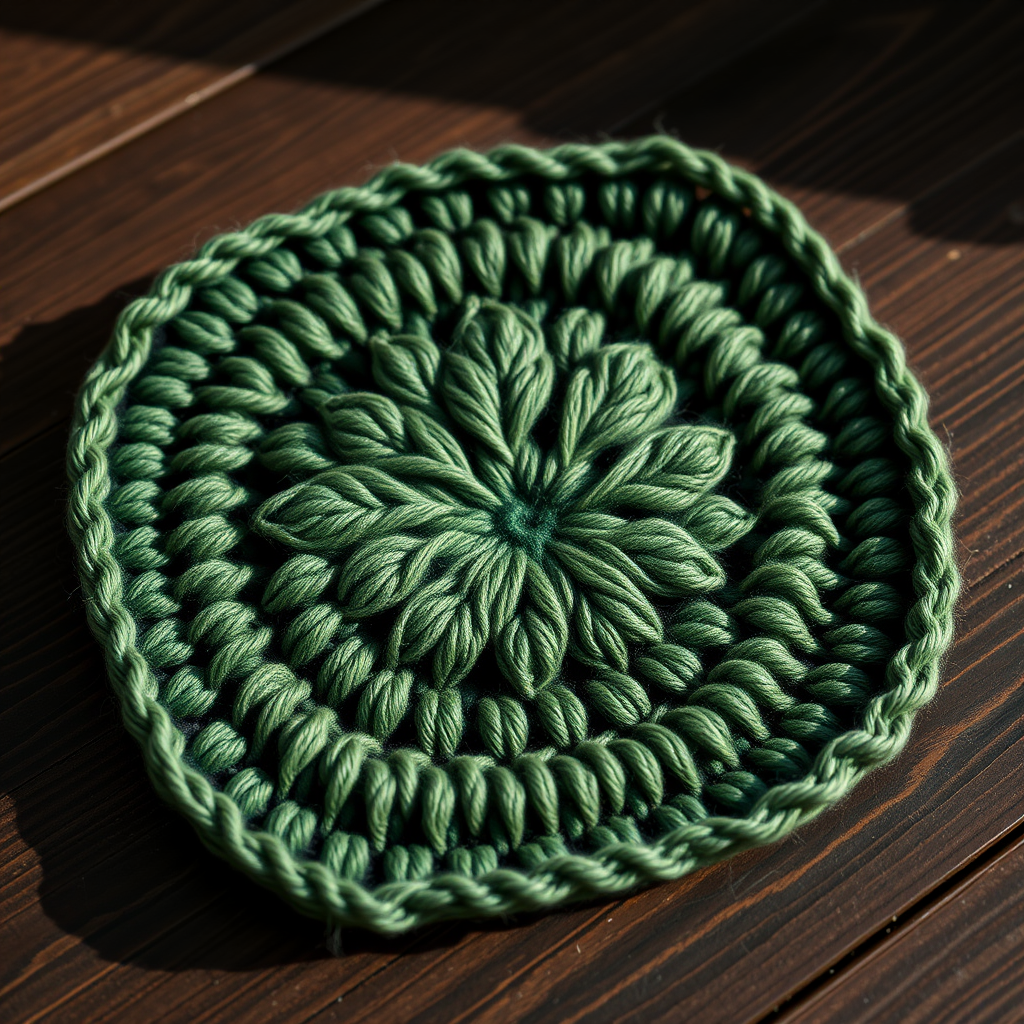
Bring the Forest to Your Table: Knit the Enchanted Forest Fern Coaster Set
Imagine the quiet hush of a woodland floor, where ferns unfurl in dappled sunlight. Now, picture that serene beauty resting beneath your favorite mug. With the Enchanted Forest Fern Coaster Set, you can capture that organic, calming aesthetic in a practical, handmade treasure. This free knitting pattern creates a lush, textured square coaster with a dimensional leaf motif that feels as cozy as it looks. It's the perfect weekend project for beginners looking to expand their skills and a thoughtful, nature-inspired gift for any plant lover.
This pattern is a joy to knit. The clever use of simple increases and decreases creates a rich, quilted leaf texture that pops from the fabric, while a contrasting border in a lighter sage green frames the design beautifully. Whether you're an experienced knitter or picking up needles for the first time, these coasters are a satisfying and quick make. Let's gather our materials and bring a touch of the enchanted forest into your home.
Materials Needed: Your Knitting Kit
Before you begin, ensure you have all the essentials. This project uses simple, readily available materials, making it an accessible and budget-friendly craft.
- Yarn: Worsted weight cotton yarn in two shades: a deep forest green for the main body (MC) and a lighter sage green for the border (CC). Cotton is ideal for coasters as it's absorbent, durable, and washes well. You'll need approximately 50-60 yards of each color for a set of four.
- Knitting Needles: A pair of US Size 6 (4.0 mm) knitting needles. This size works perfectly with worsted weight yarn to create a firm, dense fabric that's perfect for a coaster.
- Other Tools: A tapestry needle for weaving in ends, a pair of scissors, and a ruler or measuring tape to check your gauge.
Understanding Your Gauge
For the best results, it's always a good idea to check your gauge. The pattern specifies a gauge of 20 stitches and 28 rows = 4 inches in stockinette stitch. This ensures your coaster is the perfect size and shape. To check, knit a small swatch (about 4x4 inches) in stockinette stitch, then measure the number of stitches and rows within a 4-inch section. If you have too many stitches, try larger needles; if you have too few, try smaller needles.
Step-by-Step Instructions: Knitting Your Fern Coaster
This pattern is worked flat, back and forth on your needles. The magic happens in the central section, where you'll create the fern-like leaf texture by alternating increases and decreases. Don't be intimidated—each step is simple and clearly explained. Follow along, and you'll have a beautiful coaster in no time.
Getting Started: The Foundation
With your main color (MC) yarn, cast on 30 stitches. This will be the base of your coaster. Take a deep breath—you're on your way!
Creating the Fern Leaf Texture
This is the heart of the pattern. The texture is built by working a series of rows that create little "bumps" or leaves. We'll work this sequence three times to build the full, rich texture.
Row 1 (Right Side): Knit all stitches. This is a simple knit row to establish the right side of your work.
Row 2 (Wrong Side): Purl all stitches. This is the reverse side, creating a smooth stockinette base.
Row 3: K3, *k1, p1, k1 into next stitch (increase to 3), k2*, repeat from * to * until 3 stitches remain, k3. (You now have 42 stitches). This row is where the magic begins. The "k1, p1, k1 into next stitch" is a simple increase that turns one stitch into three, creating the base of a leaf.
Row 4: Purl all stitches. A simple purl row to separate the texture rows.
Row 5: K3, *k3tog, k2*, repeat from * to * until 3 stitches remain, k3. (Back to 30 stitches). This row is the counterpart to Row 3. The "k3tog" (knit three stitches together) decreases the three stitches you just made back into one, creating the pointed tip of the leaf.
Row 6: Purl all stitches. Another purl row to complete one full "leaf" cycle.
Rows 7-18: Repeat rows 3-6 three times. This means you'll work the sequence of Row 3, 4, 5, and 6 three more times. This repetition builds the beautiful, dimensional fern-like texture across the entire center of the coaster.
Adding the Contrasting Border
Now that the textured center is complete, it's time to frame it with your contrasting color (CC). This creates a clean, polished edge that makes the design pop.
Row 19 (Right Side): With CC, knit all stitches. Switch to your sage green yarn and knit across the row.
Row 20 (Wrong Side): With CC, purl all stitches. Purl back across the row.
Row 21: With CC, knit all stitches. One final knit row.
Row 22: With CC, bind off all stitches knitwise. Bind off loosely to ensure the edge remains stretchy and doesn't pucker.
Finishing Touches
Congratulations! You've completed your first fern coaster. Now, it's time for the final steps to make it perfect.
- Weave in all ends: Using your tapestry needle, carefully weave in the yarn tails from the cast-on, bind-off, and color changes on the wrong side of the coaster. This secures your work and gives it a professional finish.
- Block lightly to shape: Blocking is a simple process that helps even out your stitches and gives the coaster a crisp, square shape. You can do this by gently pinning the coaster to a flat surface and misting it with water, then letting it dry completely. Or, you can gently press it with a warm iron on the wrong side, using a pressing cloth.
Create Your Matching Set
To complete your set, simply repeat the pattern to make 4-6 coasters. They make a wonderful handmade gift, a beautiful addition to your own coffee table, or a lovely housewarming present. The natural, botanical aesthetic will bring a touch of calm and beauty to any space.
We hope you enjoy knitting these Enchanted Forest Fern Coasters. They are a wonderful way to practice new techniques and create something both beautiful and useful. Happy knitting!