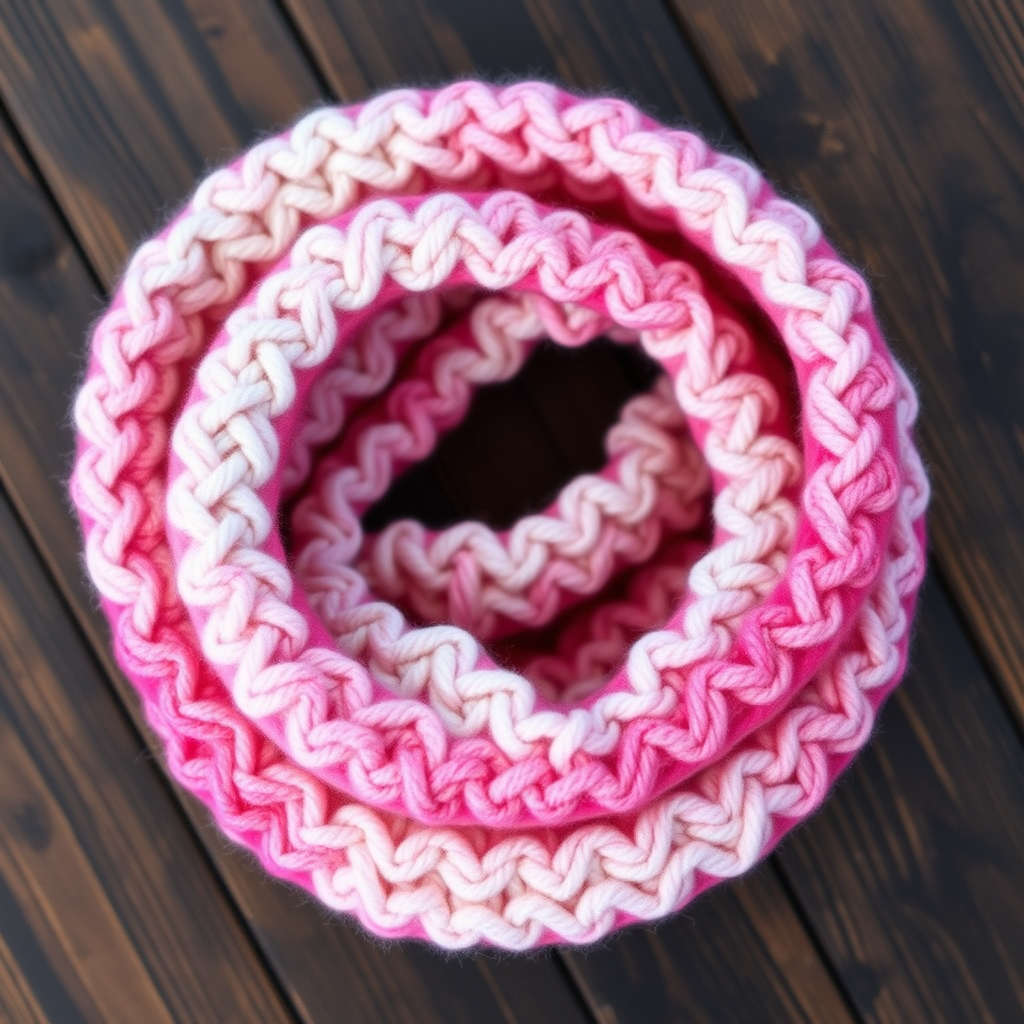
Emberwood Twisted Cable Cowl Free Pattern – Knit a Cozy Spiral Neck Warmer

Cozy Up with the Emberwood Twisted Cable Cowl: A Free Knitting Pattern
Wrap yourself in the rich, earthy warmth of the Emberwood Twisted Cable Cowl. This chunky knitted neck warmer features a mesmerizing spiral of cables and seed stitch, creating a stunning textured accessory that's perfect for crisp autumn days. Whether you're a seasoned knitter looking for a quick weekend project or a confident beginner ready to tackle cables, this free pattern will guide you through every step. The result is a handcrafted piece of elegance that adds a touch of rustic charm to any winter wardrobe.
This cowl is knitted in the round to create a seamless, cozy tube with a beautiful twisted cable pattern. The combination of plump cables and a simple ribbed texture makes it both visually striking and wonderfully warm. Let's dive into the pattern and create something beautiful together.
Materials Needed
Before you begin, gather the following materials. Having everything ready will make your knitting experience smooth and enjoyable.
- Yarn: Super bulky weight yarn (size 6), approximately 180 yards. A great choice is Lion Brand Wool-Ease Thick & Quick in the color 'Ember' or a similar warm brown-orange blend. The gradient of burnt orange, deep amber, and rich brown will perfectly capture the autumn aesthetic.
- Needles: US 13 (9 mm) 24-inch circular knitting needle. The circular needle is essential for knitting in the round.
- Cable Needle: A cable needle is required to create the twisted cable stitches.
- Notions: Stitch marker, tapestry needle for weaving in ends, and scissors.
Gauge
Getting the right gauge is important for achieving the correct size and drape. The gauge for this pattern is 10 stitches and 14 rows = 4 inches in stockinette stitch (knit one round, purl one round). Always knit a swatch first to ensure your tension matches the pattern.
Step-by-Step Instructions
This pattern is worked in the round, creating a seamless tube. Follow these detailed instructions carefully, and you'll have a beautiful cowl in no time.
Abbreviations
- k = knit
- p = purl
- C4F = Slip 2 stitches to cable needle, hold in front, knit next 2 stitches, then knit 2 stitches from cable needle
- C4B = Slip 2 stitches to cable needle, hold in back, knit next 2 stitches, then knit 2 stitches from cable needle
- rep = repeat
- rnd(s) = round(s)
- st(s) = stitch(es)
Cast On
Loosely cast on 72 stitches using your preferred method. Place a stitch marker to mark the beginning of the round, and join in the round, being very careful not to twist your stitches. This is a common mistake, so take your time to ensure the cast-on edge is straight before joining.
Ribbing (Bottom Edge)
The ribbing creates a neat, stretchy edge that helps the cowl sit comfortably.
- Rnds 1-6: *K2, p2; rep from * around.
Body (Cable Pattern)
Now we begin the beautiful twisted cable pattern. Pay close attention to the cable instructions—they create the spiral effect.
- Rnd 7: *C4F, p2, C4B, p2; rep from * around. (This sets up the cable pattern.)
- Rnds 8-10: *K4, p2; rep from * around.
- Rnd 11: *C4B, p2, C4F, p2; rep from * around. (This creates the twisted spiral effect.)
- Rnds 12-14: *K4, p2; rep from * around.
Repeat Rnds 7-14 until the cowl measures approximately 10 inches from the cast-on edge, ending with a Rnd 14. This will give you a cowl that can be worn doubled or slouched beautifully.
Finishing Ribbing (Top Edge)
Finish the top edge with the same ribbing pattern as the bottom for a symmetrical look.
- Rnds 15-20: *K2, p2; rep from * around.
Bind Off
Bind off loosely in pattern—knit the knit stitches and purl the purl stitches. A loose bind-off is crucial to ensure the top edge remains stretchy and comfortable. Once bound off, cut your yarn, leaving a long tail, and weave in all loose ends with a tapestry needle.
Blocking
Blocking is the final step that truly elevates your work. Gently wet block the cowl to even out the cables and enhance the stitch definition. Soak the cowl in lukewarm water with a little wool wash, gently squeeze out excess water (never wring), and lay flat to dry, shaping it to the correct dimensions. This will make your cables look crisp and professional.
Your Emberwood Twisted Cable Cowl is now complete! This cozy, textured accessory is perfect for keeping warm on chilly days and makes a wonderful handmade gift. Enjoy the beautiful spiral of cables and the rich, warm colors you've crafted with your own hands.