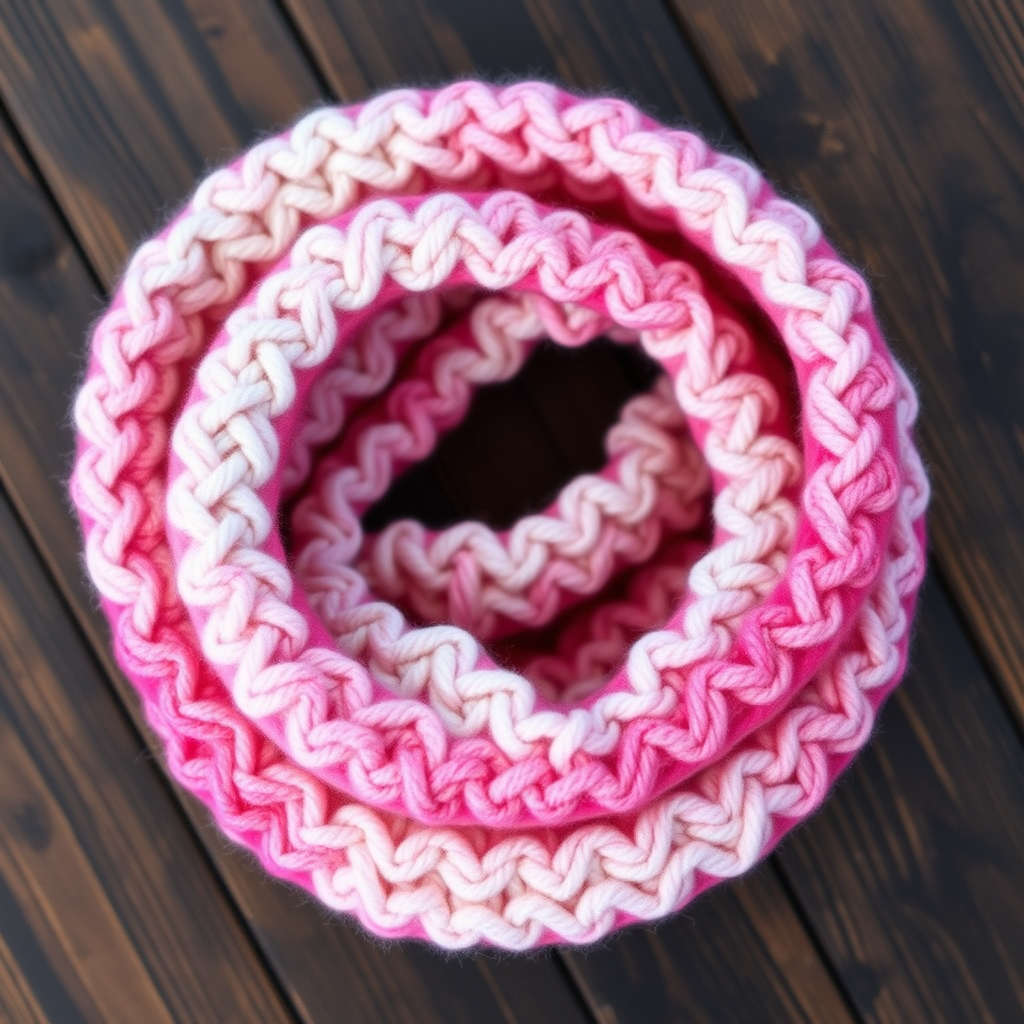
Aurora Borealis Braided Cowl Free Pattern – Knit a Shimmering Nordic Wrap

Wrap Yourself in the Northern Lights: The Aurora Borealis Braided Cowl
Imagine draping the ethereal, dancing colors of the aurora borealis around your neck. With the Aurora Borealis Braided Cowl, you can do just that. This isn't your average knit; it’s a stunning, dimensional accessory that uses a clever braided construction to create a luxuriously thick, reversible wrap. Despite its high-fashion look, this is a beginner-friendly, one-hour project that requires only basic knitting skills. By knitting three simple garter-stitch strips and braiding them together, you'll craft a modern, timeless piece that mimics the night sky's most beautiful phenomenon. Let’s get started on this shimmering Nordic wrap!
Materials Needed: Gathering Your Celestial Palette
Before you begin, gather your materials. This project is wonderfully simple, requiring only a few essentials to create a dramatic result.
- Yarn: Super Bulky Weight Yarn (Size 6). You will need:
- 2 skeins of Color A (Deep Teal)
- 2 skeins of Color B (Midnight Purple)
- 1 skein of Color C (Silver Glitter or Metallic)
- Needles: US Size 13 (9.0 mm) knitting needles.
- Notions: A large-eye tapestry needle for seaming and weaving in ends. A stitch marker or scrap piece of yarn to hold your braid in place.
Gauge: 8 stitches and 12 rows = 4 inches in Stockinette Stitch (unblocked). While gauge isn't critical for this project's fit, it ensures your strips are the correct width for a balanced braid.
Step-by-Step Instructions: Knitting Your Aurora
This pattern is broken into two simple phases: knitting the three strips, and then braiding and assembling them. Follow along, and you'll have a gorgeous cowl in no time.
Phase 1: Knitting the Three Strips
You will knit three identical strips, each in a different color. The garter stitch (knitting every row) creates a thick, squishy fabric that's perfect for this braided design.
Strip 1 (Color A – Deep Teal)
- Cast On: Cast on 12 stitches using your preferred method.
- Knit: Knit every row (Garter Stitch) until the strip measures 24 inches (or your desired length, keeping in mind it will be braided).
- Bind Off: Bind off all stitches loosely. This is crucial for maintaining the strip's flexibility. Set this strip aside.
Strip 2 (Color B – Midnight Purple)
- Cast On: Cast on 12 stitches.
- Knit: Knit every row (Garter Stitch) until the strip measures 24 inches.
- Bind Off: Bind off all stitches loosely. Set aside.
Strip 3 (Color C – Silver Glitter)
- Cast On: Cast on 12 stitches.
- Knit: Knit every row (Garter Stitch) until the strip measures 24 inches.
- Bind Off: Bind off all stitches loosely. Set aside.
Phase 2: Braiding and Assembly
Now for the magic! This is where your three simple strips transform into a stunning, dimensional cowl.
- Prepare Your Strips: Lay the three strips flat on a table, side by side. Align the cast-on edges at the top. Ensure they are not twisted.
- Braid the Strips: Braid the strips together tightly, just like braiding hair. Here’s the detailed process:
- Cross the right strip over the middle strip.
- Then, cross the left strip over the new middle strip.
- Repeat this pattern—right over middle, left over new middle—until the entire length is braided. Keep the tension even for a neat, uniform braid.
- Secure the Bottom: Once you reach the end, secure the bottom ends together with a stitch marker or a scrap piece of yarn. This prevents the braid from unraveling while you sew.
- Seam the Cowl: Thread your tapestry needle with a length of Color A yarn (about 18 inches).
- Top Edge: Whip-stitch the cast-on edges of all three strips together, creating a seamless circle. Insert the needle through the edge stitches of each strip, going over and around to join them securely.
- Bottom Edge: Repeat the whip-stitch process for the bound-off edges at the other end of the braid.
- Weave in Ends: Weave in all loose ends securely using your tapestry needle. This ensures your cowl is durable and won't unravel with wear.
- Optional Finishing: For a more polished look, gently steam block the cowl. This will relax the yarn and even out the braid, giving it a professional finish. Lay it flat to dry.
Your Aurora Borealis Braided Cowl is complete! Wrap it twice around your neck for a cozy, dramatic look, or wear it loose as a statement piece. The shimmering silver strip will catch the light, while the deep teal and purple evoke the mystery of the night sky. This is a project you'll be proud to wear and even prouder to say you made yourself.