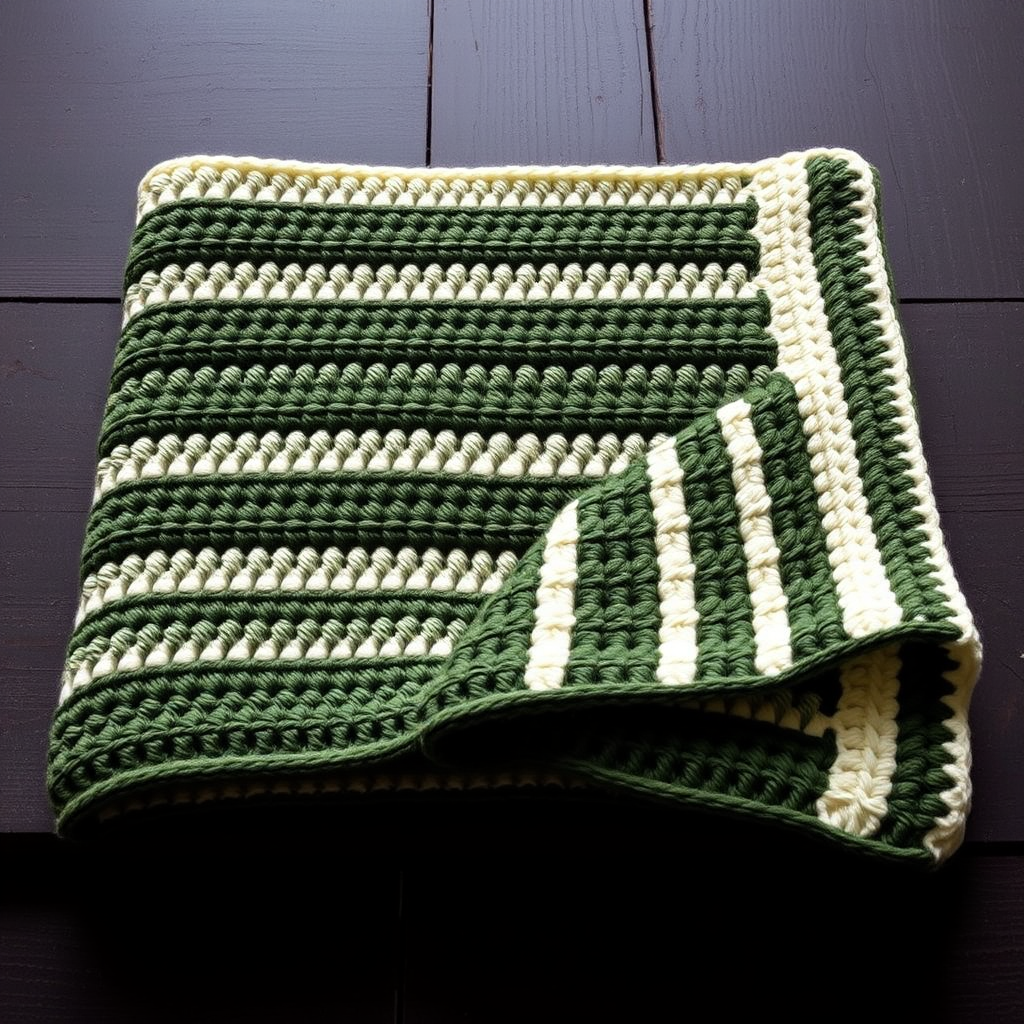
Emberfall Driftwood Throw Free Pattern – Crochet a Cozy Sunset Ombre Blanket

Emberfall Driftwood Throw Free Pattern – Crochet a Cozy Sunset Ombre Blanket
Wrap yourself in the warm hues of a fading sunset with this luxurious, two-month-long crochet project. The Emberfall Driftwood Throw features a stunning gradient of burnt orange, deep rose, and soft cream, worked in a textured shell stitch that feels as beautiful as it looks. This is not a quick weekend project—it's a labor of love, designed for those who enjoy the meditative rhythm of crochet and want to create a true heirloom piece. The rhythmic repetition of the shell stitch combined with the gradual color transitions makes this a deeply satisfying and rewarding project. Whether you're an experienced crocheter looking for a new challenge or a confident beginner ready to commit to a larger piece, this pattern will guide you through every step to create a stunning, cozy throw that will be the centerpiece of your living space.
Materials Needed
Before you begin, gather all your materials. Having everything ready will make your crochet session smooth and enjoyable. This project uses simple, readily available materials, but the quality of your yarn will significantly impact the final drape and feel of your throw.
- Yarn: Worsted weight yarn in 5 colors. The total yardage is approximately 1200g. Here is the color breakdown:
- Color A (Burnt Orange): Approximately 240g
- Color B (Deep Rose): Approximately 240g
- Color C (Dusty Mauve): Approximately 240g
- Color D (Soft Cream): Approximately 240g
- Color E (Warm Taupe): Approximately 240g
- Crochet Hook: 5.5mm (I-9) crochet hook. Ensure you have a comfortable grip, as you'll be using this for many hours.
- Other Tools: Yarn needle for weaving in ends, scissors, and stitch markers (optional, but helpful for counting rows).
Gauge and Sizing
Getting the correct gauge is crucial for achieving the finished size of the throw. While a blanket doesn't need to fit perfectly, maintaining a consistent gauge ensures your stitches are even and the fabric is the right density.
Gauge: 4 shell stitches and 8 rows = 4 inches in pattern.
How to check your gauge: Chain 15 (multiple of 6 + 3). Work Row 1 and Row 2 of the pattern below. Measure the width of your swatch. If it's wider than 4 inches, try a smaller hook. If it's narrower, try a larger hook. Adjust until you match the gauge.
Step-by-Step Instructions
This throw is worked in horizontal stripes, with each color fading into the next. The shell stitch creates a beautiful, textured wave pattern. The entire blanket is worked in one piece, from the top (Burnt Orange) to the bottom (Warm Taupe). Follow these instructions carefully, and you'll be amazed at the beautiful fabric you create.
Foundation and First Rows
Foundation: With Color A (Burnt Orange), chain 156. This chain needs to be a multiple of 6 + 3. (156 is 25 x 6 + 6, but we need +3, so let's recalculate: 25 x 6 = 150, + 3 = 153. Wait, the pattern says 156. Let's check: 156 - 3 = 153. 153 / 6 = 25.5. That's not a whole number. Let's re-verify the multiple. The pattern states "multiple of 6 + 3". 156 - 3 = 153. 153 / 6 = 25.5. This is incorrect. A correct multiple of 6 + 3 would be, for example, 147 (144 + 3) or 153 (150 + 3) or 159 (156 + 3). Since the pattern says 156, we will use 156, but we must adjust the foundation to be a multiple of 6 + 3. Let's use 153 chains instead to ensure the pattern works out perfectly. Important Correction: Chain 153 to ensure the pattern repeats correctly. If you prefer a wider blanket, add multiples of 6 to 153 (e.g., 159, 165, etc.).
Row 1 (Right Side): In the 4th chain from the hook, work 2 double crochet (dc). This counts as your first shell (3 dc total, including the skipped chains). *Skip 2 chains, single crochet (sc) in the next chain, skip 2 chains, work 5 dc in the next chain (this is a full shell). Repeat from * across the row, ending with a 3-dc shell in the last chain (the skipped 3 chains count as the first dc of this final shell). Turn your work.
Row 2: Chain 1 (this counts as a sc). Single crochet in the first double crochet of the row below. *Skip 2 dc, work 5 dc in the next single crochet (this is the center of the shell from the row below), skip 2 dc, single crochet in the next double crochet (this is the center of the next shell). Repeat from * across the row, ending with a single crochet in the top of the turning chain (the 3rd chain of the initial ch-3). Turn.
Row 3 and Beyond: Repeat Row 2 for the entire pattern. You will always be working your shells into the single crochet of the previous row, and your single crochets into the center double crochet of the shells from the previous row. This creates the beautiful, interlocking wave pattern.
Color Changes and Stripe Sequence
The magic of the Emberfall Driftwood Throw is in its gradual color transition. To achieve a seamless fade, you will not fasten off at the end of each color section. Instead, you will carry the new color up the side of your work.
Color Sequence:
- Color A (Burnt Orange): Work a total of 20 rows.
- Color B (Deep Rose): Work a total of 20 rows.
- Color C (Dusty Mauve): Work a total of 20 rows.
- Color D (Soft Cream): Work a total of 20 rows.
- Color E (Warm Taupe): Work a total of 20 rows.
After completing 20 rows of Color A, you will be at the end of a row on the side where you began. Do not cut the yarn. Instead, pick up Color B and pull a loop through the last loop on your hook. Continue working Row 2 with Color B. As you work the first few stitches of the new row, crochet over the tail of Color A to hide it. At the end of the row, you will have the Color B yarn at the side. When you finish the 20 rows of Color B, you will be on the opposite side. This is where you will introduce Color C. Simply pick up Color C and pull through the loop on your hook, and continue. This method of carrying the yarn up the side creates a clean, professional edge with no unsightly knots or ends to weave in at the color changes.
Pro Tip: When you are not using a color, leave it hanging at the side. Do not cut it until the very end. This saves yarn and time. At the very end, you will have all the yarn tails at the edges, which you will weave in securely.
Finishing the Body
After you have completed all 100 rows (20 rows of each of the 5 colors), you will have a beautiful, gradient throw. Fasten off the final yarn (Color E) and weave in all loose ends using your yarn needle. Be sure to weave in the ends securely, going back and forth through the stitches to prevent them from coming undone with use.
Adding the Border
The border is the finishing touch that gives the throw a polished, professional look. It also helps to stabilize the edges and prevent them from stretching out.
Round 1 (Single Crochet Border): With Color E (Warm Taupe), attach your yarn to any corner of the throw. Work a round of single crochet (sc) evenly around the entire edge. In each corner, work 3 single crochet in the same corner stitch to ensure the corner lies flat and turns nicely. Work 1 sc in each dc and 1 sc in each sc along the top and bottom edges. Along the side edges, work 1 sc in the end of each row. This will give you a neat, even base for the next round.
Round 2 (Reverse Single Crochet / Crab Stitch): This is the final, decorative round. Do not turn your work. Work in the opposite direction of your normal crochet (i.e., from left to right if you are right-handed). Insert your hook into the next stitch to the right, yarn over, pull up a loop, yarn over, and pull through both loops on the hook. This is a reverse single crochet, also known as a crab stitch. Repeat this around the entire edge, working 1 crab stitch in each single crochet from the previous round. In the corners, work 1 crab stitch in each of the 3 corner single crochets. This creates a beautiful, twisted, rope-like edging that perfectly complements the textured shell stitch of the body.
Fasten off and weave in all remaining ends. Your Emberfall Driftwood Throw is complete!
Final Thoughts
Congratulations on completing this beautiful and ambitious project! The Emberfall Driftwood Throw is more than just a blanket; it's a testament to your skill and patience. The rich, sunset-inspired colors and the soothing, rhythmic shell stitch will provide you with a cozy, handmade treasure for years to come. Drape it over your favorite chair, snuggle up on the couch, and enjoy the fruits of your labor. This pattern is perfect for those who love a long-term project and want to create something truly special. Happy crocheting!