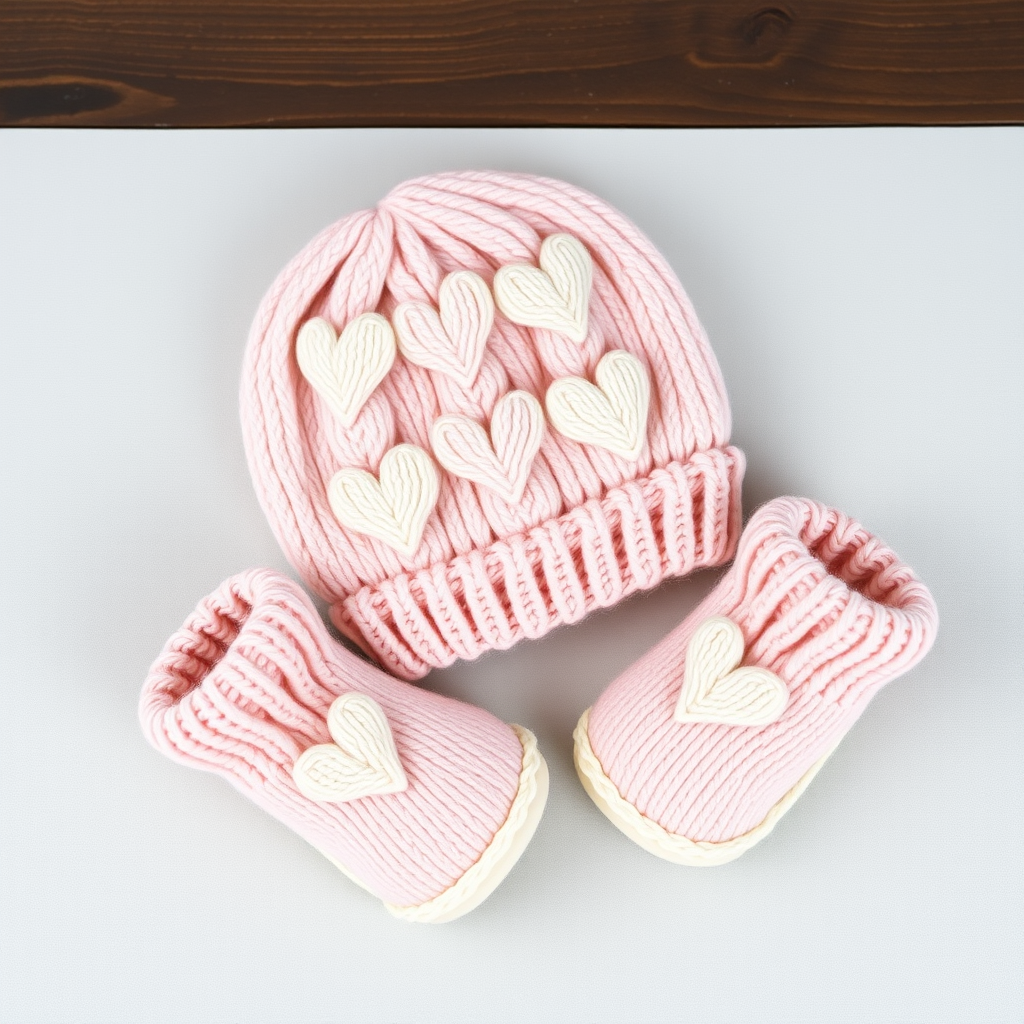
Ember Glow Campfire Baby Hat Free Pattern – Knit a Cozy Flame-Tipped Beanie

Ember Glow Campfire Baby Hat Free Pattern – Knit a Cozy Flame-Tipped Beanie
There’s something magical about the flicker of a campfire—the way flames dance in shades of cream, burnt orange, and deep brown. Now, imagine wrapping your little one in that warmth with a hand-knit beanie that captures the essence of a cozy evening under the stars. The Ember Glow Campfire Baby Hat is a modern heirloom piece, designed with a unique flame-inspired crown and a soft, ribbed brim. Knitted in rich, earthy tones, this hat is perfect for chilly autumn and winter days, and it’s an absolute joy to create—even for beginners.
This free pattern uses a simple slipped-stitch technique to create a woven, heathered effect that mimics the texture of flames. The result is a snug, structured beanie with no visible seams, finished with an optional pompom for that extra “spark.” Whether you’re knitting for your own baby or as a heartfelt gift, this pattern is sure to become a favorite. Let’s dive in!
Materials Needed
Before you begin, gather the following materials. All items are readily available at your local yarn shop or online.
Yarn
- Worsted weight yarn in 3 colors (approx. 100g total):
- Color A (Cream/Off-white) – e.g., “Bone” – for brim and crown
- Color B (Burnt Orange) – e.g., “Pumpkin” – for main body
- Color C (Deep Brown) – e.g., “Cocoa” – for flame stripes
Needles & Notions
- US 6 (4.0 mm) 16-inch circular knitting needle – for working in the round
- Double-pointed needles (DPNs) – US 6 (4.0 mm) for crown shaping
- Stitch markers – at least 1, plus optional for pattern repeats
- Tapestry needle – for weaving in ends
- Scissors
Gauge
20 stitches x 28 rows = 4 inches in stockinette stitch (knit flat, blocked). Adjust needle size if needed to achieve gauge.
Step-by-Step Instructions
Follow these detailed instructions carefully, and you’ll have a beautiful Ember Glow hat in no time. The pattern includes three sizes: Newborn (0-3 months), Baby (3-6 months), and Toddler (6-12 months). Instructions are written with the newborn size first, followed by the larger sizes in parentheses.
Sizes & Measurements
- Newborn (0-3 months): Fits head circumference 13-14 inches
- Baby (3-6 months): Fits head circumference 14-15 inches
- Toddler (6-12 months): Fits head circumference 15-16 inches
Abbreviations
- k = knit
- p = purl
- k2tog = knit two together (decrease)
- ssk = slip slip knit (decrease)
- st(s) = stitch(es)
- rnd(s) = round(s)
- pm = place marker
- rm = remove marker
Pattern Notes
The hat is worked in the round from the brim up. The flame pattern is created using a simple slipped-stitch technique with two colors per round, giving a woven, heathered effect. Take your time with the slipped stitches—they’re easier than they look and create a stunning texture.
Brim
- With Color A, cast on 72 (80, 88) stitches.
- Join in the round, being careful not to twist. Place a marker for the beginning of the round.
- Work K1, P1 ribbing for 1 inch (2.5 cm).
Body
- Switch to Color B. Work in stockinette stitch (knit every round) for 2 rounds.
Flame Pattern (worked over 8 rounds)
- Round 1 (Color B): Knit all stitches.
- Round 2 (Color C): *K1, slip 1 stitch purlwise with yarn in back; repeat from * to end.
- Round 3 (Color C): Knit all stitches.
- Round 4 (Color B): *Slip 1 stitch purlwise with yarn in back, K1; repeat from * to end.
- Rounds 5-8: Repeat Rounds 1-4 once more.
Repeat the 8-round flame pattern 2 (2, 3) more times, then work Rounds 1-4 once more. The hat should measure approximately 4.5 (5, 5.5) inches from the cast-on edge.
Crown Shaping
- Switch to Color A. Work 2 rounds in stockinette stitch.
Decrease Rounds
- Round 1: *K6 (7, 8), k2tog; repeat from * to end – 63 (70, 77) stitches.
- Round 2: Knit all stitches.
- Round 3: *K5 (6, 7), k2tog; repeat from * to end – 54 (60, 66) stitches.
- Round 4: Knit all stitches.
- Round 5: *K4 (5, 6), k2tog; repeat from * to end – 45 (50, 55) stitches.
- Round 6: Knit all stitches.
- Round 7: *K3 (4, 5), k2tog; repeat from * to end – 36 (40, 44) stitches.
- Round 8: Knit all stitches.
- Round 9: *K2 (3, 4), k2tog; repeat from * to end – 27 (30, 33) stitches.
- Round 10: *K1 (2, 3), k2tog; repeat from * to end – 18 (20, 22) stitches.
- Round 11: *K0 (1, 2), k2tog; repeat from * to end – 18 (15, 16) stitches (for newborn, just k2tog around to get 9 stitches).
- Round 12: *K2tog; repeat from * to end – 9 (8, 8) stitches.
Cut yarn, leaving a 6-inch tail. Thread the tail through the remaining stitches, pull tight, and secure inside the hat.
Finishing
- Weave in all ends using a tapestry needle.
- Block gently by wetting the hat and laying it flat to dry. This helps even out the stitches and gives the hat a professional finish.
- Optional: Add a small pompom made from Color B and Color C on top for a campfire spark effect. Attach securely with a needle and thread.
Tips for Success
- Check your gauge: Knitting too tightly or loosely can change the size of the hat. Always swatch first!
- Use stitch markers: Place a marker at the beginning of the round and consider adding one every 8 stitches during the flame pattern to keep track of repeats.
- Keep tension even: When slipping stitches, ensure the yarn is carried loosely in the back to avoid puckering.
- Practice the slipped stitch: If you’re new to this technique, try a small swatch first to get comfortable with the rhythm.
And there you have it—a gorgeous, flame-tipped beanie that’s as cozy as it is stylish. The Ember Glow Campfire Baby Hat is perfect for gifting, photographing, or simply keeping your little one warm on crisp autumn walks. Happy knitting!