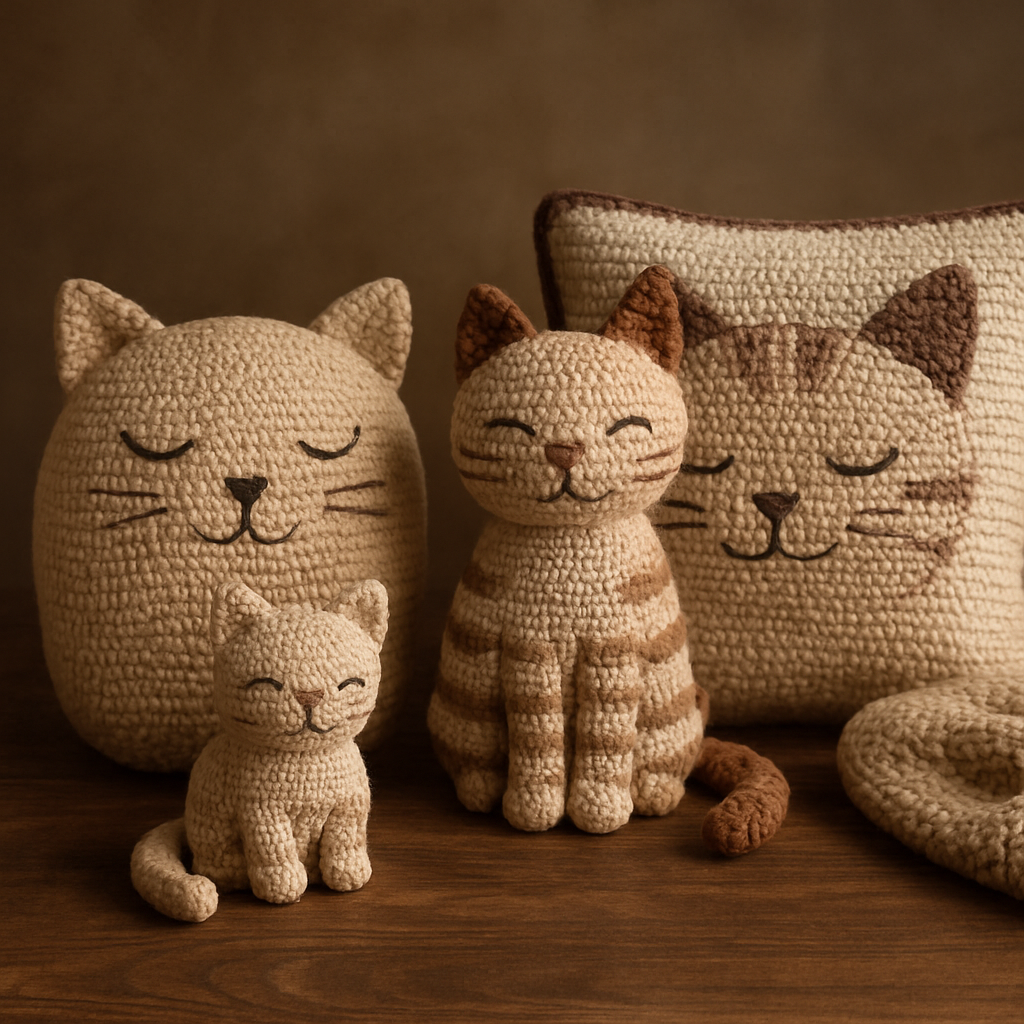
Crochet Charming Whimsical Feathered Amigurumi Owl Free Pattern

Crochet Charming Whimsical Feathered Amigurumi Owl Free Pattern
Welcome to your next crochet adventure! In this pattern, we will guide you through creating Oliver, the whimsical owl. This adorable amigurumi stands approximately 6 inches tall and is worked in continuous rounds with worsted weight yarn. Let’s get started!
Materials Needed:
- Worsted weight yarn in 3 colors (Main body, wings, and eyes)
- 3.5 mm (E) crochet hook
- Polyester fiberfill stuffing
- Stitch marker (or contrasting yarn)
- Safety eyes (12 mm)
- Yarn needle
- Scissors
Abbreviations:
- Ch: Chain
- Sc: Single crochet
- Inc: Increase (2 sc in same stitch)
- Dec: Decrease (single crochet 2 stitches together)
- Sl st: Slip stitch
- Rnd: Round
Pattern Instructions:
Body:
1. With main body color, make a magic ring.
2. Rnd 1: 6 sc in magic ring (6)
3. Rnd 2: Inc in each stitch around (12)
4. Rnd 3: (Sc in next stitch, Inc) around (18)
5. Rnd 4: (Sc in next 2 stitches, Inc) around (24)
6. Rnd 5-10: Sc in each stitch around (24)
7. Rnd 11: (Sc in next 2 stitches, Dec) around (18)
8. Rnd 12: (Sc in next stitch, Dec) around (12)
9. Stuff the body firmly then continue.
10. Rnd 13: Dec around (6)
11. Sl st to next stitch, fasten off and weave in ends.
Wings (make 2):
1. With wing color, ch 8.
2. Rnd 1: Starting from the 2nd ch from hook, sc in next 6 ch, 3 sc in last ch. Now working on the opposite side, sc in next 6 ch. Join with sl st to first sc (16)
3. Rnds 2-3: Sc in each stitch around (16)
4. Fasten off and leave a long tail for sewing.
Eyes (make 2):
1. With eye color, make a magic ring.
2. Rnd 1: 6 sc in magic ring (6)
3. Rnd 2: Inc in each stitch around (12)
4. Rnd 3: (Sc in next stitch, Inc) around (18)
5. Fasten off leaving a long tail for sewing.
Assembly:
1. Attach the eyes securely to the body using the yarn tails and safety eyes.
2. Sew the wings to each side of the body.
3. You can add any additional embellishments such as a beak or feet using felt or crochet in contrasting colors.
4. Weave in all ends securely.
Conclusion:
Your charming whimsical owl, Oliver is now complete! Have fun with color combinations and customizing this pattern to make a family of owls. Happy crocheting!