Cozy Cloud Pom Pom Slipper Socks Free Pattern – Crochet a Plush Dream

Cozy Cloud Pom Pom Slipper Socks Free Pattern – Crochet a Plush Dream
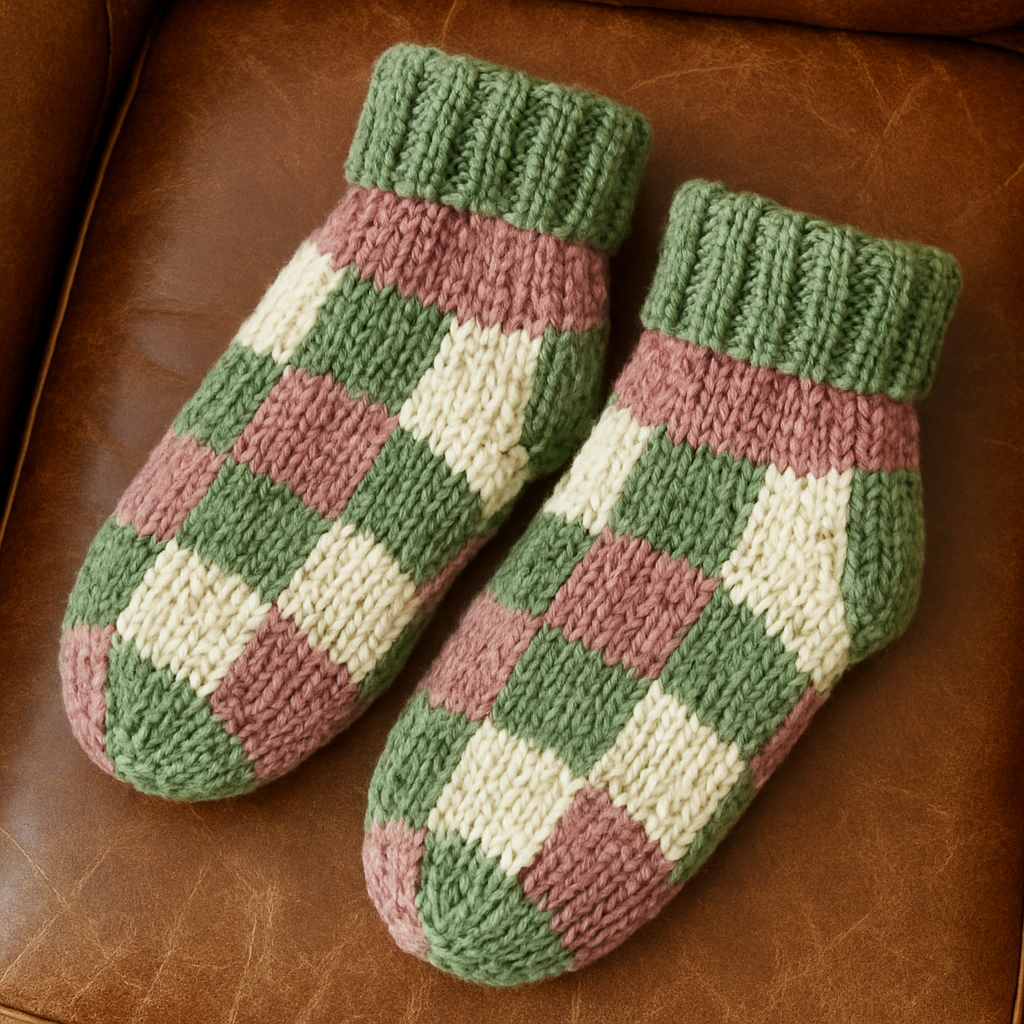
Imagine slipping your feet into marshmallow-soft clouds after a long day. That's exactly the feeling you'll get with these Cozy Cloud Pom Pom Slipper Socks! This easy crochet pattern creates a warm, squishy haven for chilly evenings, featuring a chunky cabled cuff and adorable fluffy pom poms. Whether you're a seasoned crocheter or just starting your yarn journey, this pattern is designed to be simple, satisfying, and incredibly rewarding. Let's dive in and create a pair of the coziest socks you'll ever own!
Materials Needed
Before we begin, gather your supplies. This project uses super bulky yarn, so it works up quickly – perfect for a weekend project!
- Yarn: Super bulky weight yarn (size 6). You'll need approximately 200g in cream (or your preferred main color) and 50g in dusty rose (or a contrasting color) for the pom poms.
- Hook: 8mm (L/11) crochet hook
- Notions: Yarn needle, stitch markers, scissors
- Pom Pom Maker: 2-inch size (or a piece of cardboard as a DIY alternative)
Gauge: 8 sc x 9 rows = 4 inches (10 cm) with 8mm hook. Getting the right gauge ensures your socks fit perfectly, so take a moment to check!
Step-by-Step Instructions
This pattern is worked in the round from the cuff down to the toe. Don't worry – it's easier than it sounds! We'll walk through each step together.
Sizing & Abbreviations
Sizes: Women's US 6-9 (adjustable – we'll show you how to customize the fit).
Abbreviations:
- ch = chain
- sc = single crochet
- hdc = half double crochet
- dc = double crochet
- sl st = slip stitch
- st(s) = stitch(es)
- rnd = round
- sk = skip
- sc2tog = single crochet 2 together (decrease)
Slipper Sock (Make 2)
We'll make one sock at a time. The process is identical for both, so repeat these steps for your second sock.
Part 1: The Chunky Cuff
This ribbed cuff is stretchy and comfortable, folding over beautifully to show off your pom poms.
- Foundation Chain: Ch 28 (or multiple of 4 + 2 for a longer/shorter cuff).
- Row 1: Sc in the 2nd ch from hook and in each ch across. Turn. (27 sts)
- Rows 2-6: Ch 1, sc in each st across. Turn. (27 sts) – This creates the ribbed texture.
- Form the Tube: Fold the cuff in half lengthwise, matching the short edges. Sl st through both layers to form a tube. Do not turn. This creates a stretchy, seamless cuff.
Part 2: The Foot
Now we'll work in continuous rounds to create the body of the sock. Use a stitch marker to keep track of your rounds.
- Rnd 1: Ch 1, work 27 sc evenly around the edge of the cuff. Join with sl st to first sc. (27 sts)
- Rnd 2: Ch 1, sc in each st around. Join. (27 sts)
- Rnd 3 (Increase Round): Ch 1, sc in first 13 sts, 2 sc in next st, sc in next st, 2 sc in next st, sc in last 11 sts. Join. (29 sts) – We're starting to shape the toe area.
- Rnd 4: Ch 1, sc in each st around. Join. (29 sts)
- Rnd 5 (Increase Round): Ch 1, sc in first 14 sts, 2 sc in next st, sc in next st, 2 sc in next st, sc in last 12 sts. Join. (31 sts)
- Rnd 6: Ch 1, sc in each st around. Join. (31 sts)
- Continue Shaping: Keep increasing 2 sts every other round (at the toe area) until you have 39 sts, working even rounds in between. Pro Tip: Try the sock on as you go to ensure it fits comfortably over your foot. Adjust the number of increase rounds if needed.
- Work Even: Work even in sc for 8-10 rounds, or until the foot reaches the base of your toes. This is the main body of the sock that covers your foot.
Part 3: Toe Shaping
Time to shape the toe so it hugs your foot perfectly. We'll use decreases (sc2tog) to taper the fabric.
- Rnd 1 (Decrease Round): Ch 1, sc in first 17 sts, sc2tog, sc in next st, sc2tog, sc in last 17 sts. Join. (37 sts)
- Rnd 2: Ch 1, sc in each st around. Join. (37 sts)
- Rnd 3 (Decrease Round): Ch 1, sc in first 16 sts, sc2tog, sc in next st, sc2tog, sc in last 16 sts. Join. (35 sts)
- Rnd 4: Ch 1, sc in each st around. Join. (35 sts)
- Rnd 5 (Decrease Round): Ch 1, sc in first 15 sts, sc2tog, sc in next st, sc2tog, sc in last 15 sts. Join. (33 sts)
- Rnd 6 (Decrease Round): Ch 1, sc in first 14 sts, sc2tog, sc in next st, sc2tog, sc in last 14 sts. Join. (31 sts)
- Rnd 7 (Decrease Round): Ch 1, sc in first 13 sts, sc2tog, sc in next st, sc2tog, sc in last 13 sts. Join. (29 sts)
- Rnd 8 (Decrease Round): Ch 1, sc in first 12 sts, sc2tog, sc in next st, sc2tog, sc in last 12 sts. Join. (27 sts)
- Finish: Fasten off, leaving a long tail (about 12 inches). Thread the tail through the remaining 27 sts using your yarn needle, pull tight to close the toe, and weave in the ends securely.
Part 4: Fluffy Pom Poms (Make 4)
These adorable dusty rose pom poms add the perfect pop of color and extra coziness!
- Wrap: Using your dusty rose yarn, wrap it around a 2-inch pom pom maker (or a piece of cardboard cut to size) about 50 times. The more wraps, the fluffier the pom pom!
- Secure & Cut: Tie the yarn tightly in the middle with a separate piece of yarn. Cut the loops on both sides, then trim the pom pom into a perfect, round shape.
- Attach: Using your yarn needle and matching thread, attach two pom poms to the top edge of each cuff, spacing them about 1 inch apart. Make sure they're securely fastened so they don't fall off during wear.
And that's it! You've just created a pair of luxurious, cloud-like slipper socks. Repeat the entire process for the second sock, and you'll have a beautiful, handmade pair that's perfect for gifting or keeping all to yourself. Enjoy the plush comfort and the satisfaction of your beautiful handiwork!