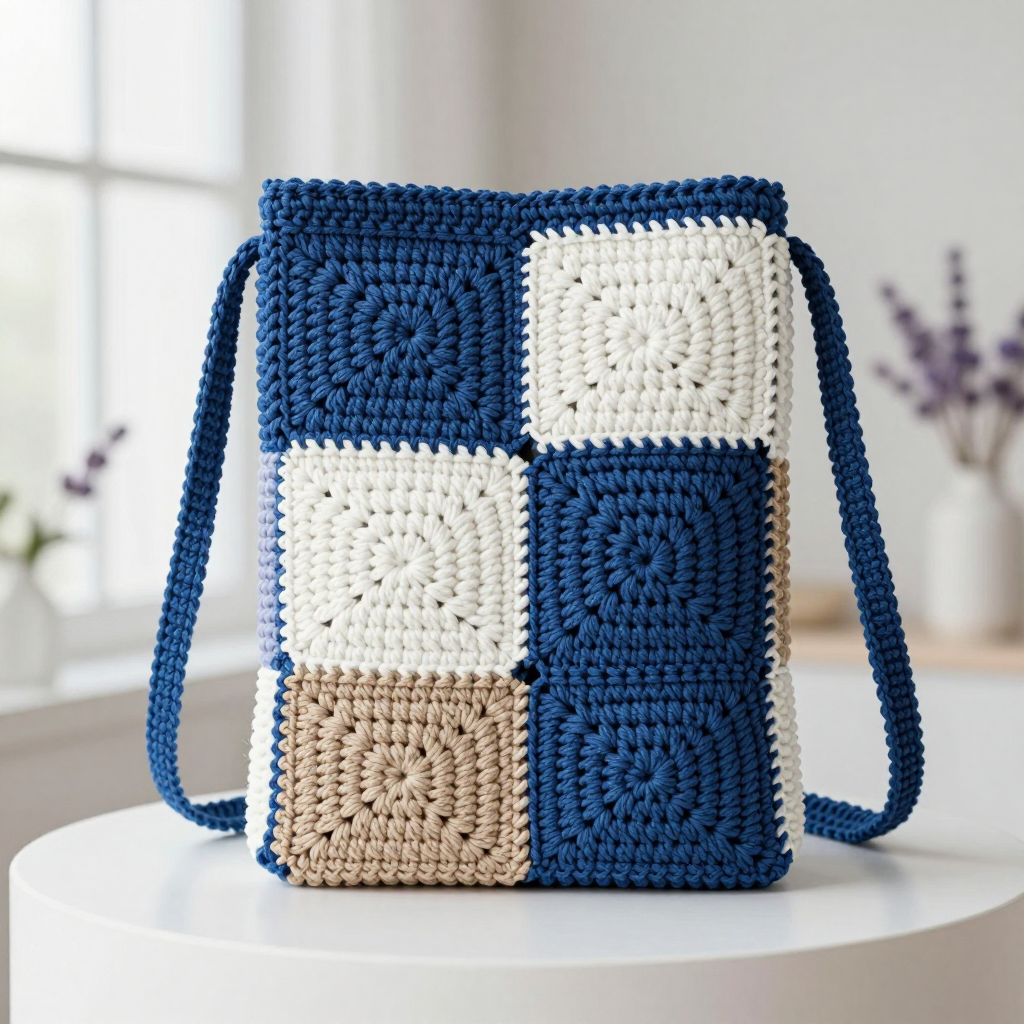
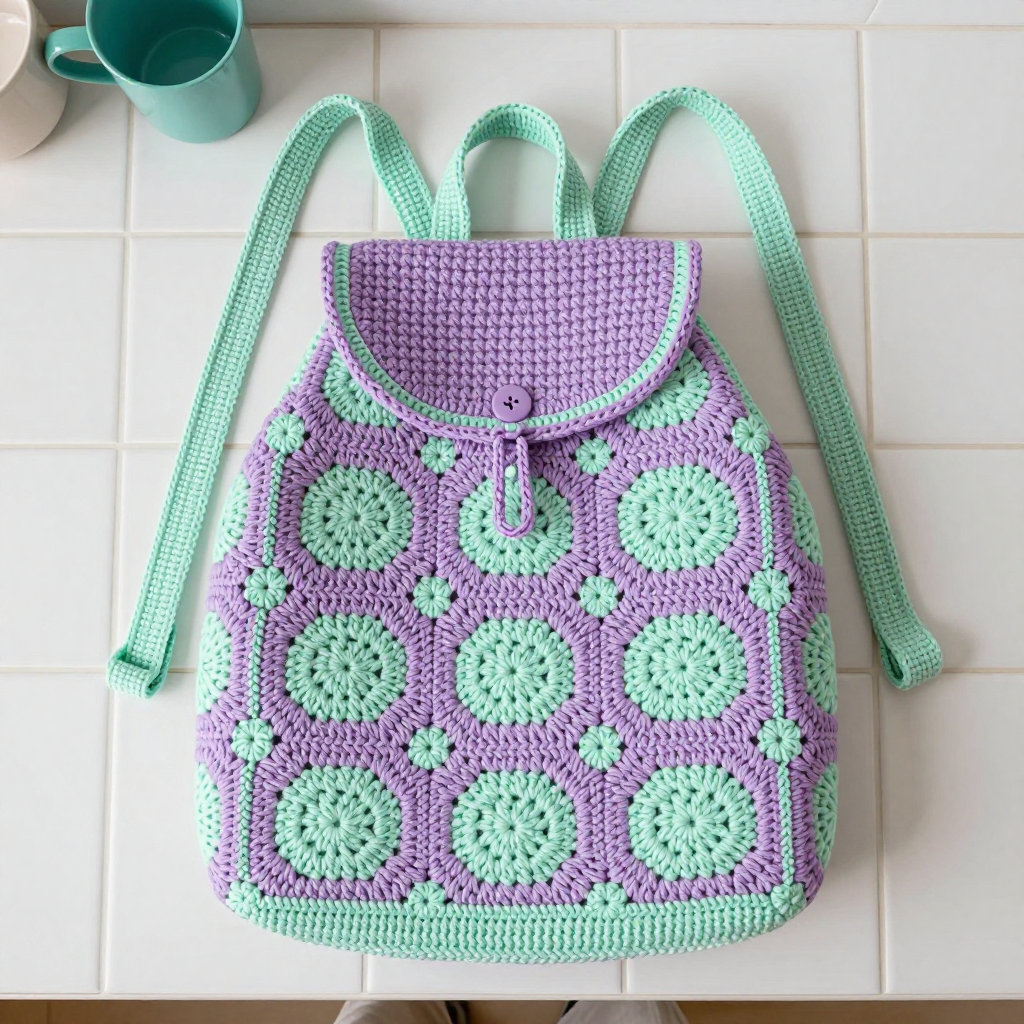
Cosmic Grid Book Tote Free Crochet Pattern: A Navy & Cream Star-Map Bag
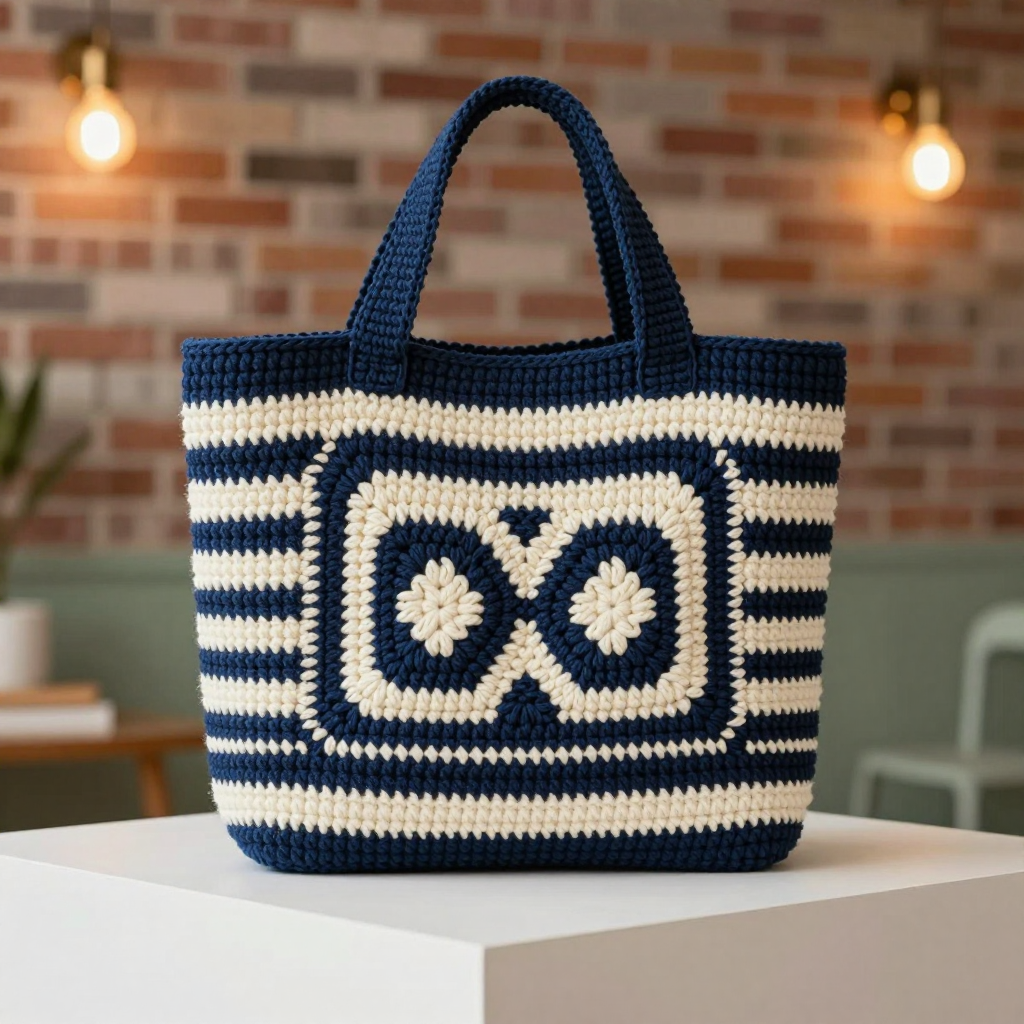
Cosmic Grid Book Tote: A Free Navy & Cream Star-Map Crochet Pattern
Introduction
If you have ever wanted to carry a little piece of the night sky with you, this Cosmic Grid Book Tote is exactly that project. It is a flat, rectangular bag worked in two simple panels and seamed at the sides, so there is no complicated shaping, no increasing, and no decreasing to worry about. The star-map effect comes from nothing more than navy and cream color blocks arranged in a grid, which means the only skill you truly need is single crochet. The finished tote is 13 inches wide and 14 inches tall, dense and sturdy enough to hold a paperback, a notebook, or your latest crochet project, with two plain flat handles that sit comfortably in your hand. The fabric feels firm and slightly ridged, like a well-loved canvas book bag, and the deep navy with cream accents looks like a constellation chart stitched into yarn. If this is your very first bag, take a breath and read every section before you begin. You absolutely can make this.
Materials Needed
- Yarn: Worsted weight (category 4) acrylic or cotton-blend yarn. You will need approximately 350 yards of navy (Color A) and 150 yards of cream (Color B).
- Crochet hook: 4.0 mm (US G/6). If you tend to crochet tightly, go up to a 4.5 mm (US 7); if you crochet loosely, go down to a 3.75 mm (US F/5).
- Stitch markers: At least 4. These are small clips or loops you place in a stitch to mark a spot you need to find again.
- Tapestry needle: A large, blunt-tipped needle with an eye big enough for yarn, used for seaming and weaving in ends.
- Scissors: Any sharp pair for cutting yarn.
- Finished size: 13 inches wide x 14 inches tall (33 cm x 35.5 cm), excluding handles. Each panel is 52 single crochet stitches wide and 63 rows tall.
Abbreviations and Beginner Glossary
- ch – chain. Make a loop with the yarn on your hook (a slip knot), then wrap the yarn over the hook and pull it through the loop already on your hook. That is one chain. Chains form your foundation row.
- sc – single crochet. Insert your hook into the next stitch, wrap the yarn over the hook, pull up a loop (you now have 2 loops on the hook), wrap the yarn over again, and pull it through both loops. One single crochet made.
- sl st – slip stitch. Insert your hook into the stitch, wrap the yarn over, and pull it straight through both the stitch and the loop on your hook in one motion. It makes a nearly invisible joining stitch.
- st / sts – stitch / stitches. One completed single crochet is one stitch.
- turning chain – the ch 1 you make at the start of every row. It lifts your yarn up to the height of the next row so your edges stay straight.
- turn – flip your work over so you can crochet back across the row you just finished.
- A – navy yarn. B – cream yarn.
- Color change – to switch colors, work the final yarn-over of the last single crochet of the old color using the new color. Then carry the unused color along the back (wrong side) of your work, crocheting over it so it is hidden inside the fabric and the bag stays flat.
- whipstitch – a seaming stitch. Thread your tapestry needle, bring it through both layers from front to back, then back to front a short distance along, and repeat. It looks like small diagonal stitches.
- fasten off – cut the yarn a few inches from your work and pull the tail all the way through the last loop to lock it.
- weave in ends – thread a yarn tail onto your tapestry needle and run it back and forth through the fabric so it disappears and cannot unravel.
Gauge
16 single crochet stitches x 18 rows = 4 inches (10 cm).
Gauge means how many stitches and rows fit into a measured square of your fabric. It matters because it is the only way to guarantee your bag comes out 13 inches wide instead of 10 or 16. If your stitches are bigger than the pattern assumes, the bag will be too large; if smaller, too small. To check, crochet a practice square: chain 25, then single crochet into every chain and work about 22 rows. Lay a ruler across the middle and count how many stitches fit in 4 inches, then count how many rows fit in 4 inches. If you have more than 16 stitches, your tension is tight, so try a larger hook. If you have fewer, try a smaller hook. Wash and dry your swatch the way you plan to treat the bag, because acrylic can relax slightly.
Beginner Tips Before You Start
- Count every row. The color blocks only line up if the row counts are exact. Place a stitch marker in the first stitch of each row so you always know where the row begins.
- Do not pull your yarn too tight. Tension is how hard you tug the yarn. Pulling hard makes stiff, narrow fabric and makes your hook difficult to insert. Aim for even, relaxed stitches.
- Keep your carried yarn loose. When you carry navy or cream across the back, do not stretch it tight across the gap or the bag will pucker. Let it rest gently behind your stitches.
- Work the color change on the last stitch. Finish the final single crochet of a block by pulling the new color through the last two loops. This keeps the color edge crisp.
- Make both panels identical. The back panel is worked exactly like the front. Use the same hook and the same tension so the two pieces match in size.
- Leave long tails. When you fasten off, leave at least 6 inches of yarn. Short tails slip out of seams.
Step-by-Step Instructions
Front Panel (make 1)
With A (navy), ch 53.
Row 1: Sc in the 2nd ch from hook and in each ch across. Turn. (52 sts)
Rows 2–8: Ch 1, sc in each st across. Turn. (52 sts) — this completes 7 navy rows.
Row 9: Ch 1, sc 6 in A, sc 40 in B, sc 6 in A. Turn. (52 sts)
Rows 10–12: Repeat Row 9. (52 sts) — 4 cream rows total.
Rows 13–20: Ch 1, sc in each st across in A. Turn. (52 sts) — 8 navy rows.
Row 21: Ch 1, sc 6 in A, sc 8 in B, sc 24 in A, sc 8 in B, sc 6 in A. Turn. (52 sts)
Rows 22–24: Repeat Row 21. (52 sts) — 4 rows of two cream blocks.
Rows 25–32: Ch 1, sc in each st across in A. Turn. (52 sts) — 8 navy rows.
Row 33: Ch 1, sc 6 in A, sc 40 in B, sc 6 in A. Turn. (52 sts)
Rows 34–36: Repeat Row 33. (52 sts) — 4 cream rows.
Rows 37–44: Ch 1, sc in each st across in A. Turn. (52 sts) — 8 navy rows.
Row 45: Ch 1, sc 6 in A, sc 8 in B, sc 24 in A, sc 8 in B, sc 6 in A. Turn. (52 sts)
Rows 46–48: Repeat Row 45. (52 sts) — 4 rows of two cream blocks.
Rows 49–56: Ch 1, sc in each st across in A. Turn. (52 sts) — 8 navy rows.
Row 57: Ch 1, sc 6 in A, sc 40 in B, sc 6 in A. Turn. (52 sts)
Rows 58–60: Repeat Row 57. (52 sts) — 4 cream rows.
Rows 61–63: Ch 1, sc in each st across in A. Turn. (52 sts) — 3 navy rows.
Fasten off, leaving a 6-inch tail. Weave in ends. You now have 63 rows total, which at 18 rows per 4 inches gives you 14 inches of height.
Back Panel (make 1)
Work exactly as the Front Panel, from Row 1 through Row 63. This creates a mirrored star-map grid on the reverse. Fasten off and weave in ends.
Side Seams
Place the Front and Back panels right sides together (the right side is the side you want showing on the finished bag; put those faces touching). Thread your tapestry needle with navy yarn. Starting at the bottom corner, whipstitch the side edges together all the way up to the top corner. Work through both layers only, keeping your stitches small and even. Fasten off and weave in the end. Repeat on the opposite side, leaving the top open.
Bottom Seam
Still with right sides together, whipstitch the bottom edges of the two panels together in the same way. Fasten off and weave in the end. Turn the bag right side out through the open top.
Top Edging
Join A at one top corner. Ch 1, then work 1 round of sc evenly around the entire top opening: 52 sc across the front, 52 sc across the back, plus 1 sc in each side seam. Join with a sl st to the first sc. (106 sts) Fasten off and weave in ends.
Handles (make 2)
With A, ch 61.
Row 1: Sc in the 2nd ch from hook and in each ch across. Turn. (60 sts)
Rows 2–3: Ch 1, sc in each st across. Turn. (60 sts)
Fasten off, leaving a long tail. Fold the handle in half lengthwise and whipstitch the long edges together to form a flat strap. Repeat for the second handle.
Attach Handles
Measure 3 inches in from each side seam along the top edge of the front panel. Pin one handle end at each mark, with the strap lying flat against the bag. Whipstitch securely through all layers. Repeat on the back panel with the second handle, aligning it with the front handles. Weave in all ends.
Assembly and Finishing
Your bag is already seamed, so finishing is about making everything neat and even. First, weave in every remaining end: thread each tail onto the tapestry needle and run it back and forth through the inside of the fabric for about 2 inches, changing direction once so it cannot pull loose, then trim close to the fabric. Next, block the bag. Lightly mist the whole tote with cool water from a spray bottle until it is damp but not dripping, then shape it gently with your hands to exactly 13 inches wide by 14 inches tall. Lay it flat on a towel or pin the edges to a blocking mat and let it air dry completely, away from direct heat. Blocking evens out the colorwork, relaxes any tight stitches, and makes the handles lie flat. Once dry, try the bag on your shoulder, give the seams a gentle tug to check they are secure, and you are finished.
Pro Tips and Variations
- Change the colorway. Swap navy for charcoal gray and cream for pale gold for a warmer, vintage star-map look. Keep one color dark and one light so the grid stays visible.
- Resize the bag. To make it wider, add or remove chains in multiples of 8 so the cream blocks stay centered. To make it taller, add extra navy rows between the cream bands, working in groups of 8 rows to keep the spacing even.
- Substitute yarn. Cotton yarn gives a sturdier, washable bag that holds its shape; acrylic is softer and lighter. Whichever you choose, crochet a new gauge swatch, because cotton and acrylic behave differently.
- Line the bag. For extra durability, sew a simple fabric lining by hand into the inside before attaching the handles, using the finished bag as your template.