Tips & Tricks
Chunky Peach Ribbed Knit Beanie
Anonymous
•
June 23, 2026
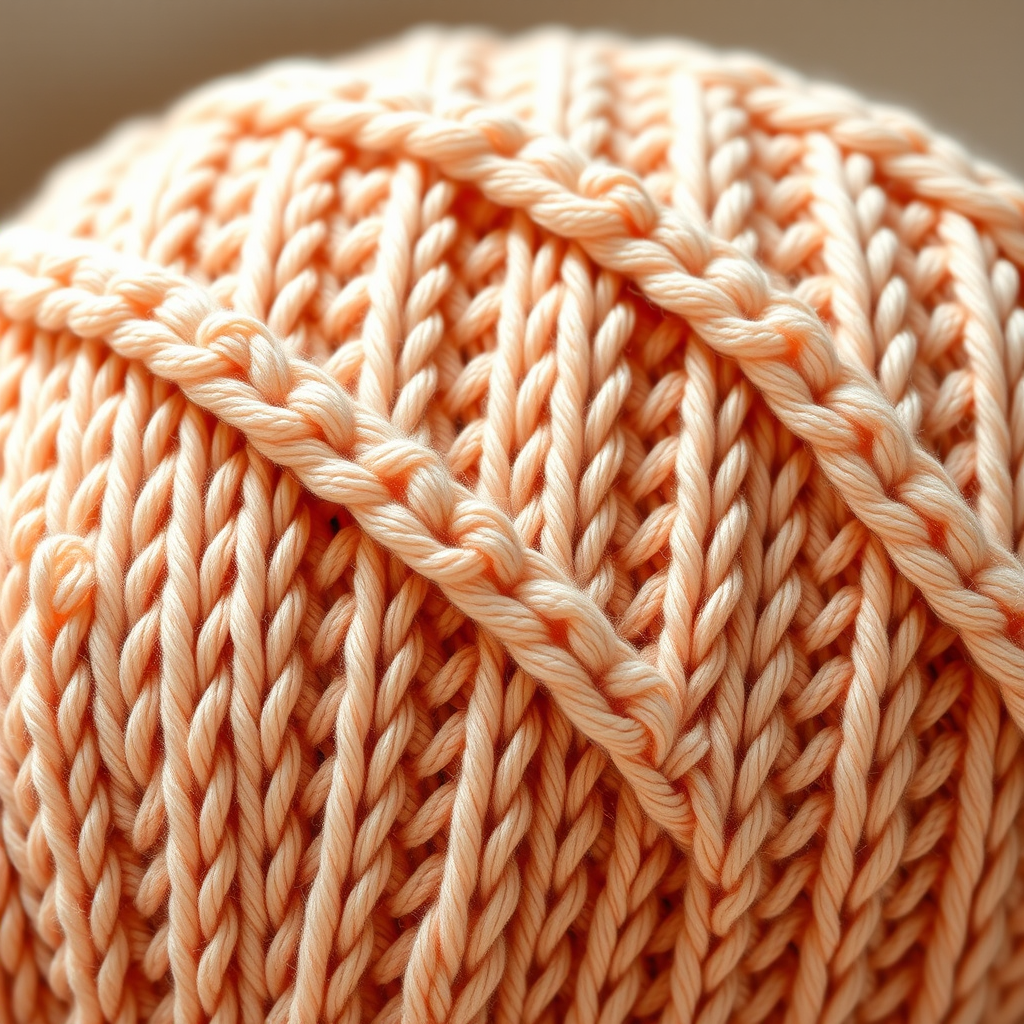
Chunky Peach Ribbed Knit Beanie
Introduction
Welcome to your next knitting adventure! In this tutorial, we will guide you through the process of creating a cozy, ribbed beanie using super bulky peach yarn. This beanie is not only stylish but also functional, perfect for keeping warm during chilly days. With its classic ribbed texture, this pattern is ideal for beginners looking to enhance their knitting skills. Let’s get started!
Materials Needed
- Yarn: Super bulky peach yarn
- Needles: US 15 (10 mm) knitting needles
- Gauge: 8 stitches and 12 rows = 4 inches in rib pattern
- Scissors: For cutting yarn
- Tapestry needle: For weaving in ends
Step-by-Step Instructions
- Cast On: Begin by using the long-tail cast-on method to cast on 40 stitches onto your US 15 (10 mm) knitting needles. Ensure that your stitches are not too tight; they should be comfortable enough to work with.
- Ribbing: Start working in a rib pattern of k2, p2 (knit 2 stitches, purl 2 stitches) across the row. Repeat this ribbing for a total of 10 inches. Use a measuring tape to ensure that you reach the desired length.
- Begin Decreasing for the Crown: Once you have completed the ribbing, it’s time to shape the crown of the beanie. On the next row, work the following decrease pattern: *k2tog (knit 2 together), p2tog (purl 2 together)* across the entire row. This will reduce the number of stitches and start forming the top of the beanie.
- Knit the Next Row: After completing the decrease row, knit the next row in the same rib pattern (k2, p2). This helps maintain the texture while you decrease.
- Repeat the Decrease Row: Continue to repeat the decrease row (k2tog, p2tog) followed by a knit row in pattern until you have a small number of stitches left (approximately 8-10 stitches).
- Cut the Yarn: Once you have reached the final decrease row, cut the yarn, leaving a long tail (about 12 inches). This will be used to close the top of the beanie.
- Close the Crown: Thread the long tail through the remaining stitches on your needle. Pull tight to close the top of the beanie completely. Make sure it is secure to prevent any gaps.
- Sew the Seam: To finish your beanie, use the mattress stitch to sew the seam together. Align the edges of your work and carefully stitch them together for a seamless finish.
- Weave in Ends: Finally, use a tapestry needle to weave in any loose ends from your cast-on and the tail used to close the crown. This will give your beanie a neat and polished look.
Congratulations! You have successfully knitted your very own Chunky Peach Ribbed Beanie. Enjoy wearing it or gifting it to someone special!
Also Check Out: We think you'd love this beautiful pattern on our sister site: Textured Crochet Square with Cable Motif
Also Check Out: We think you'd love this beautiful pattern on our sister site: Chunky Crochet Hooded Cowl Pattern
Also Check Out: We think you'd love this beautiful pattern on our sister site: Chunky Cable Knit Blanket Pattern
Also Check Out: We think you'd love this beautiful pattern on our sister site: Colorful Striped Crochet Blanket


