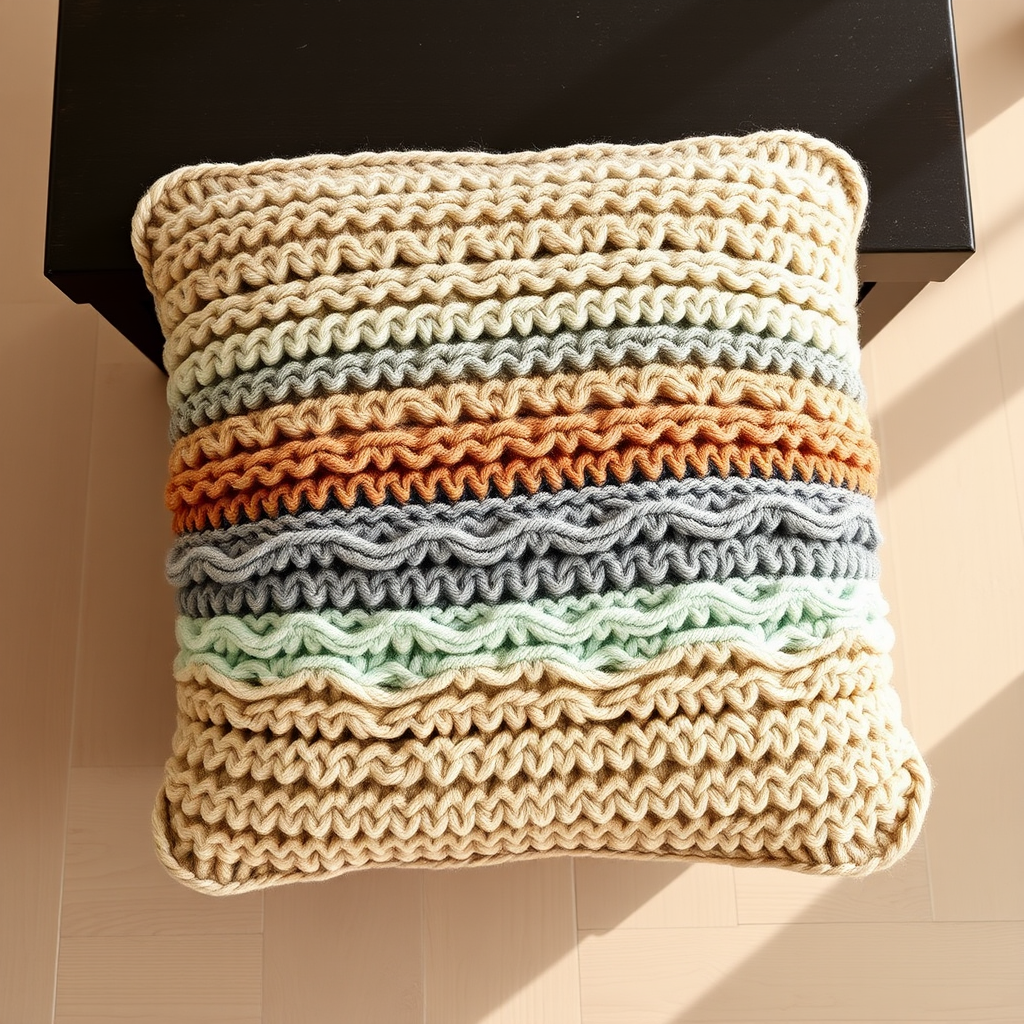
Cascade Cloud Pillow Free Pattern – Knit a Plush Waffle Stitch Cushion

Cascade Cloud Pillow Free Pattern – Knit a Plush Waffle Stitch Cushion
Wrap your living space in the cozy embrace of the Cascade Cloud Pillow, a generously sized cushion knitted with a deep waffle stitch that mimics soft, billowing clouds. This pattern offers a modern, tactile twist on classic home decor, perfect for adding a layer of warmth and sophistication to any room. The thick, chunky yarn and three-dimensional texture create a stunning statement piece that invites you to sink in and relax. Whether you're a seasoned knitter or a confident beginner looking for a rewarding project, this pillow is a delightful way to elevate your home's aesthetic.
Materials Needed
Before you begin, gather the following supplies to ensure a smooth and enjoyable knitting experience:
- Yarn: Super bulky weight yarn (size 6) in a soft oatmeal or cream color, approximately 300-350 yards. The chunky weight is essential for achieving the plush, cloud-like effect.
- Needles: US 11 (8.0 mm) knitting needles. These large needles work perfectly with the bulky yarn to create a drapey, soft fabric.
- Extras: A tapestry needle for weaving in ends and seaming the panels together.
- Pillow Form: An 18-inch square pillow insert to fill your finished cover.
Gauge
10 stitches x 14 rows = 4 inches in waffle stitch pattern (after blocking). Achieving the correct gauge is crucial for a perfectly sized pillow cover. If your gauge is off, adjust your needle size accordingly.
Step-by-Step Instructions
This pattern is broken down into manageable sections. Follow along carefully, and you'll have a beautiful, textured pillow in no time.
Finished Size & Abbreviations
Finished Size: Approximately 18 inches square (before inserting pillow form).
Abbreviations:
- CO: cast on
- K: knit
- P: purl
- Sl: slip stitch purlwise
- WYIF: with yarn in front
- WYIB: with yarn in back
- Rep: repeat
- St(s): stitch(es)
Special Stitch: The Waffle Stitch
This pattern uses a beautiful waffle stitch that creates the cloud-like texture. It's a multiple of 4 + 2 stitches. Here's how to work it:
- Row 1 (RS): K2, *Sl 2 WYIF, K2; rep from * to end.
- Row 2 (WS): P2, *Sl 2 WYIB, P2; rep from * to end.
- Row 3: K all sts.
- Row 4: P all sts.
- Rows 5-8: Rep Rows 1-4.
Tip: When slipping stitches, always slip them purlwise (as if to purl) to keep the stitches untwisted and the fabric neat.
Front Panel (Waffle Texture)
- Cast On: CO 46 sts.
- Work Pattern: Work in Waffle Stitch pattern until piece measures approximately 18 inches from cast-on edge, ending with a Row 4 or Row 8 of the pattern. This ensures the pattern is complete before binding off.
- Bind Off: Bind off all sts loosely in pattern (knit the knits and purl the purls, slipping the slipped sts as you go). This keeps the edge flexible and matches the fabric's stretch.
Back Panel (Stockinette)
- Cast On: CO 46 sts.
- Work Pattern: Work in stockinette stitch (K on RS, P on WS) for 18 inches, or until same length as front panel. The smooth back provides a nice contrast to the textured front.
- Bind Off: Bind off all sts.
Finishing & Assembly
- Blocking: Block both panels to the same dimensions (18x18 inches). This is a crucial step to even out the stitches and ensure the panels match perfectly. Use a steam block or wet block method as preferred.
- Seaming: Place the front and back panels with right sides together. Using a tapestry needle and yarn, sew three sides together using a mattress stitch or whip stitch, leaving one side open.
- Insert Pillow Form: Turn the pillow cover right side out. Insert an 18-inch square pillow form, gently pushing it into the corners.
- Close the Opening: Whip stitch the remaining side closed, ensuring the seam is neat and secure. Weave in all loose ends.
Optional Decorative Finish
For a more decorative finish, you can add a simple button closure on the open side instead of sewing it shut. This allows for easy removal of the pillow form for washing or swapping covers. Simply sew buttons onto one edge and create corresponding buttonholes on the other edge before seaming the three sides.
Your Cascade Cloud Pillow is now complete! Place it on a neutral-toned sofa or armchair, and enjoy the soft, natural lighting that highlights its beautiful texture. This modern, cozy, and minimalist piece is sure to become a favorite in your home.