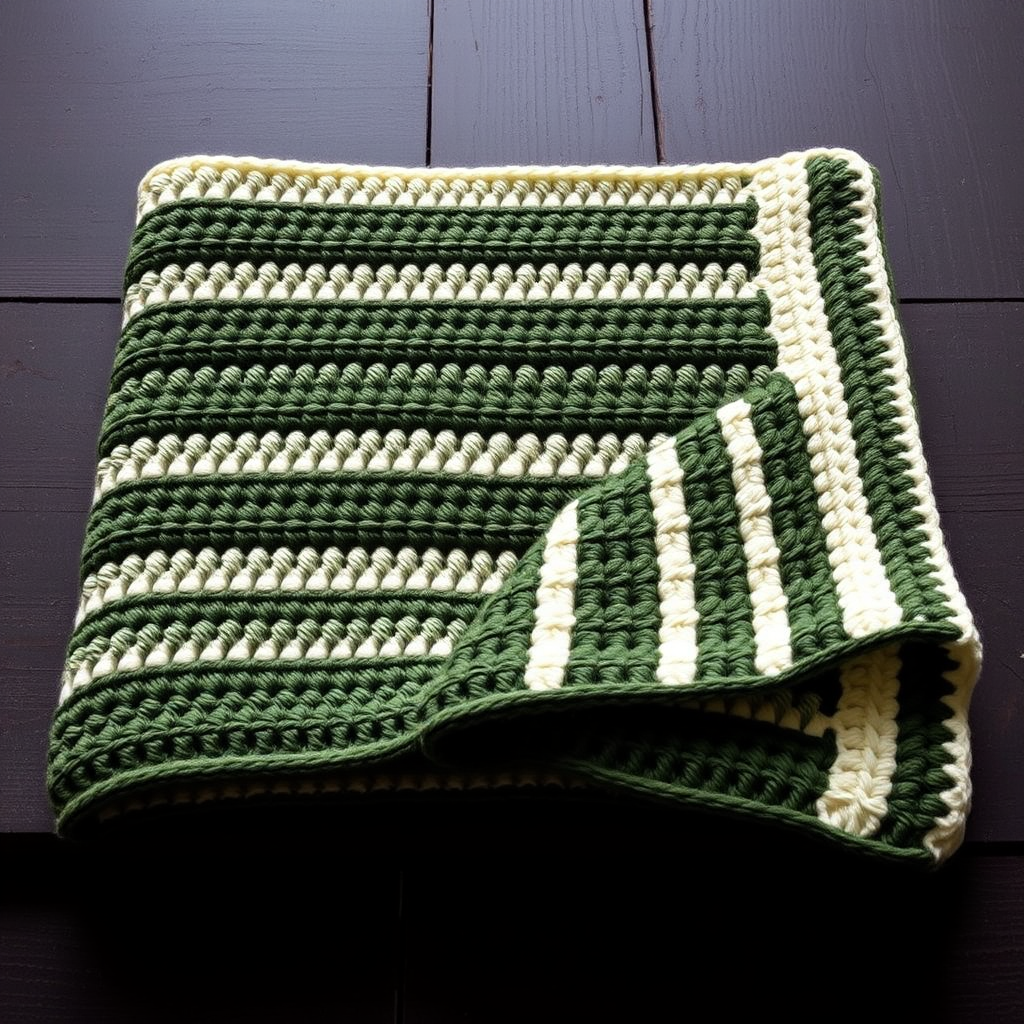
C2C Granny Spike Stitch Throw Free Pattern – Cozy Textured Crochet Blanket

Introducing the C2C Granny Spike Stitch Throw: A Modern Heirloom
There are some crochet projects that feel like more than just a blanket—they feel like a legacy. The C2C Granny Spike Stitch Throw is exactly that kind of project. By merging the beloved corner-to-corner (C2C) technique with the beautifully textured granny spike stitch, this pattern creates a rich, dimensional fabric that looks far more complex than it actually is. The earthy gradient—from soft cream to sage, dusty rose, ochre, and charcoal—creates a stunning ombre effect that anchors any room with warmth and sophistication.
Whether you're looking to challenge yourself with a new stitch combination or simply want a cozy, heirloom-quality piece for your sofa, this throw delivers. The square shape (48" x 48") is perfect for draping over a chair, folding at the foot of a bed, or wrapping up with on a chilly evening. Best of all, the C2C construction means you're always working in manageable sections, making this an achievable project even for confident beginners who are ready to level up their skills.
Materials Needed
Before you begin, gather the following supplies. This pattern uses worsted weight yarn, which is widely available and forgiving to work with. The total yardage is approximately 1800 yards, but this will vary slightly depending on your tension and gauge.
Yarn & Hooks
- Yarn: Worsted weight yarn in 5 colors:
- Color A (Cream) – approx 400 yds
- Color B (Sage) – approx 350 yds
- Color C (Dusty Rose) – approx 350 yds
- Color D (Ochre) – approx 350 yds
- Color E (Charcoal) – approx 350 yds
- Hook: 5.5 mm (I-9) crochet hook
- Other: Yarn needle for weaving in ends, scissors, stitch markers (optional but helpful)
Gauge
For best results, match this gauge: 4 C2C blocks = 4 inches and 1 granny spike repeat = 2 inches wide. If your gauge is off, adjust your hook size accordingly. A swatch is always worth the time!
Step-by-Step Instructions
This pattern is worked in corner-to-corner fashion, meaning you'll start at one corner and increase diagonally until you reach the widest point, then decrease back down to the opposite corner. Each "block" is a granny spike cluster, which gives the fabric its signature texture. Don't worry—once you get the rhythm, it's incredibly meditative.
Special Stitches
- Granny Spike Cluster (GSC): Work 3 double crochet (dc) into the same space, then 1 single crochet (sc) into the top of the previous row's dc (this is the "spike" that anchors the cluster and creates the texture).
- C2C Increase Row: Start with a magic ring. Ch 3 (counts as first dc), work 2 dc into the ring, ch 1, then 3 dc into the ring. This forms your first block. For each additional block in the row, ch 3, turn, work 3 dc into the ch-1 space of the previous block, ch 1, then work 3 dc into the next ch-1 space (spike into the dc below).
- C2C Decrease Row: Slip stitch across the first block to move to the next ch-1 space, then work the next block as normal. This reduces the row by one block.
Color Sequence
Follow this color progression for the gradient effect. The blanket is worked in 5-row bands, creating a smooth transition from light to dark and back again.
- Rows 1–5: Color A (Cream)
- Rows 6–10: Color B (Sage)
- Rows 11–15: Color C (Dusty Rose)
- Rows 16–20: Color D (Ochre)
- Rows 21–25: Color E (Charcoal)
- Rows 26–30: Color D (Ochre)
- Rows 31–35: Color C (Dusty Rose)
- Rows 36–40: Color B (Sage)
- Rows 41–45: Color A (Cream)
Getting Started: The Increase Section (Rows 1–25)
Row 1: With Color A, make a magic ring. Ch 3 (counts as dc), work 2 dc into the ring, ch 1, then 3 dc into the ring. Pull the ring tight. You now have 1 block. (Note: For this first block, you're essentially working a granny square corner.)
Row 2: Ch 3, turn. Work 3 dc into the ch-1 space of the first block, ch 1, then work 3 dc into the ch-1 space of the next block (spike into the dc below). You now have 2 blocks.
Row 3: Ch 3, turn. Work 3 dc into the ch-1 space of the first block, ch 1, then 3 dc into the next ch-1 space, spike into the dc below. Repeat this across the row. You now have 3 blocks.
Rows 4–25: Continue increasing by one block per row. Each block is worked identically: ch 3, turn, 3 dc into ch-1 space, ch 1, then 3 dc into the next ch-1 space, spike into the dc below. At the end of Row 25, you will have 25 blocks across the diagonal. Remember to switch colors according to the sequence above—you'll change colors at the start of each new row.
Pro Tip: When changing colors, fasten off the old color and join the new color with a slip stitch in the ch-1 space where you'll begin the next row. Weave in ends as you go to save time at the end.
The Decrease Section (Rows 26–45)
Once you've reached 25 blocks, it's time to start decreasing. This is where the blanket begins to square off.
Row 26: At the beginning of the row, slip stitch across the first block (slip stitch into each of the 3 dc and into the ch-1 space). This effectively "skips" the first block. Then work the next block as normal: ch 3, 3 dc into the ch-1 space, ch 1, then 3 dc into the next ch-1 space, spike into the dc below. Continue working blocks across the row, but do not work a block in the last ch-1 space. Turn and begin the next row with a slip stitch across the first block. You now have 24 blocks.
Rows 27–45: Repeat this decrease process. Each row will have one fewer block than the previous row. Continue following the color sequence—by Row 41, you'll be back to Color A. Keep decreasing until you have just 1 block left.
Final Block: Work the last block (a single granny spike cluster), then fasten off and weave in the end.
Adding the Border
A beautiful border frames the textured center and gives the throw a polished, professional finish.
Round 1: With Color A, join yarn in any corner. Work 1 round of single crochet (sc) evenly around the entire blanket, working 3 sc in each corner to keep the corners flat and square. Take your time to ensure the stitch count is even—this will make the border lie flat.
Round 2: Work 1 round of reverse single crochet (also called crab stitch). To do this, work single crochet from left to right (instead of right to left). This creates a twisted, rope-like edge that beautifully complements the textured body of the blanket. Fasten off and weave in all remaining ends.
Finishing Touches
Once all ends are woven in, give your throw a gentle block. Lay it flat, mist it with water, and pin it to the desired dimensions (48" x 48"). Allow it to dry completely. Blocking will even out the stitches and enhance the drape of the fabric.
Your C2C Granny Spike Stitch Throw is now ready to be enjoyed! Whether you gift it to a loved one or keep it for yourself, this textured, gradient beauty is sure to become a treasured piece in any home. Happy crocheting!