Pillow Cover Crochet Patterns
Blooming Petals Pillow Cover Free Pattern
Anonymous
•
July 18, 2026
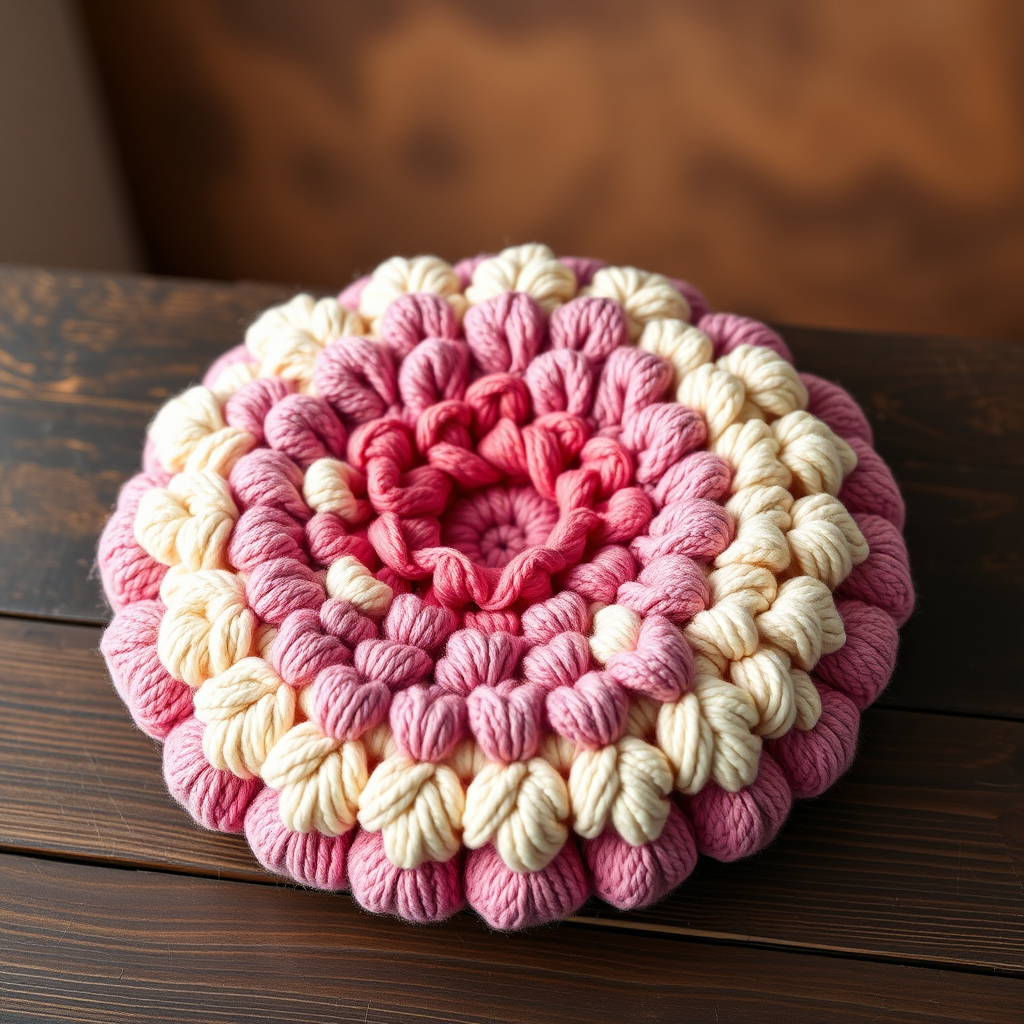
Blooming Petals Pillow Cover Free Pattern
Introduction
Bring a touch of nature into your home with this Blooming Petals Pillow Cover. This crochet pattern features a stunning floral motif that adds elegance and charm to any living space. Perfect for beginners, this project will not only enhance your crochet skills but also result in a beautiful decorative piece for your couch or bed.
Materials Needed
- Yarn: Worsted weight cotton yarn (in shades of soft pink, lavender, cream, and deep rose)
- Crochet Hook: 5.0 mm crochet hook
- Gauge: 14 stitches and 16 rows = 4 inches in single crochet
- Scissors: For cutting yarn
- Tapestry Needle: For weaving in ends
- Pillow Insert: 18-inch pillow insert
- Closure Option: Buttons or a zipper (optional)
Step-by-Step Instructions
Follow these detailed instructions to create your very own Blooming Petals Pillow Cover:
- Start with a Magic Ring: Create a magic ring by wrapping the yarn around your fingers and pulling a loop through. This will be the center of your flower.
- Round 1: Chain 3 (this counts as your first double crochet), then work 11 double crochets (dc) into the magic ring. Join with a slip stitch (sl st) to the top of the chain-3. You should have a total of 12 dc.
- Round 2: Chain 3, then double crochet in the same stitch. Now, work 2 dc in each stitch around. Join with a sl st. You should have 24 dc.
- Round 3: Chain 3, double crochet in the same stitch. *Double crochet in the next stitch, then 2 dc in the next stitch; repeat from * around. Join with a sl st. You should have 36 dc.
- Round 4: Chain 3, double crochet in the same stitch. *Double crochet in the next 2 stitches, then 2 dc in the next stitch; repeat from * around. Join with a sl st. You should have 48 dc.
- Round 5: Chain 3, double crochet in the same stitch. *Double crochet in the next 3 stitches, then 2 dc in the next stitch; repeat from * around. Join with a sl st. You should have 60 dc.
- Round 6: Chain 3, double crochet in the same stitch. *Double crochet in the next 4 stitches, then 2 dc in the next stitch; repeat from * around. Join with a sl st. You should have 72 dc.
- Round 7: Chain 3, double crochet in the same stitch. *Double crochet in the next 5 stitches, then 2 dc in the next stitch; repeat from * around. Join with a sl st. You should have 84 dc.
- Round 8: Chain 3, double crochet in the same stitch. *Double crochet in the next 6 stitches, then 2 dc in the next stitch; repeat from * around. Join with a sl st. You should have 96 dc.
- Round 9: Chain 3, double crochet in the same stitch. *Double crochet in the next 7 stitches, then 2 dc in the next stitch; repeat from * around. Join with a sl st. You should have 108 dc.
- Finish Off: Fasten off your yarn and weave in any loose ends using a tapestry needle.
- Back Panel: Repeat the above steps to create a second panel for the back of the pillow cover.
- Joining the Panels: Place the two panels together with the right sides facing each other. Using single crochet (sc), join the panels together all around, leaving one side open for the pillow insert.
- Closure: You can add buttons or a zipper to the open side for easy access to the pillow insert.
Congratulations! You have successfully created your very own Blooming Petals Pillow Cover. Enjoy the beauty and charm it brings to your home decor!


