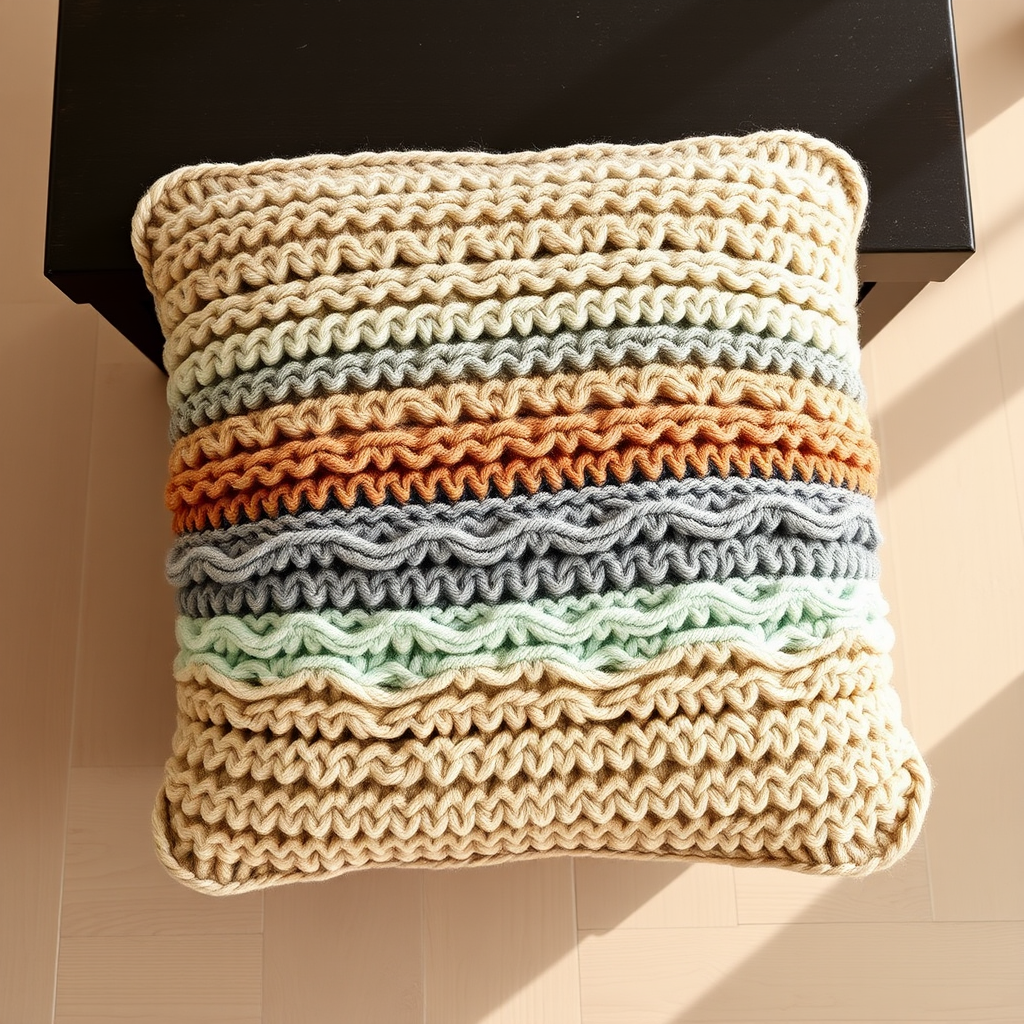
Aurora Sky Chunky Knit Cloud Pillow Free Pattern – Dreamy Textured Cushion
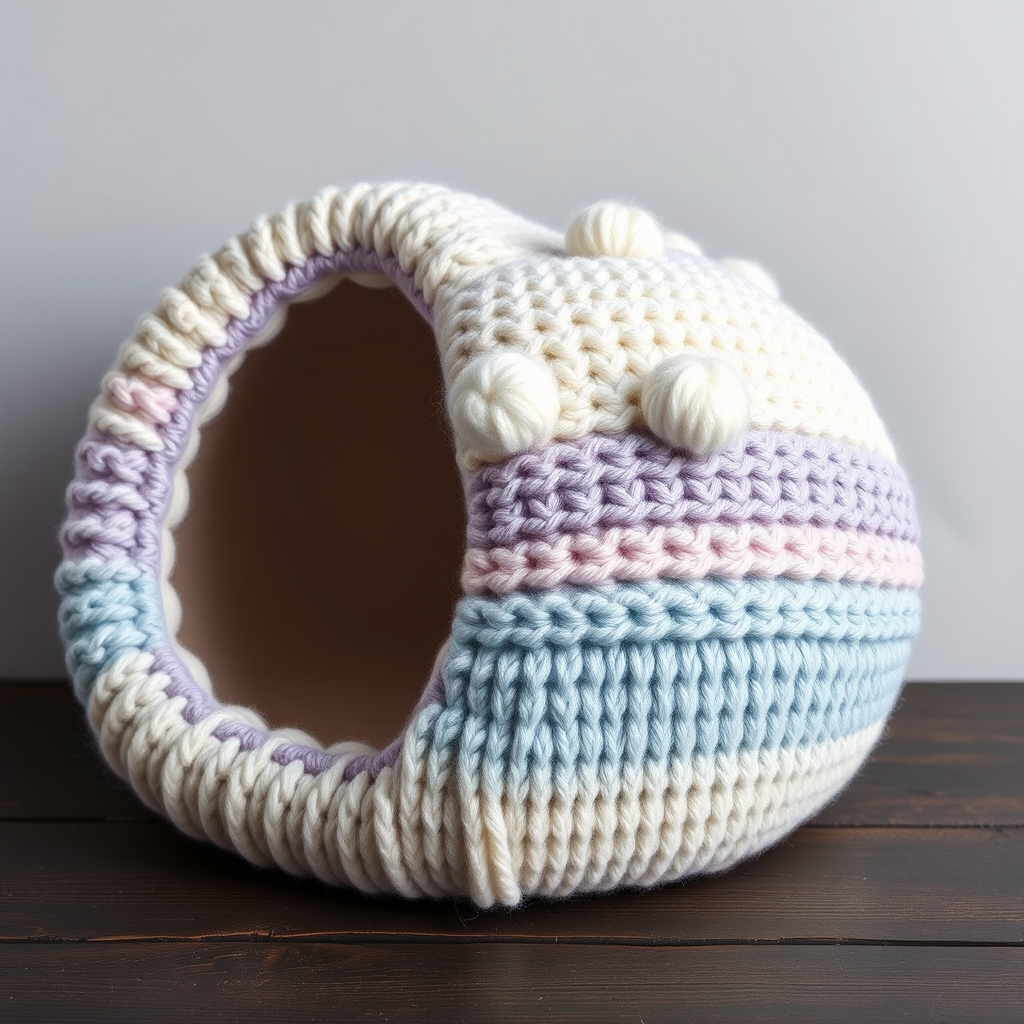
Aurora Sky Chunky Knit Cloud Pillow: A Dreamy DIY Project
Imagine sinking into a cloud—soft, plush, and serene. Now imagine crafting that cloud with your own hands. The Aurora Sky Chunky Knit Cloud Pillow brings the gentle swirls of a twilight sky into your living space, combining the cozy warmth of chunky yarn with the ethereal beauty of a gradient color palette. This textured cushion is the perfect accent for a serene reading nook, a calming bedroom retreat, or any space that could use a touch of heavenly comfort.
This free knitting pattern is designed with beginners in mind, using simple stockinette stitch and basic seaming techniques. The result is a stunning, handcrafted pillow that looks like it came straight from a boutique—but with the personal touch only handmade items can offer. Let's dive into this cloud-soft project!
Materials Needed
Before you begin, gather the following materials. Having everything ready will make your knitting experience smooth and enjoyable.
Yarn
- Super bulky weight yarn (approximately 200 yards total)
- Color A: Soft white (for the main body and cloud tufts)
- Color B: Pale lavender (for the dreamy stripes)
- Color C: Dusty blue (for the twilight gradient)
Tip: Choose a yarn with good stitch definition so the textured stockinette pattern shines. A wool-blend or acrylic super bulky yarn works beautifully.
Knitting Needles
- US Size 15 (10mm) circular knitting needles with a 24-inch cable. The circular needle is essential for holding the wide panel comfortably, even though you'll be knitting flat.
Additional Supplies
- Tapestry needle for seaming and weaving in ends
- Scissors
- Pillow insert (16-inch round or 14x14 inch square—both work beautifully with this pattern)
Gauge
6 stitches and 8 rows = 4 inches in stockinette stitch. This gauge is crucial for achieving the correct pillow size. Always knit a swatch first to ensure your tension matches!
Step-by-Step Instructions
This pillow is knitted as a flat panel and then seamed, with a simple folded construction that creates a cloud-like rounded shape. Follow these detailed instructions carefully, and you'll have a gorgeous cloud pillow in no time.
Abbreviations
- CO: Cast on
- K: Knit
- P: Purl
- St(s): Stitch(es)
- RS: Right side
- WS: Wrong side
- K2tog: Knit two together
- P2tog: Purl two together
Panel 1 (Front)
Step 1: Cast On
With Color A (soft white), cast on 40 stitches using your preferred method. A long-tail cast-on works well for this project. Ensure your cast-on is not too tight, as you'll need to work with these stitches for a while.
Step 2: Begin Stockinette Stitch
Row 1 (RS): Knit all stitches.
Row 2 (WS): Purl all stitches.
Repeat Rows 1-2 until the piece measures 8 inches from the cast-on edge, ending with a WS row. This forms the first white section of your cloud.
Step 3: First Color Transition
Switch to Color B (pale lavender). Continue in stockinette stitch (K on RS, P on WS) for 4 inches. Remember to end with a WS row before switching colors to keep the right side clean.
Step 4: Second Color Transition
Switch to Color C (dusty blue). Continue in stockinette stitch for 4 inches, ending with a WS row.
Step 5: Return to White
Switch back to Color A (soft white). Continue in stockinette stitch for 4 inches, ending with a WS row.
Step 6: Repeat Color Sequence
Switch to Color B (pale lavender). Continue in stockinette stitch for 4 inches, ending with a WS row.
Switch to Color C (dusty blue). Continue in stockinette stitch for 4 inches, ending with a WS row.
Step 7: Final White Section
Switch to Color A (soft white). Continue in stockinette stitch for 8 inches, ending with a WS row. This completes the symmetrical color gradient.
Step 8: Bind Off
Bind off all stitches loosely in knit on the RS. A loose bind-off is essential to prevent the edge from pulling. You can use a larger needle or a stretchy bind-off method if needed.
Panel 2 (Back)
Repeat Panel 1 exactly as written. This ensures both sides of your pillow match perfectly, creating a cohesive, professional look.
Seaming and Assembly
Step 1: Prepare the Panels
Lay both panels flat with the right sides facing out (or facing in if you prefer a smoother, less textured look—the choice is yours). Align the edges carefully, matching the color stripes.
Step 2: Whip Stitch Seaming
Thread a tapestry needle with a length of Color A yarn. Starting at one corner, whip stitch around three sides of the pillow, leaving one side open for the pillow insert. Use small, even stitches about ½ inch apart for a secure seam.
Step 3: Insert the Pillow Form
Carefully insert your pillow form through the open side. Gently push the form into the corners, ensuring the pillow is evenly filled and the fabric is smooth.
Step 4: Close the Final Side
Whip stitch the final side closed, using the same technique. Weave in all loose ends with your tapestry needle, hiding them within the seam for a clean finish.
Optional Cloud Texture Enhancement
To truly capture the fluffy, ethereal cloud effect, add these decorative loops:
Step 1: Cut a length of Color A yarn about 12 inches long.
Step 2: Thread it through the tapestry needle.
Step 3: Insert the needle through the fabric at random points on the front of the pillow, pulling the yarn through but leaving a loose loop on the surface.
Step 4: Tie a small knot on the inside of the pillow to secure the loop, leaving the loop loose and fluffy on the outside.
Step 5: Repeat at various points across the front, creating 5-7 fluffy tufts that mimic cloud bumps.
Pro tip: Vary the size of the loops for a more organic, natural look. Some loops can be small and tight, while others can be larger and looser.
Final Thoughts
Your Aurora Sky Chunky Knit Cloud Pillow is now complete! This dreamy, textured cushion will add a touch of celestial serenity to any room. The combination of soft white, pale lavender, and dusty blue creates a calming gradient that evokes the beauty of a twilight sky.
This pattern is perfect for beginners looking to expand their skills, as it introduces color changes, seaming, and decorative techniques—all while creating a stunning, functional piece for your home. The chunky yarn works up quickly, making this a satisfying weekend project.
We'd love to see your finished cloud pillows! Share your creations on social media with the hashtag #AuroraSkyPillow and inspire others to bring a little piece of heaven into their homes. Happy knitting!