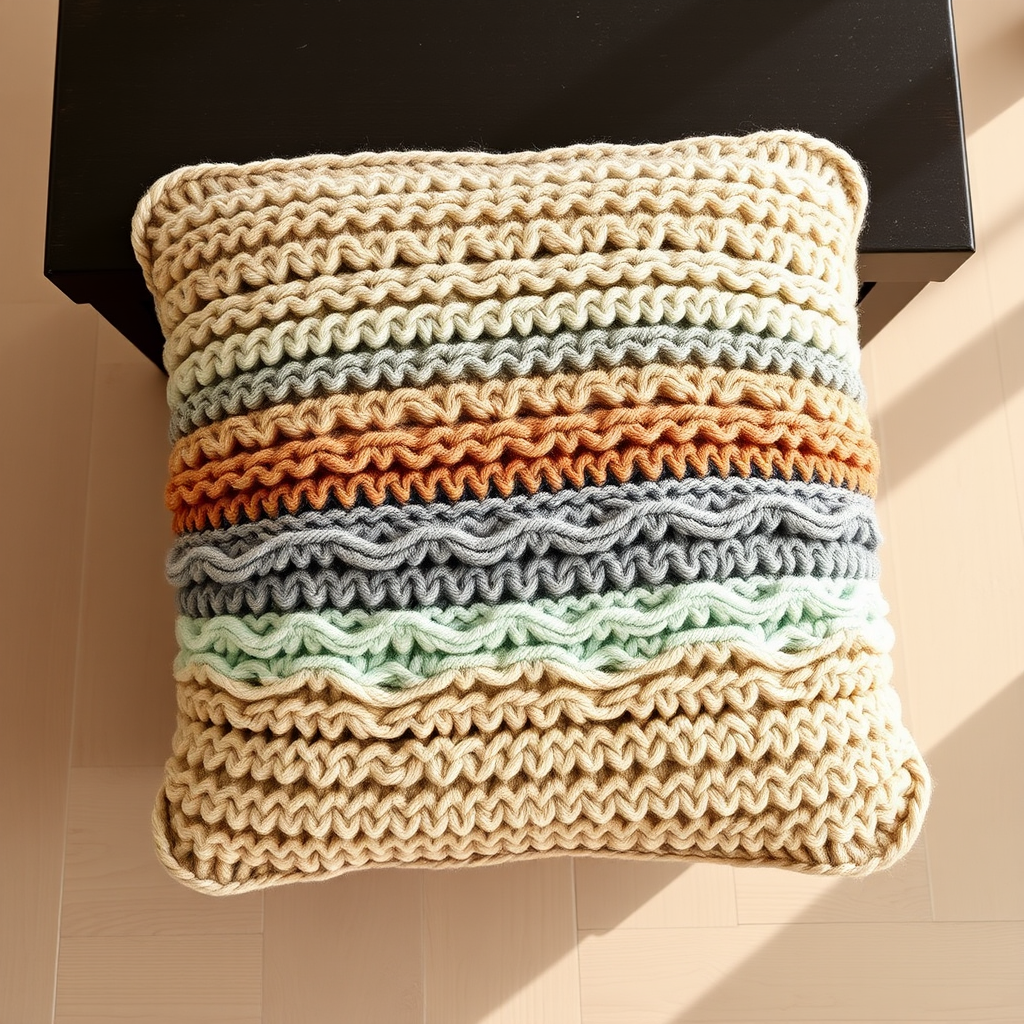
Aurora Borealis Driftwood Wall Hanging Free Pattern – A Knitted Nordic Sky Tapestry

Knitted Aurora Borealis Driftwood Wall Hanging – A Free Pattern for a Nordic Sky Tapestry
Imagine bringing the serene, ethereal beauty of the northern lights into your own home. This knitted wall hanging, inspired by the aurora borealis, is more than just a craft project—it's a statement piece that transforms any room into a cozy, modern sanctuary. With its chunky textured stitches, flowing fringe, and a natural driftwood mount, this Nordic sky tapestry adds warmth and artistic flair to your living space. Best of all, this free pattern is designed with beginners in mind, using simple knit and purl stitches with easy color changes to create a stunning gradient effect.
Whether you're looking to add a boho touch to your bedroom, a pop of color to your living room, or a handmade gift for a loved one, this wall hanging is the perfect project. Let's dive into the materials you'll need and the step-by-step instructions to create your own piece of arctic-inspired art.
Materials Needed
Before you begin, gather the following supplies. All materials are readily available at your local craft store or online.
- Yarn: Worsted weight yarn in 4 colors:
- Deep Teal (A) – approximately 200g
- Soft Mint (B) – approximately 150g
- Pale Lavender (C) – approximately 100g
- Cream (D) – approximately 150g
- Needles: US 9 (5.5mm) knitting needles
- Extras: Tapestry needle for weaving in ends, a crochet hook (for fringe), and a wooden dowel or driftwood branch (12–16 inches long) for hanging.
- Gauge: 16 stitches and 22 rows = 4 inches in stockinette stitch. Gauge is not critical, but consistency ensures even shaping.
Step-by-Step Instructions
This wall hanging is knitted in one piece from the top down, then finished with a fringe and mounted on a wooden dowel. Follow along carefully, and you'll have a beautiful tapestry in no time.
Abbreviations
- CO: Cast on
- K: Knit
- P: Purl
- K2tog: Knit two together (decrease)
- M1: Make one (increase by lifting the bar between stitches and knitting into the back)
- St(s): Stitch(es)
- RS: Right side
- WS: Wrong side
Top Border (Worked in Garter Stitch)
With yarn A, CO 40 sts.
Rows 1–6: Knit all sts (garter stitch). This creates a sturdy, textured border that will later form the casing for your dowel.
Main Body (Worked in Stockinette with Color Changes)
Now we'll begin the stockinette stitch (knit on RS, purl on WS) and introduce the gradient colors.
Row 7 (RS): Switch to yarn B. Knit all sts.
Row 8 (WS): Purl all sts.
Repeat Rows 7–8 for 10 more rows (total 12 rows of B). This creates the first color block of soft mint.
Row 19 (RS): Switch to yarn C. Knit all sts.
Row 20 (WS): Purl all sts.
Repeat Rows 19–20 for 8 more rows (total 10 rows of C). This adds the pale lavender section.
Row 29 (RS): Switch to yarn D. Knit all sts.
Row 30 (WS): Purl all sts.
Repeat Rows 29–30 for 6 more rows (total 8 rows of D). This completes the cream section at the bottom of the body.
Shaping the Waves (Decreases and Increases)
To mimic the gentle undulation of the northern lights, we'll add subtle wave shaping with decreases and increases. This is easier than it sounds—just follow the pattern!
Row 37 (RS): With yarn A, K2, K2tog, K to last 4 sts, K2tog, K2. (38 sts)
Row 38 (WS): Purl all sts.
Row 39 (RS): K2, M1, K to last 2 sts, M1, K2. (40 sts)
Row 40 (WS): Purl all sts.
Repeat Rows 37–40 three more times (total 4 wave repeats). After the last repeat, you will have 40 sts again. This creates a gentle, wavy texture in the fabric.
Bottom Border
Switch to yarn B. Knit 6 rows of garter stitch (all knit rows).
Bind off loosely in knit. This gives a clean, finished edge that will hold the fringe beautifully.
Finishing
Weave in all loose ends with a tapestry needle. Take your time here—neat ends ensure your wall hanging looks professional and lasts for years.
Fringe
Cut 20 pieces of yarn in each of the four colors, each 12 inches long. For each fringe, take 2 strands of the same color (or mix colors for a gradient effect) and fold them in half. Insert the folded end through the bottom edge of the hanging (through the bound-off edge) using a crochet hook, then pull the loose ends through the loop and tighten. Space the fringes evenly across the bottom edge, alternating colors (e.g., A, B, C, D, A, B...). Trim the fringe ends to an even length for a polished look.
Mounting
Fold the top garter stitch border over the dowel or driftwood branch. Sew the folded edge down securely on the wrong side, creating a casing for the dowel. Attach a piece of yarn to each end of the dowel to create a hanging loop. Make sure the knots are tight and secure so your tapestry hangs safely.
Final Thoughts
Your Aurora Borealis Driftwood Wall Hanging is now complete! This piece is a beautiful blend of texture, color, and natural elements, perfect for adding a touch of Nordic serenity to any space. The deep teal to cream gradient, combined with the wavy shaping and flowing fringe, creates a dynamic yet calming visual effect that will be a conversation starter for years to come.
We hope you enjoyed this free pattern. Happy knitting, and may your home be filled with the cozy glow of your handmade northern lights!